实战:docker部署filesite.io完美解决家庭相册需求-2024.8.10(测试成功)
目录
版权声明
本着开源共享、共同学习的精神:
本文是根据 开源站点:《家庭相册-filesite-io》里提供的部署文档进一步编辑输出的 ,具体信息请看 原作者github开源仓库。转载无需和我联系,但请注明文章来源。如果侵权之处,请联系博主进行删除,谢谢~
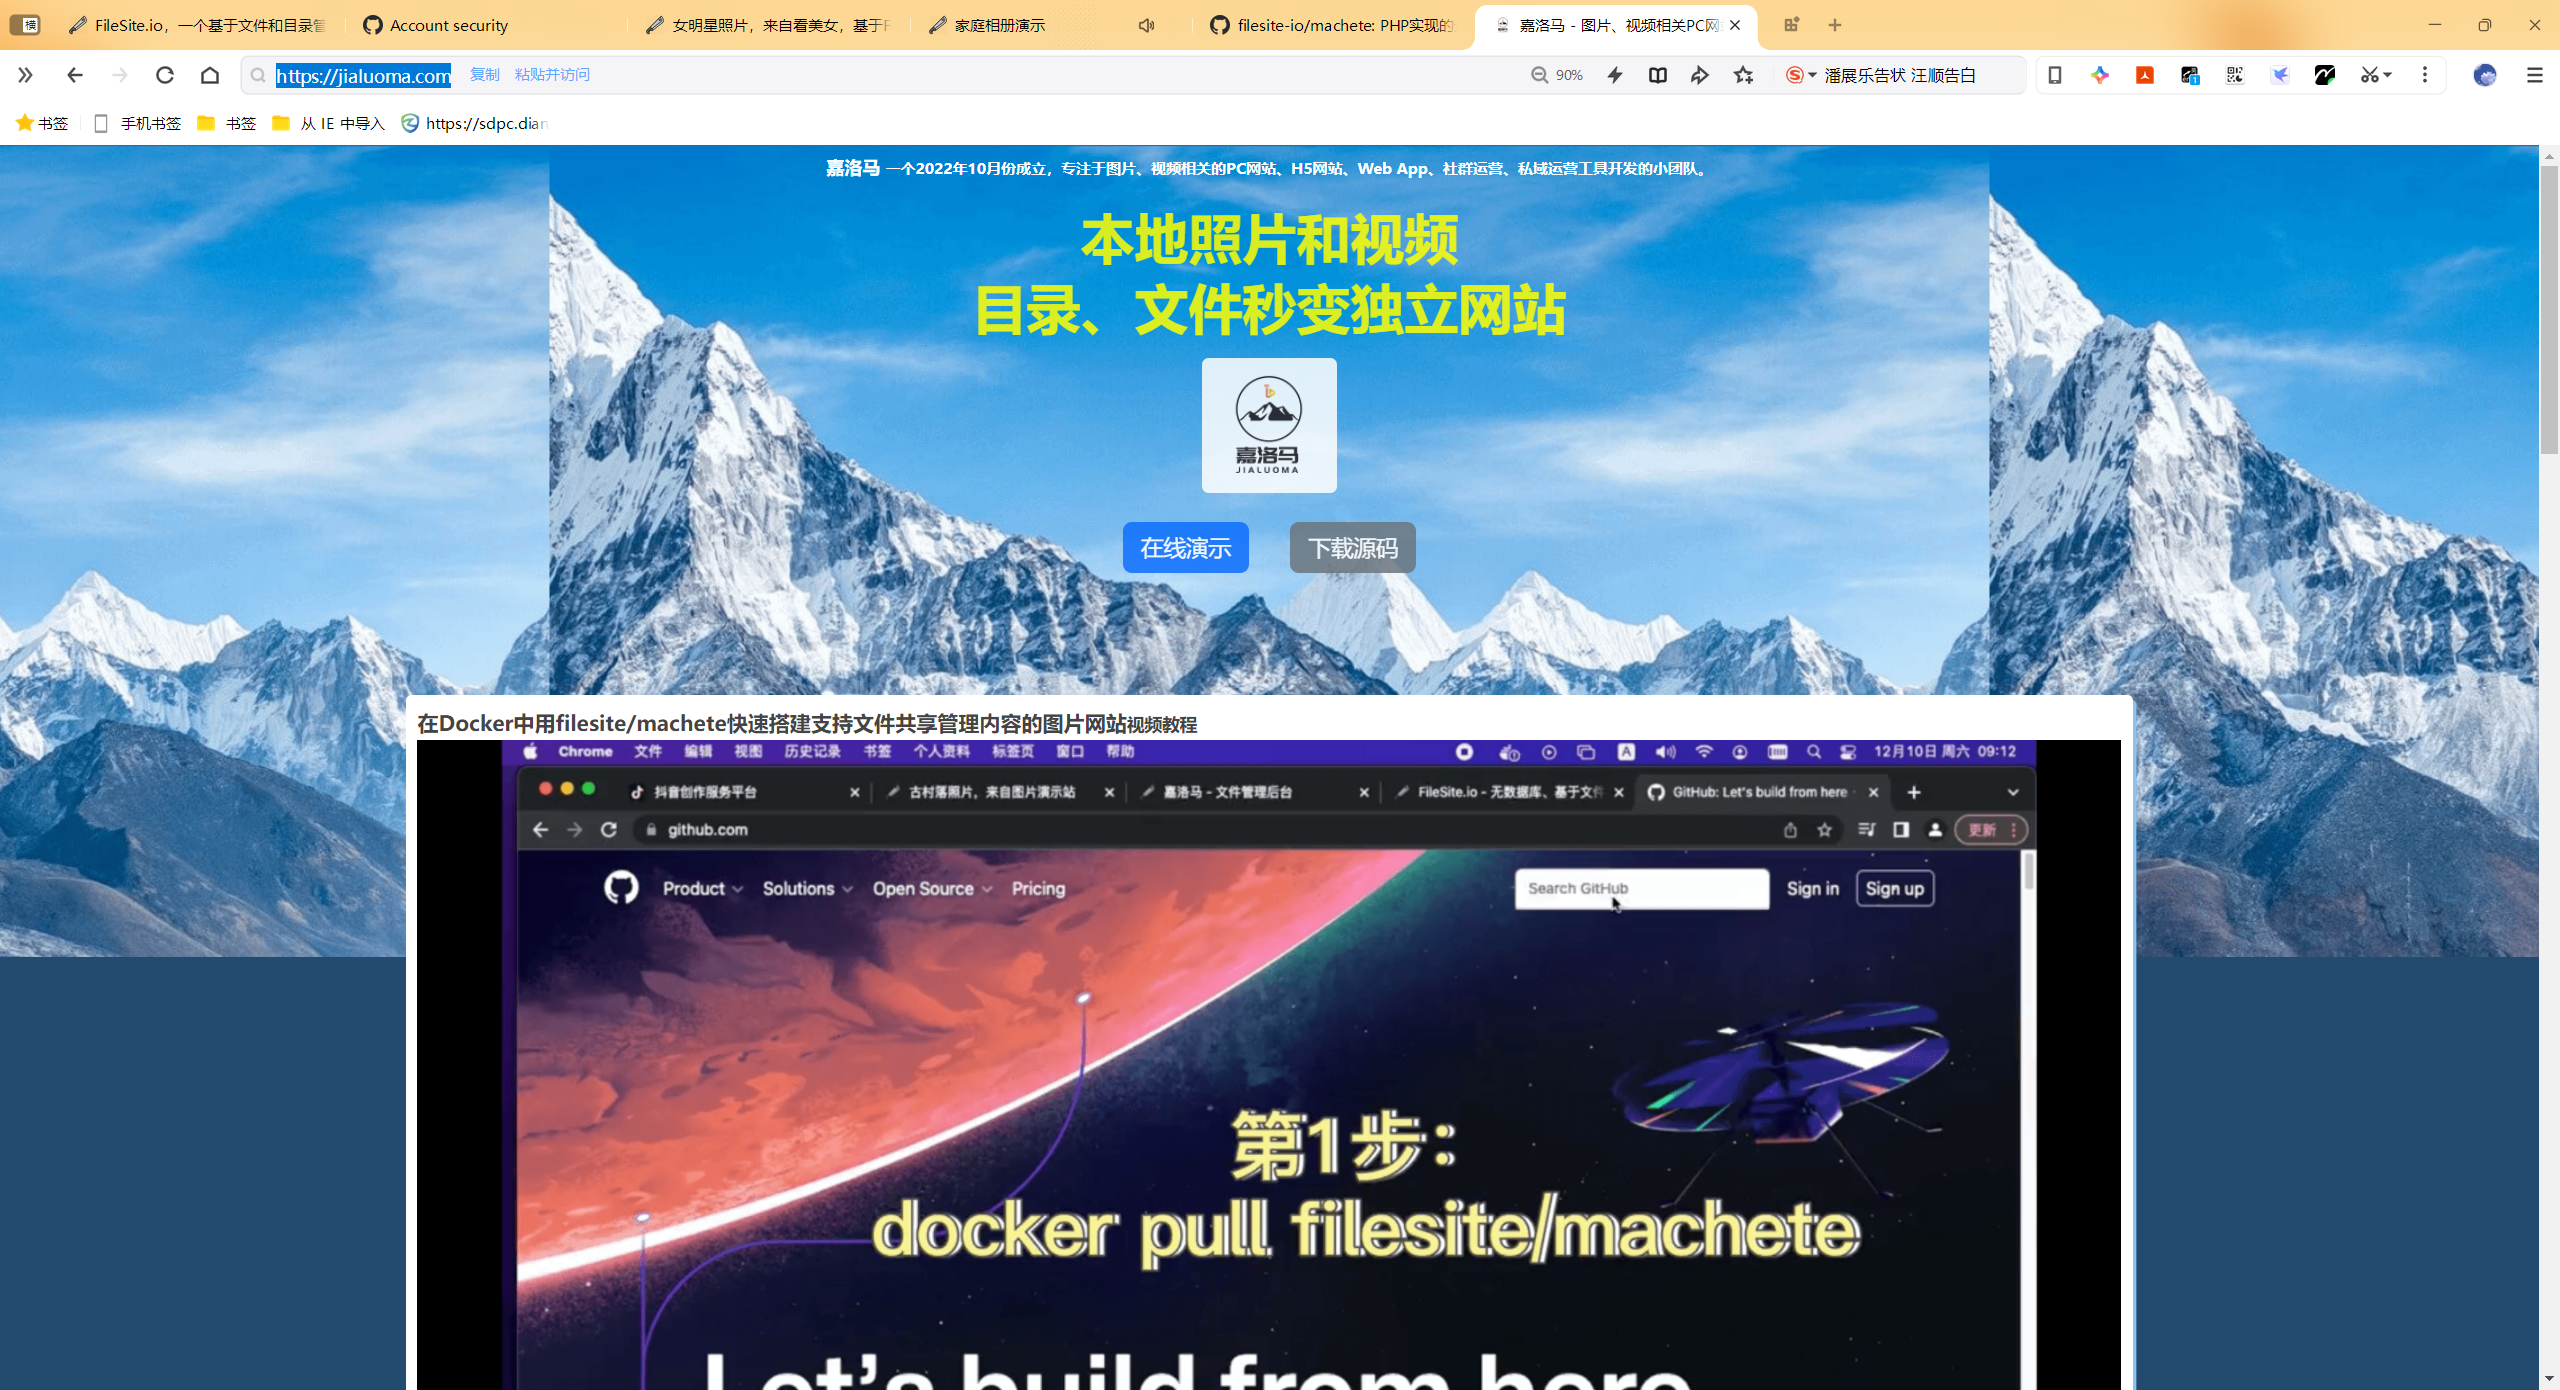
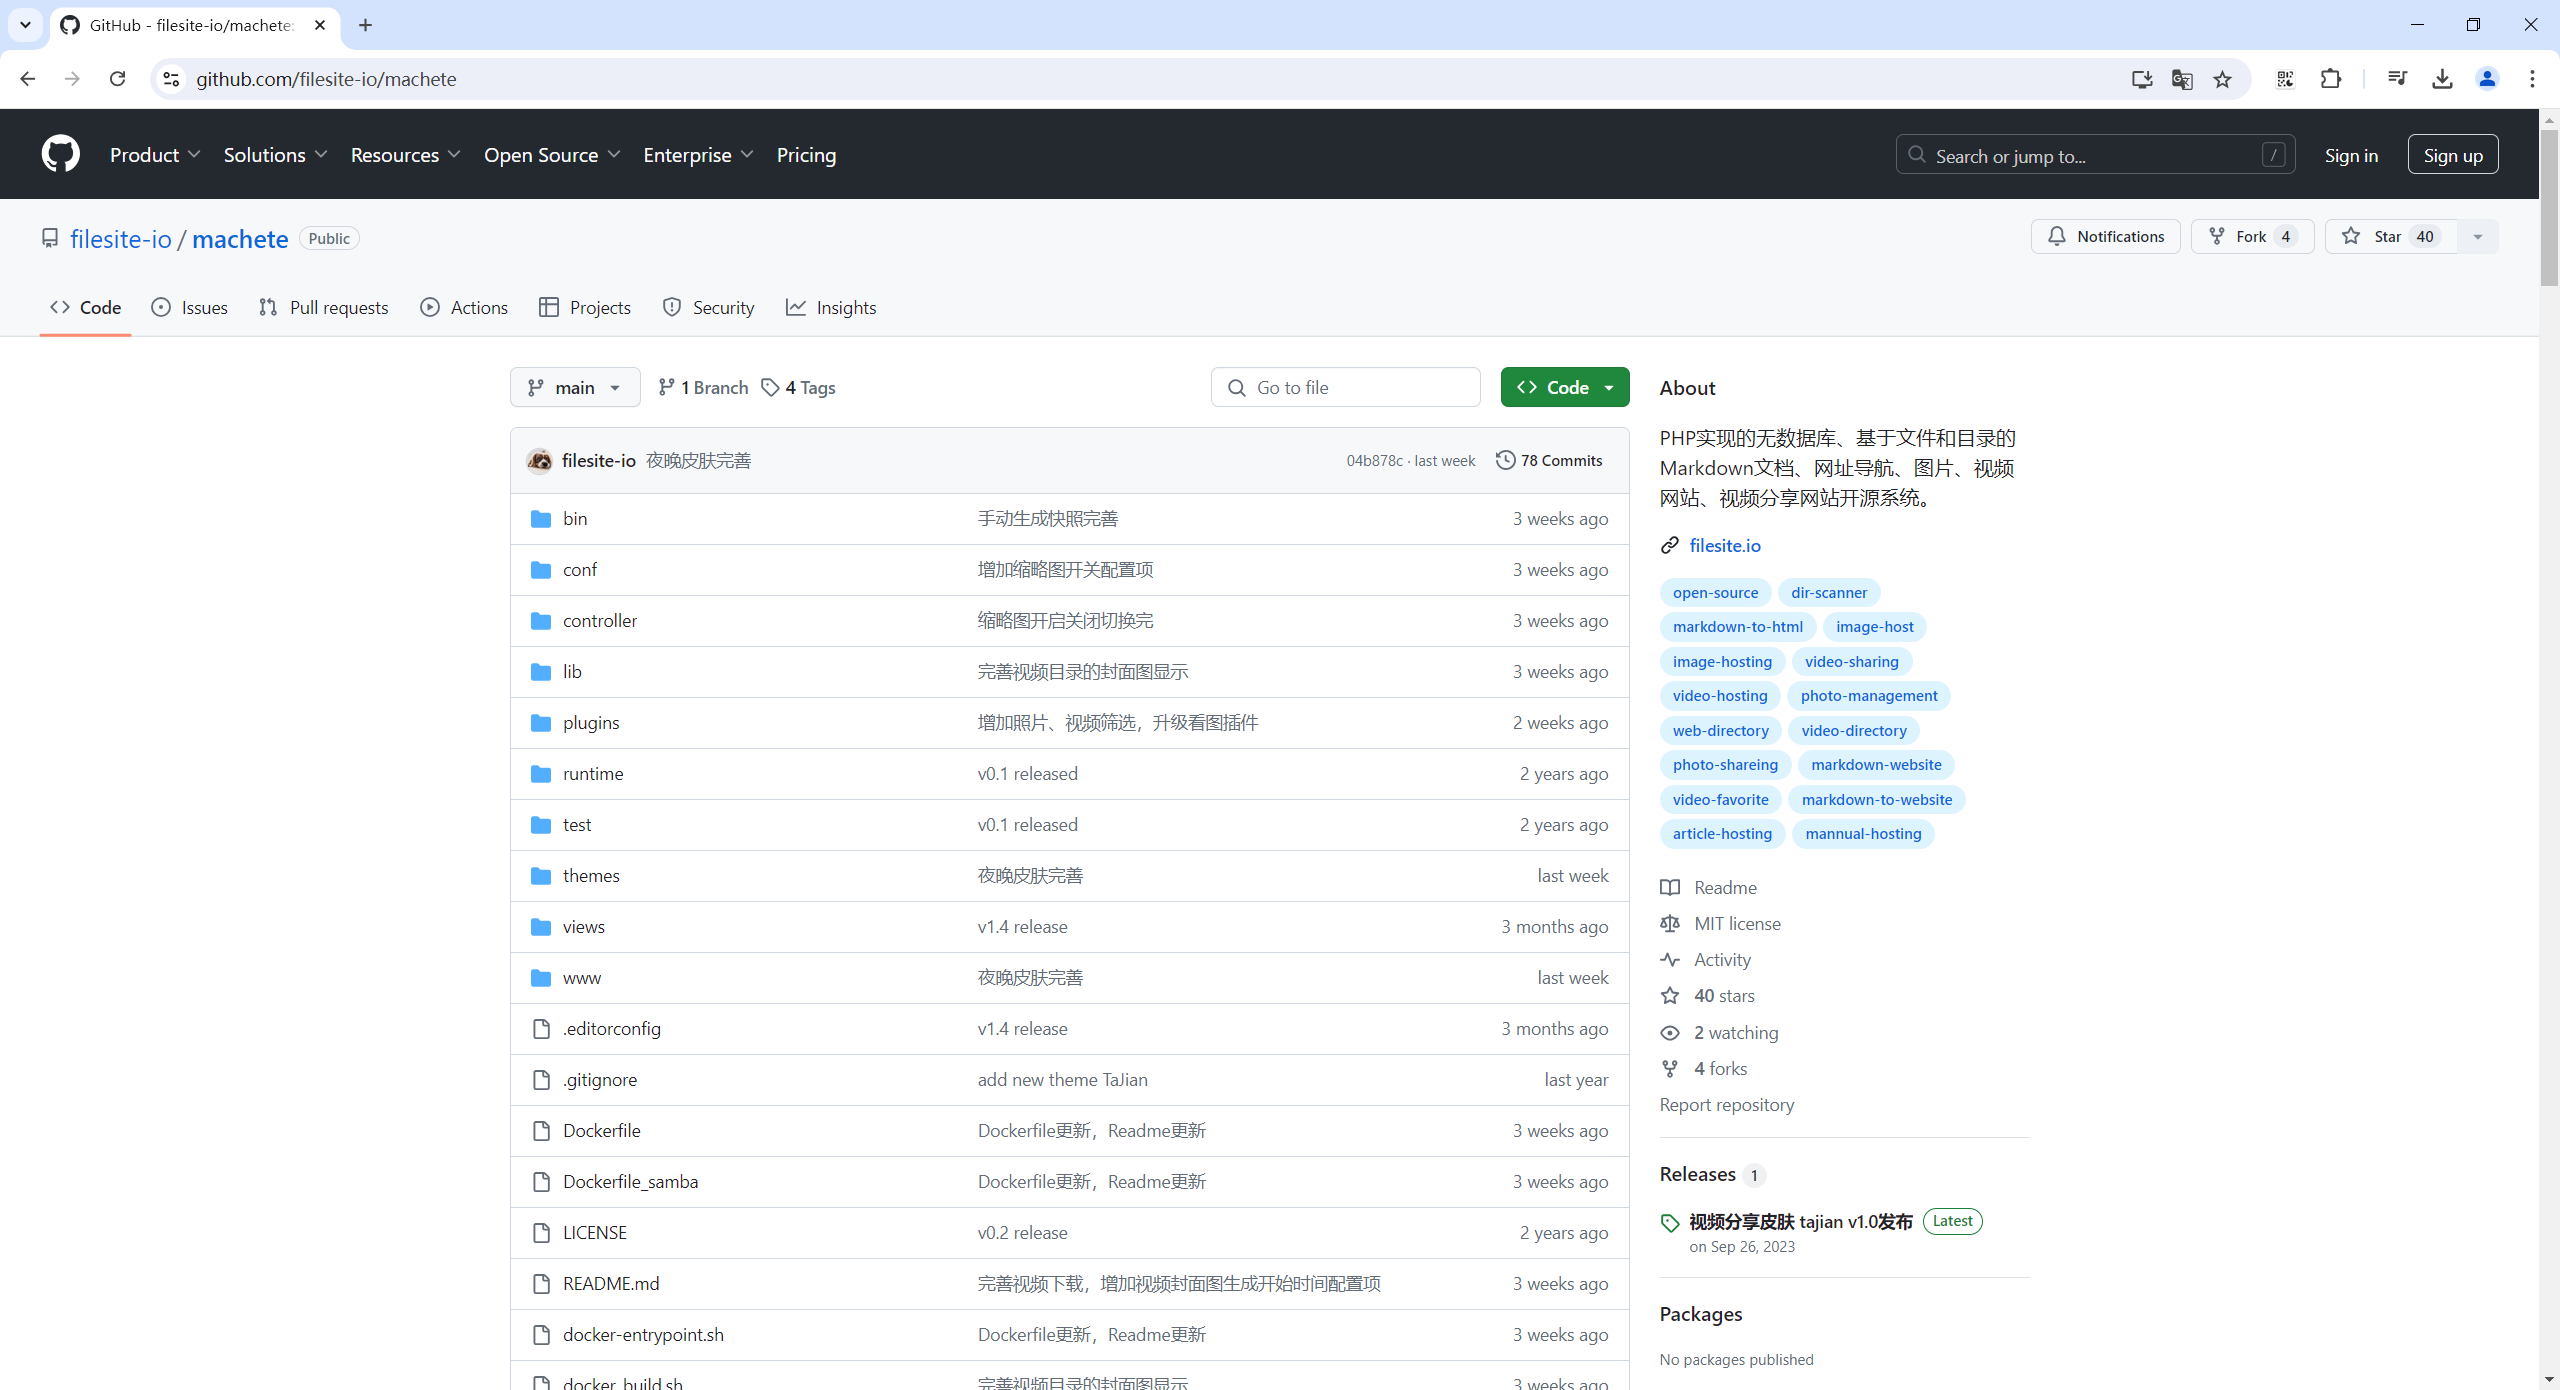
仓库地址:https://github.com/filesite-io/machete
公告
因个人最近清理了百度网盘已经分享的链接(原来已分享的链接均已失效),如果有小伙伴需要相关实战源代码,请随时联系笔者即可。😘
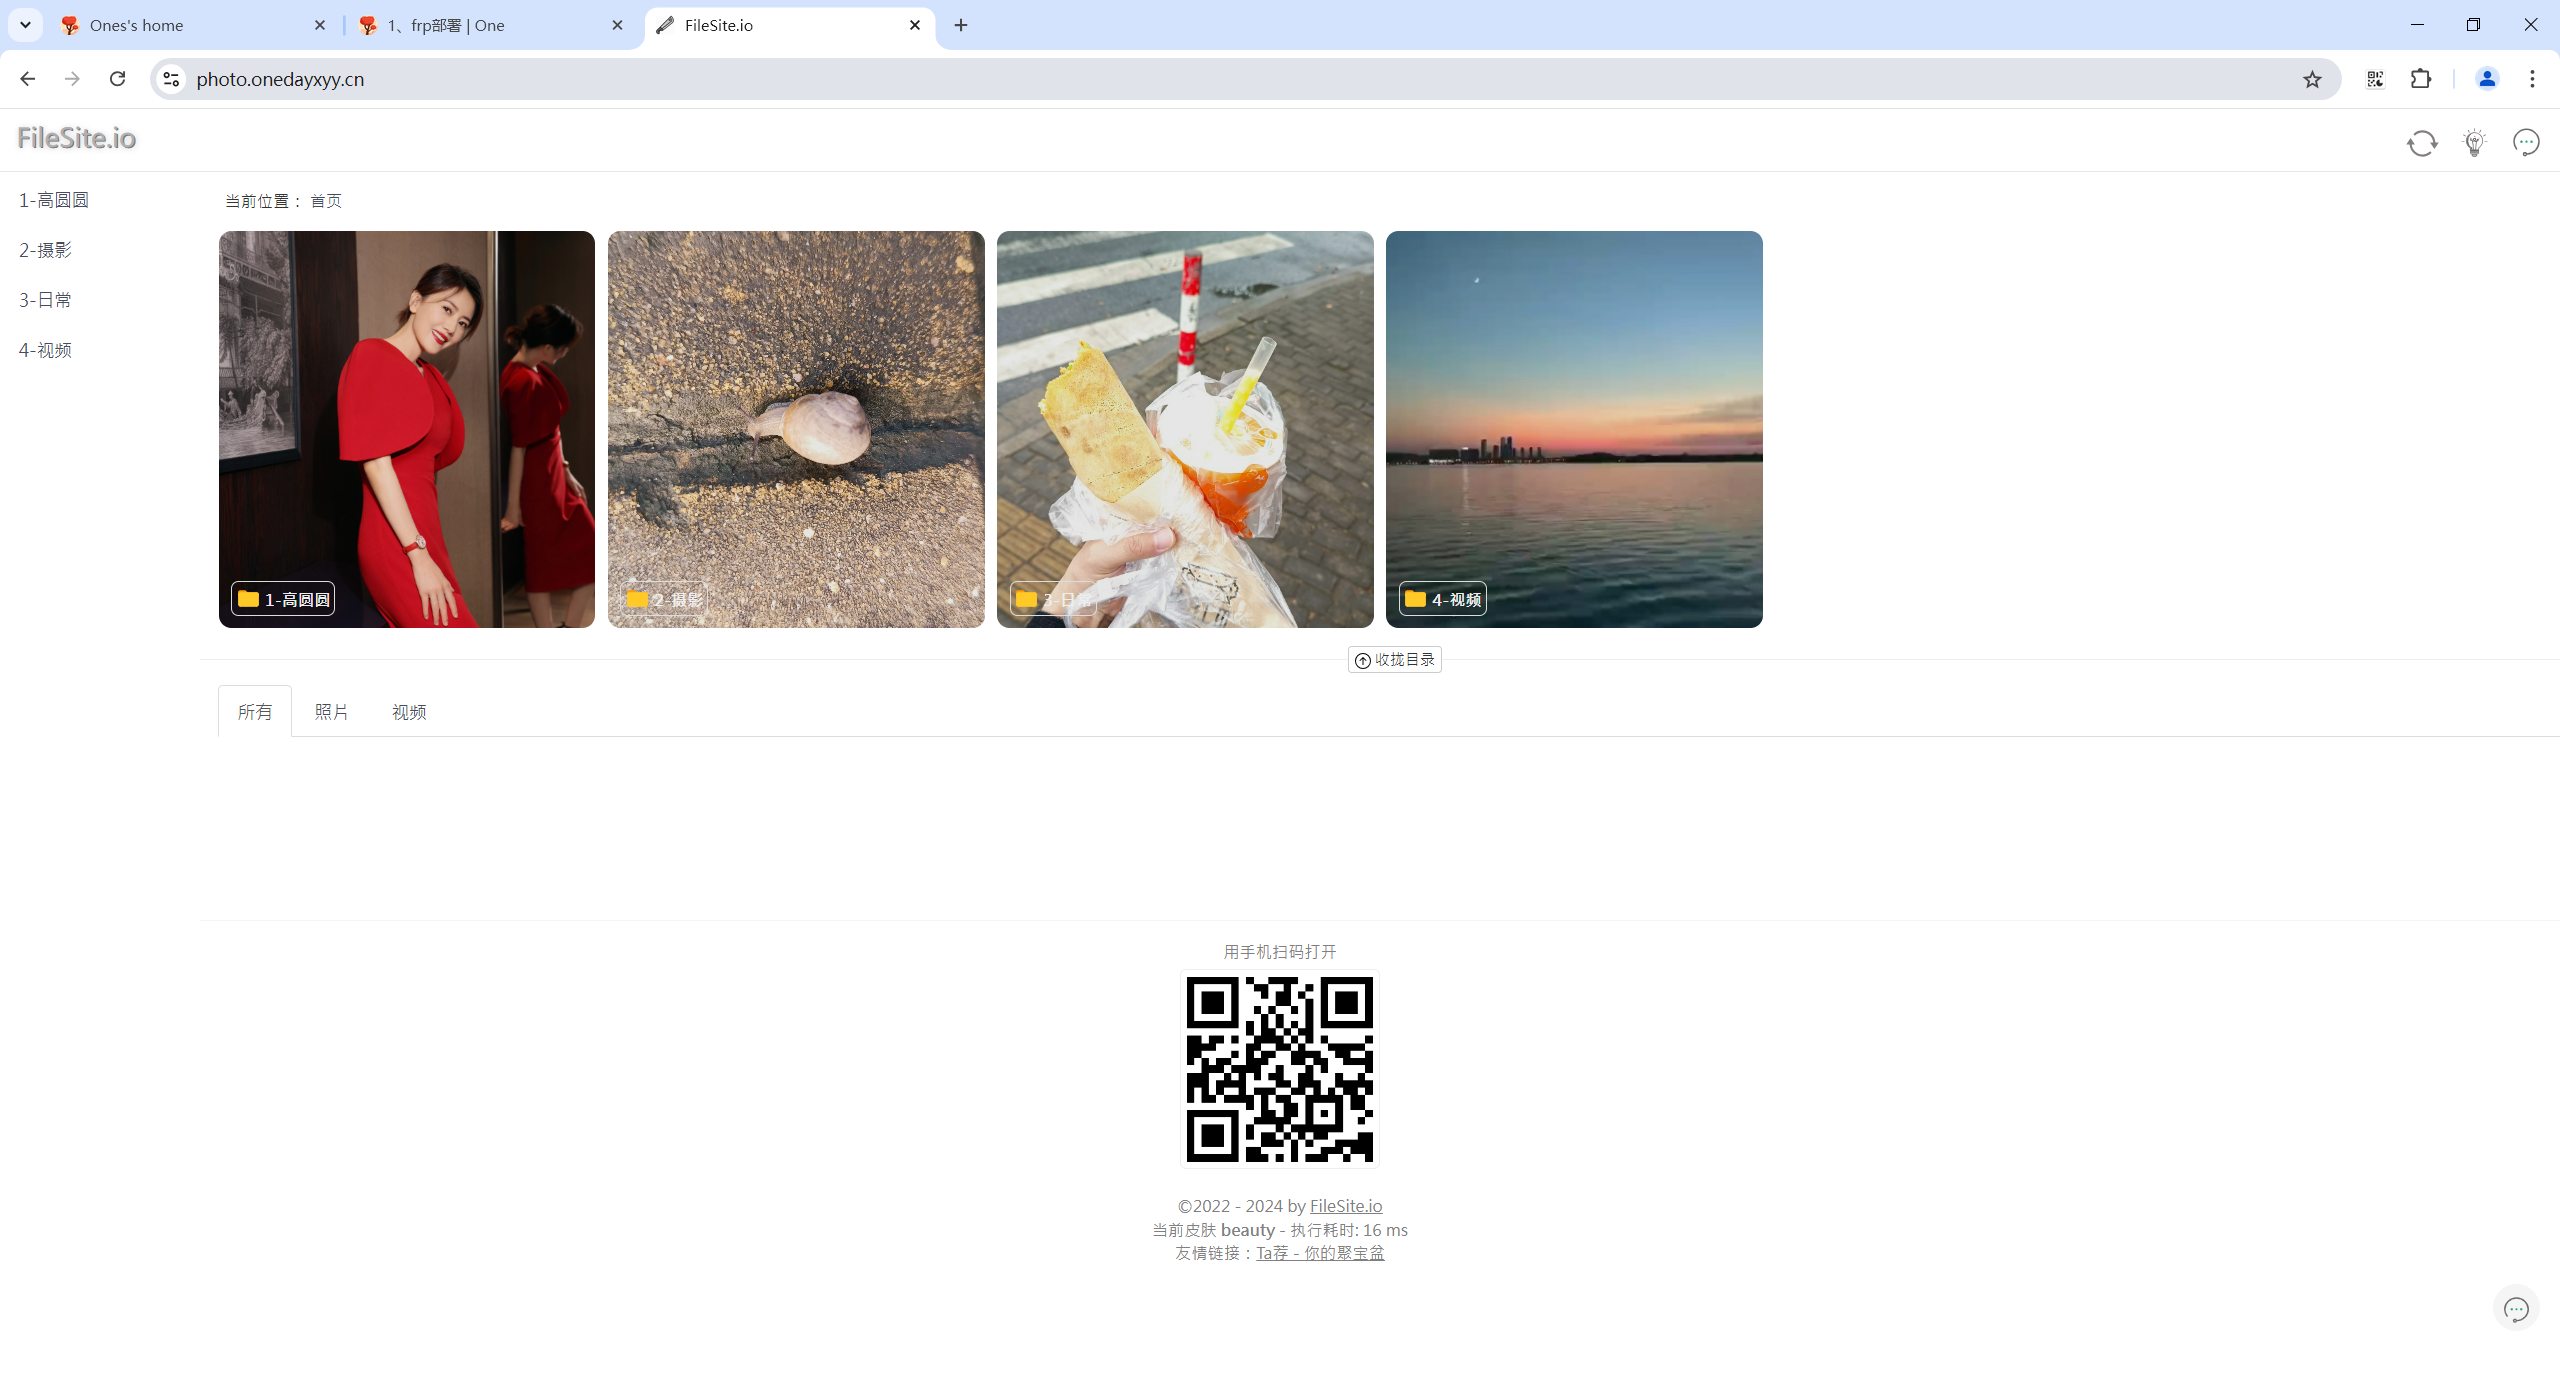
效果演示

背景
你想拥有一个家庭相册吗?里面可以放你的摄影作品、家人照片、旅拍作品等等……
恰好这个相册部署简单,体验丝滑,数据安全,那么选择filesite.io就对了😜
一个完美的家人相册的理想状态:
想实现如下一个需求:
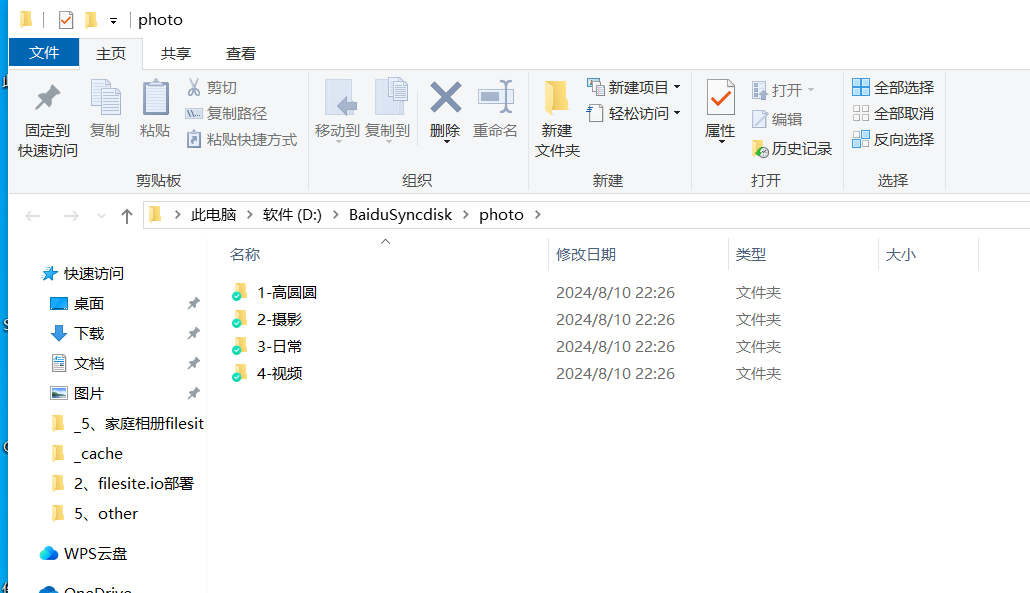
我的winodws桌面有一个叫做photo的目录,然后这个目录下有不同子目录,而每个子目录分别存放了不同类型的照片。
有没有一款相册软件,可以把这个photo目录(保持子目录不变)给渲染成一个相册或图库,供大家可以公网访问呢。
本地windows相册数据-->linux;(rsync服务,增量同步,很方便)
这样的好处就是,我只需要维护winodws本地照片,然后就会自动刷新云端照片的,而不需要维护2份数据。
前提
具有1台linux服务器,具有docker、docker-compose环境。
具体部署文档参考如下:
如何搭建docker和docker-compose,见如下链接:
《实战:centos在线安装docker-2022.8.4(成功测试)》 https://wiki.onedayxyy.cn/docs/centos-docker-online-install
《实战:docker-compose安装-2024.4.14(测试成功)》 https://wiki.onedayxyy.cn/docs/docker-compose-install
环境
win10
vmwareworkstation里一台centos7.6 1810虚机,192.168.1.100,能通公网(nat模式)
源码
通过百度网盘分享的文件:v1-2024.8.10(修复bug后版本) �链接:https://pan.baidu.com/s/17vnaSkGH_0IQ43TMyk69Gw?pwd=mi0h 提取码:mi0h
v1-2024.8.10(修复bug后版本)
filesite-machete-2024.8.10.tar.gz #261M

说明:
这里之所以把镜像打包提供,是为了对数据进行备份。还是建议大家从 官网仓库 获取镜像。
1、部署
docker-compose版本:
mkdir -p /root/machete/photo
cd /root/machete
cat > /root/machete/docker-compose.yaml <<EOF
version: "3"

services:
  mtphotos:
    image: filesite/machete
    container_name: machete
    restart: always
    ports:
      - 1081:80
      - 445:445
    volumes:
      - /root/machete/photo:/var/www/machete/www/girls/
EOF

docker-compose up -d
docker ps

docker版本:
docker run --name machete \
-p 1081:80 -p 445:445 \
-v /root/machete/photo:/var/www/machete/www/girls/ \
--restart=always \
-itd filesite/machete
2、访问
在浏览器访问http://192.168.1.100:1081/
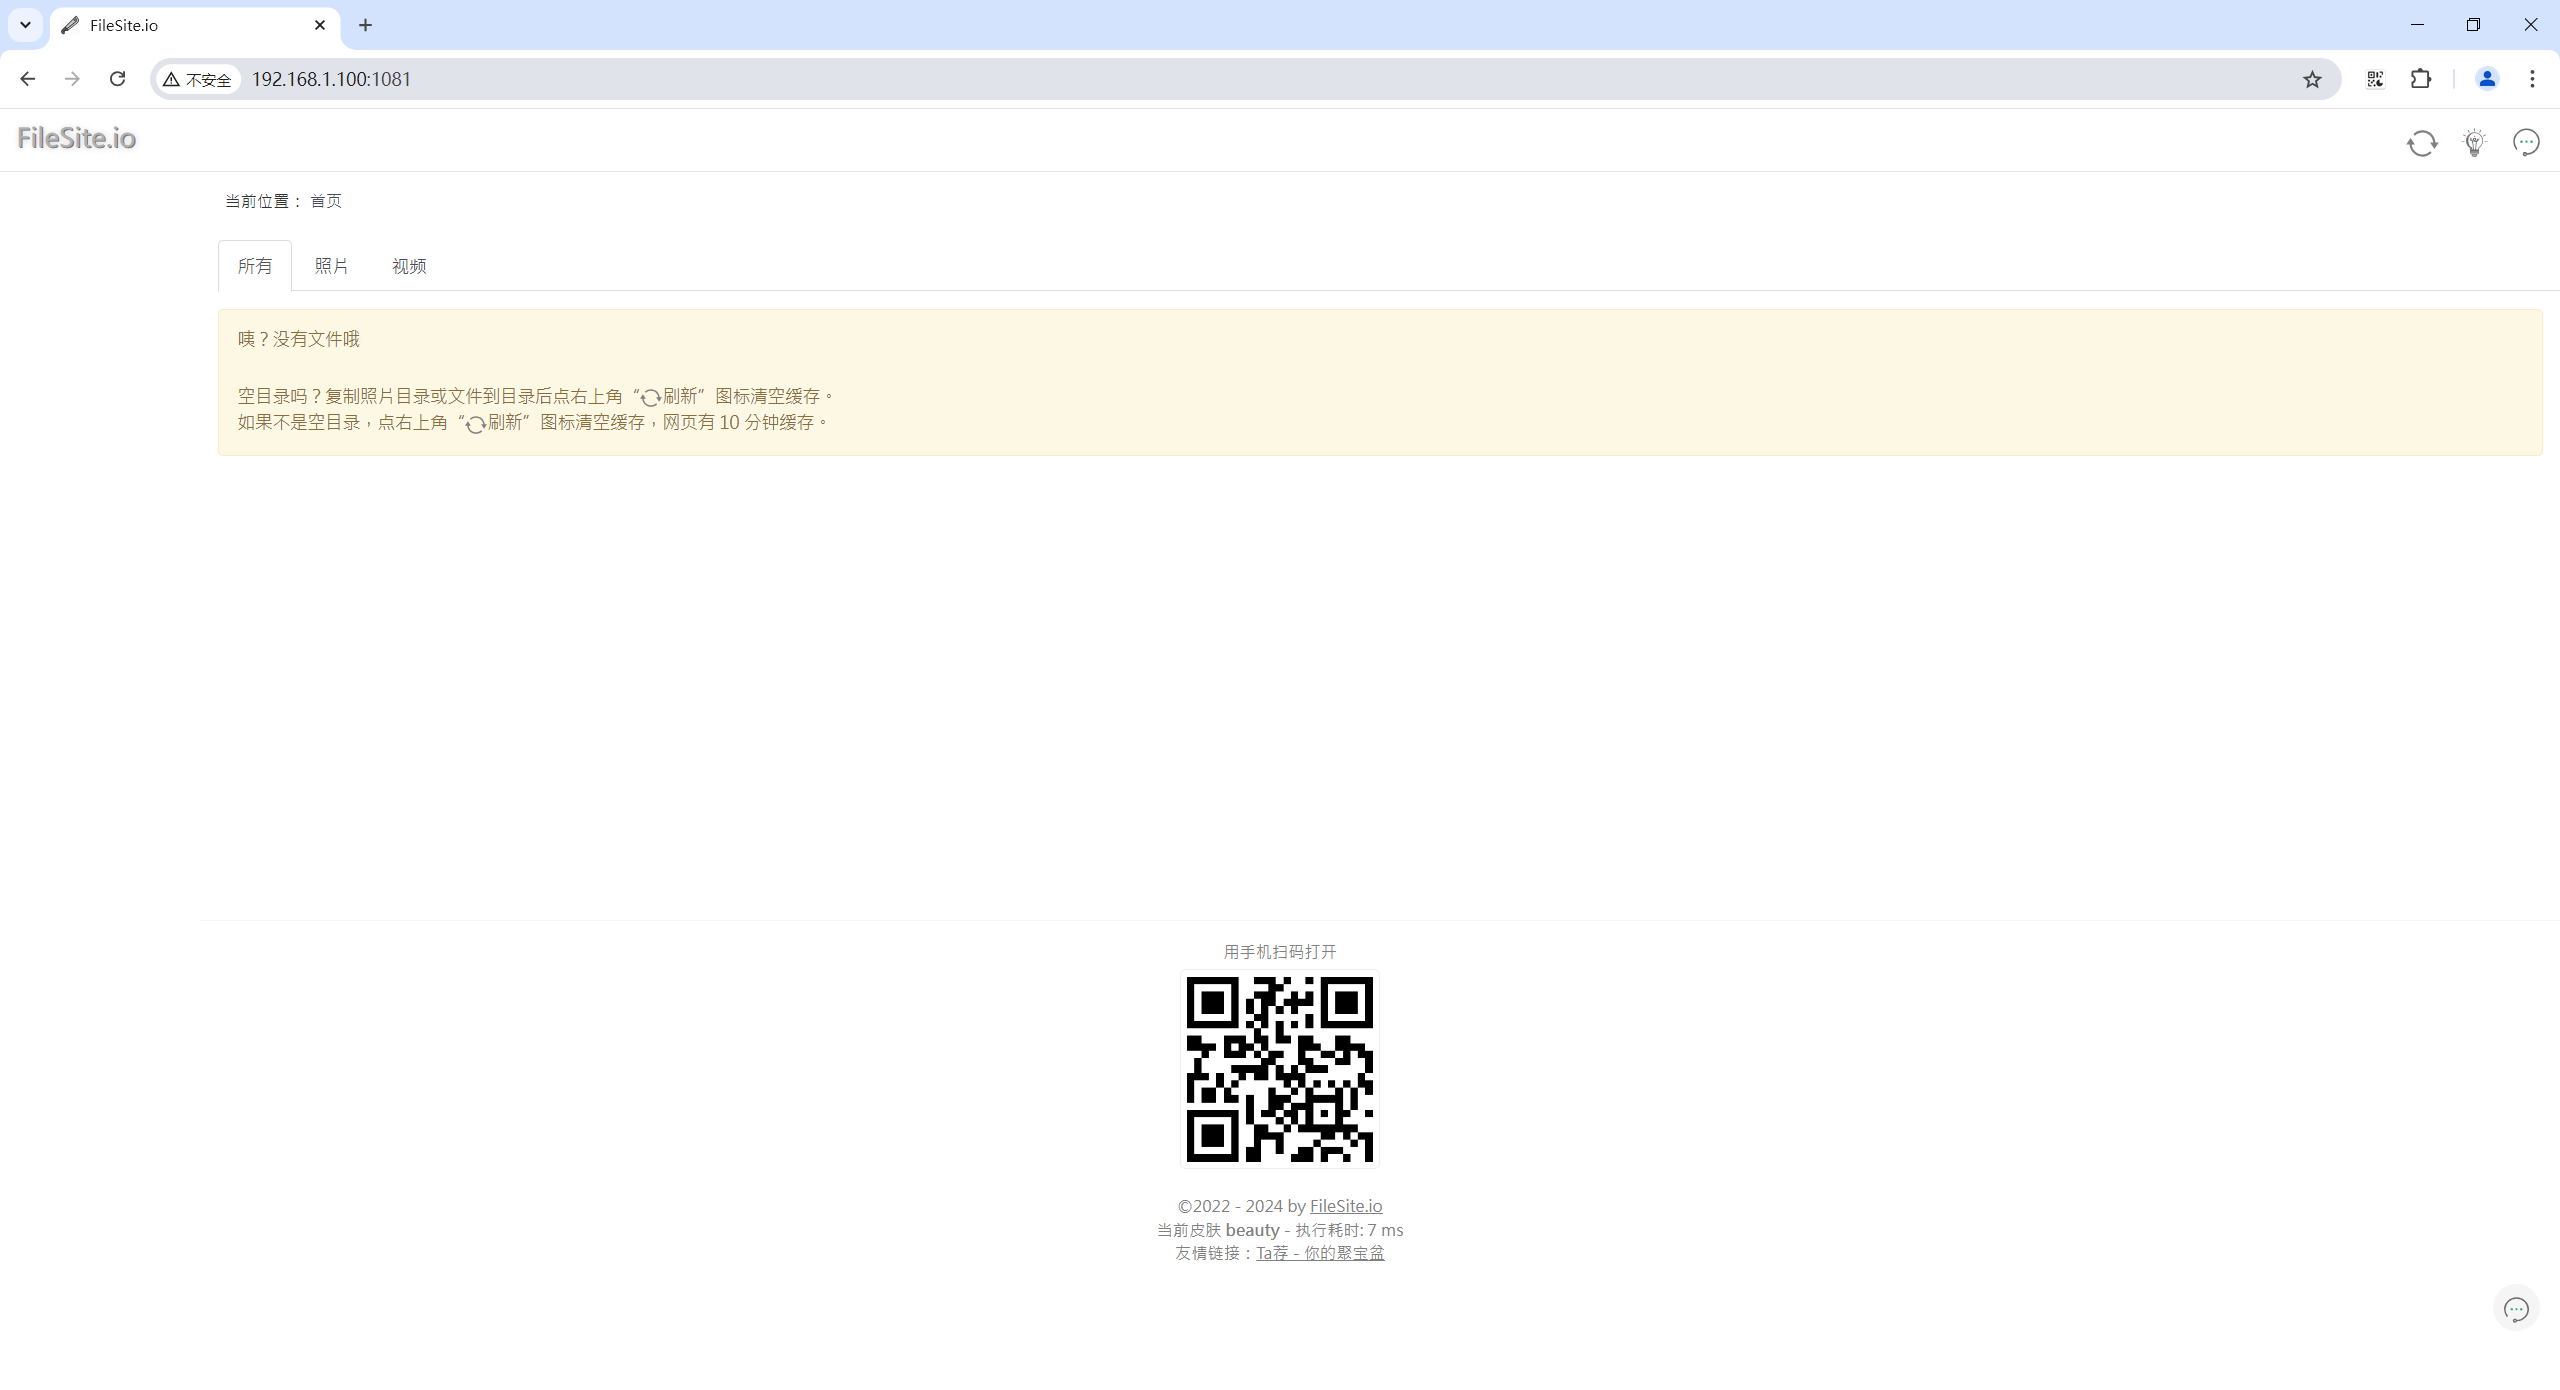
3、手动上传windows相册数据到linux服务器端
将准备好的相册数据photo-test-demo.zip上传到服务器/root目录:
[root@ruyub-blog-prod ~]# ll -h photo-test-demo.zip
-rw-rw-rw- 1 root root 61M Aug 10 18:08 photo-test-demo.zip
将相册数据解压到/root/machete/photo目录:
cd ~
unzip photo-test-demo.zip -d /root/machete/photo

验证:
访问web,刷新下,观察现象,此时就可以看到我们的个人相册数据了:
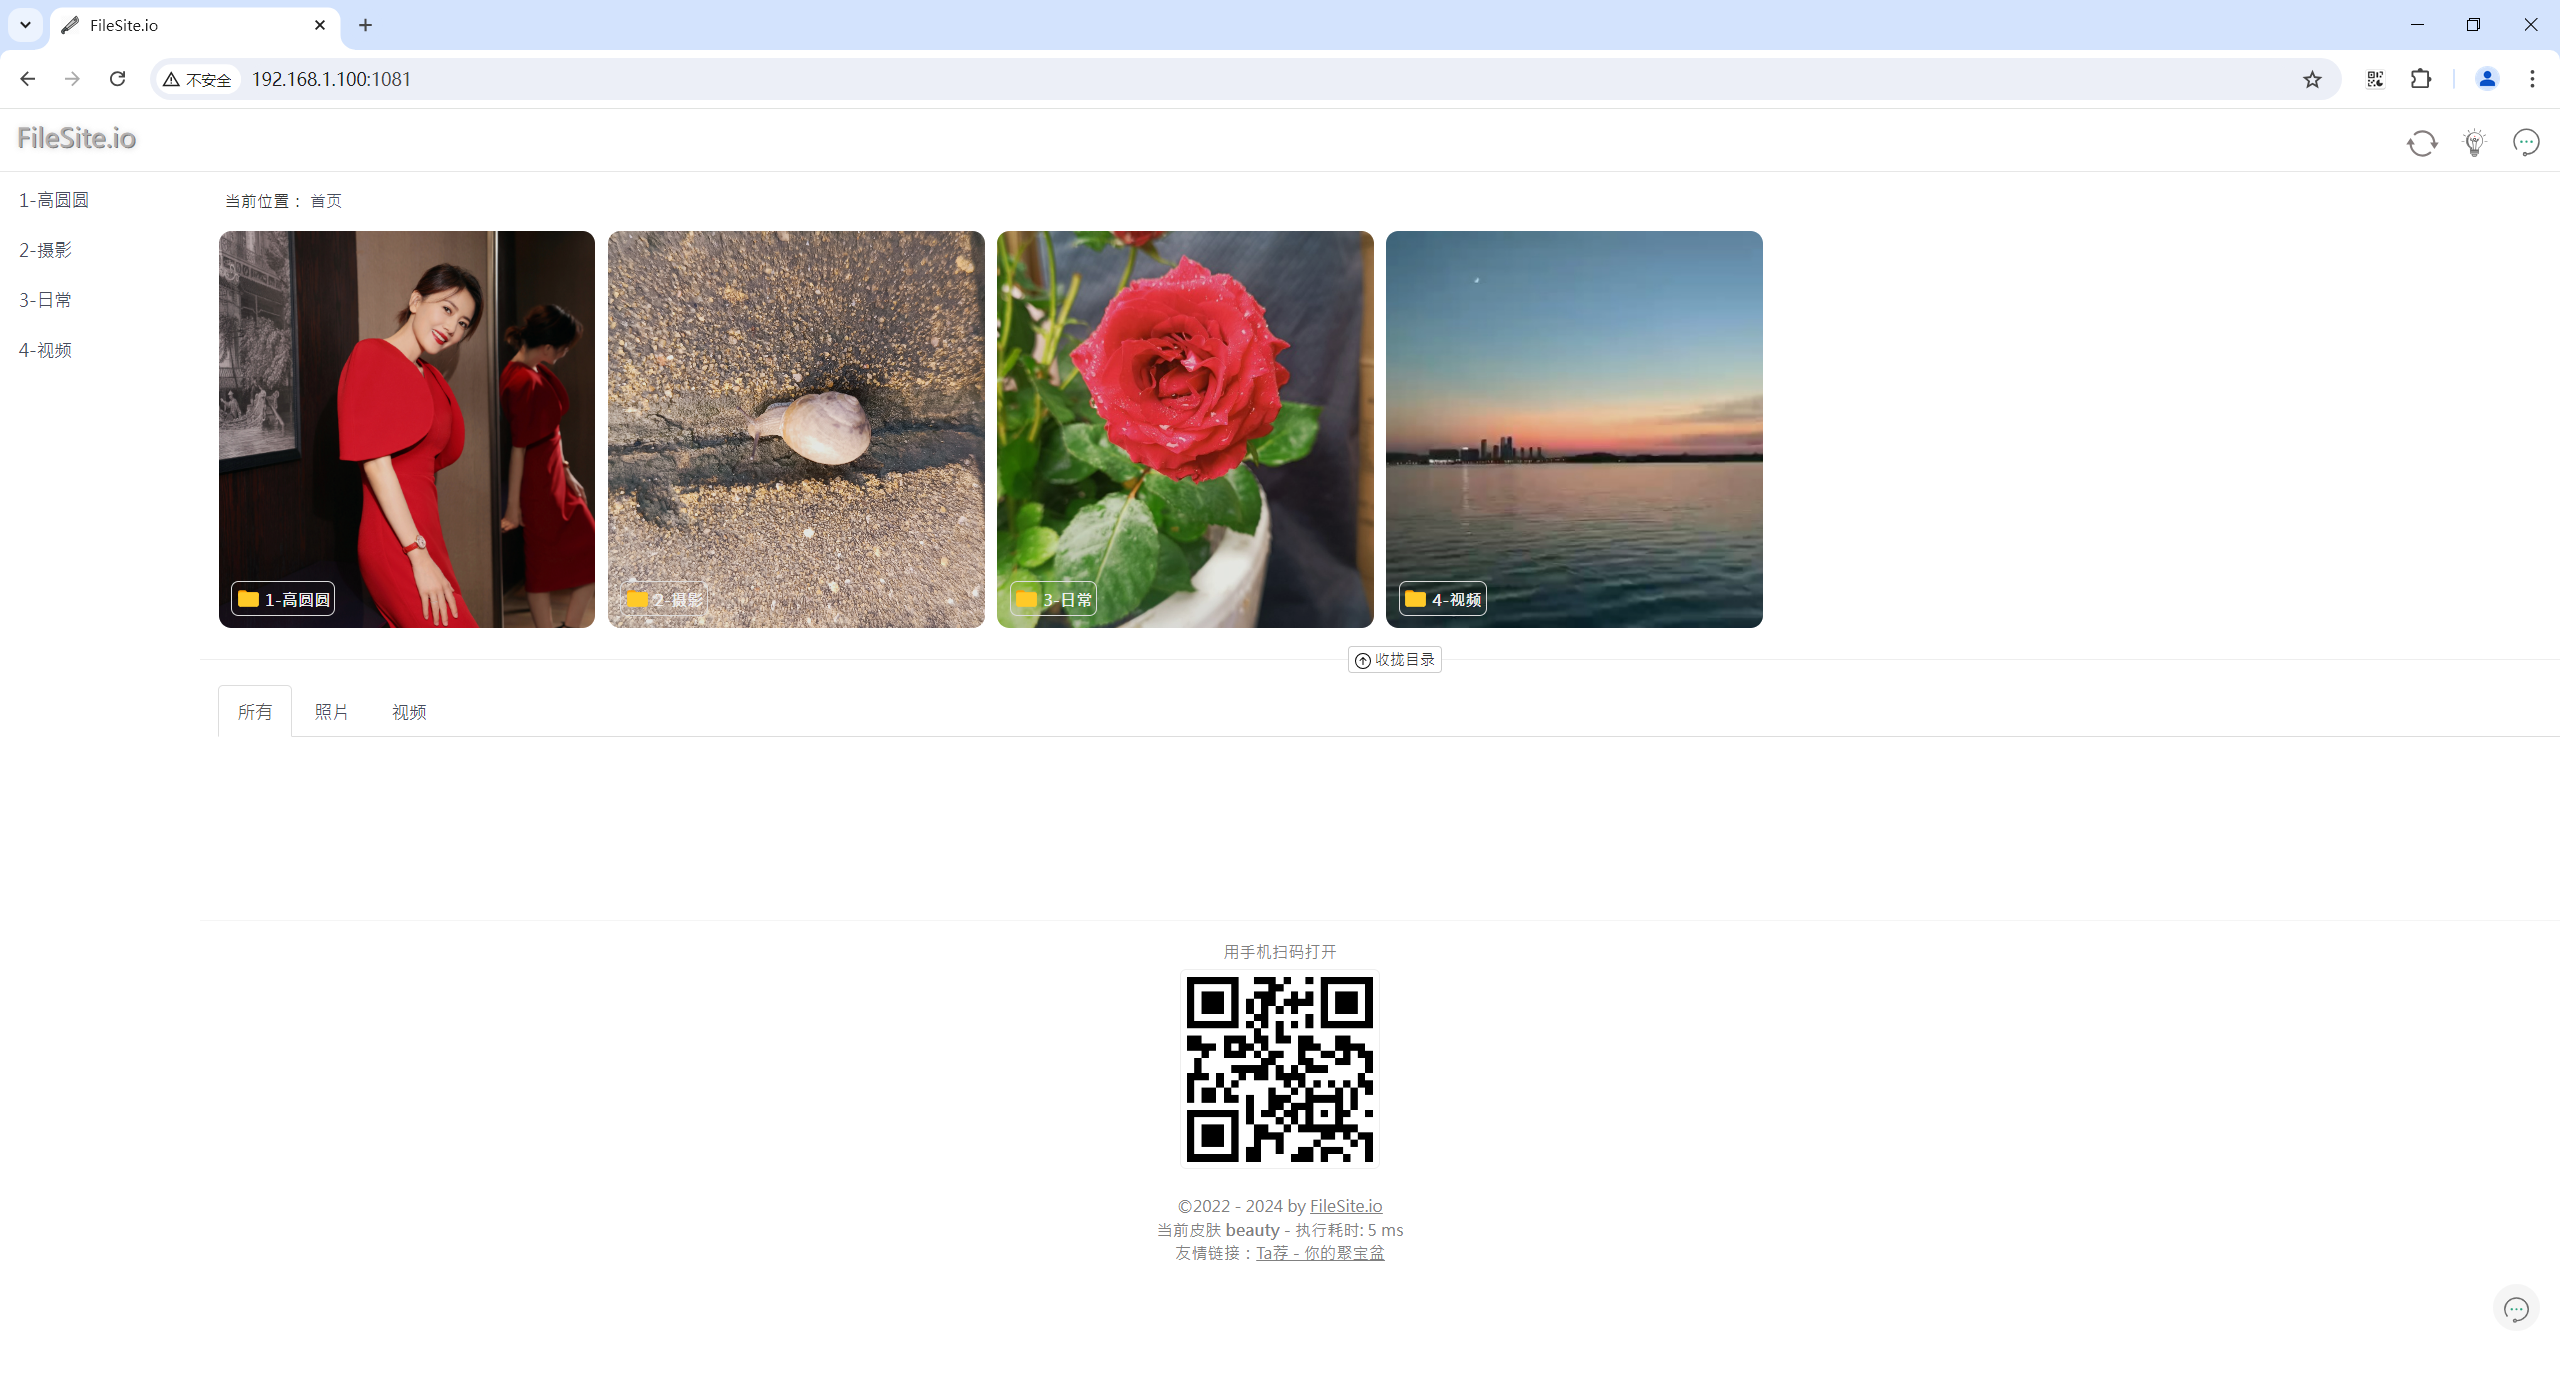
4、rsync方式同步数据到linux
1.测试过程
删除/root/machete/photo下相册数据:
cd /root/machete/
rm -rf /root/machete/photo
ls

这里假设linux服务器和winodws之间的rsync服务都已部署完成,具体如何部署,看如下文档:
《实战:从windows同步数据到linux(增量定时同步)-2023.11.30(测试成功)》:https://wiki.onedayxyy.cn/docs/rsync-windows-to-linux
我这里给出本次具体配置:
linux服务器端:
vim /etc/rsyncd.conf
# /etc/rsyncd: configuration file for rsync daemon mode

# See rsyncd.conf man page for more options.

# 进行通信的端口,如果 firewall 打开的话,需要将对应的端口添加进去
port=8730

# 日志文件
log file=/var/log/rsync.log

# rsync 的进程 id
pid file=/var/run/rsync.pid

# 要同步的模块,这里一般以项目名命名
[cmi-filesite]

# 同步的目标文件夹
path=/root/machete/

# rsync daemon 在传输前是否切换到指定的 path 目录下,并将其监禁在内,用于增加传输的安全性
use chroot=no

# 指定最大的连接数
max connections=4

# yes 表示只读本地文件无法同步到服务器
read only=no

# 客户端请求显示模块列表时,该模块是否显示出来
list=true

# 服务运行时的用户
uid=root

# 服务运行时的用户组
gid=root

# 进行验证时的用户名,必须是系统存在的用户
auth users = root

# 连接用户时的密码
secrets file=/etc/rsyncd.passwd

# 允许的 ip
hosts allow=*
!
# 1、创建目标的文件夹
mkdir /root/rsync

# 2、创建密码
# 创建文件夹
#vim /etc/rsyncd.passwd
# 写入密码
echo "root:zxl520" > /etc/rsyncd.passwd #这里写入你自己云服务器的密码就行!!!

#更改文件权限
chmod 600 /etc/rsyncd.passwd


systemctl restart rsyncd
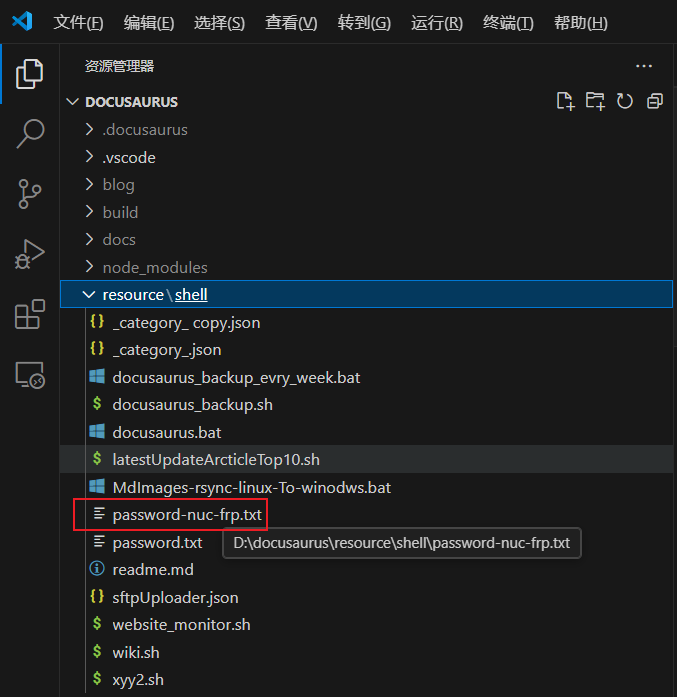
- 同布windows相册数据到linux服务器端:
rsync.exe -avPzruh --delete --port 8730 --password-file=/cygdrive/D/docusaurus/resource/shell/password-nuc-frp.txt /cygdrive/D/BaiduSyncdisk/photo root@192.168.1.100::cmi-filesite/
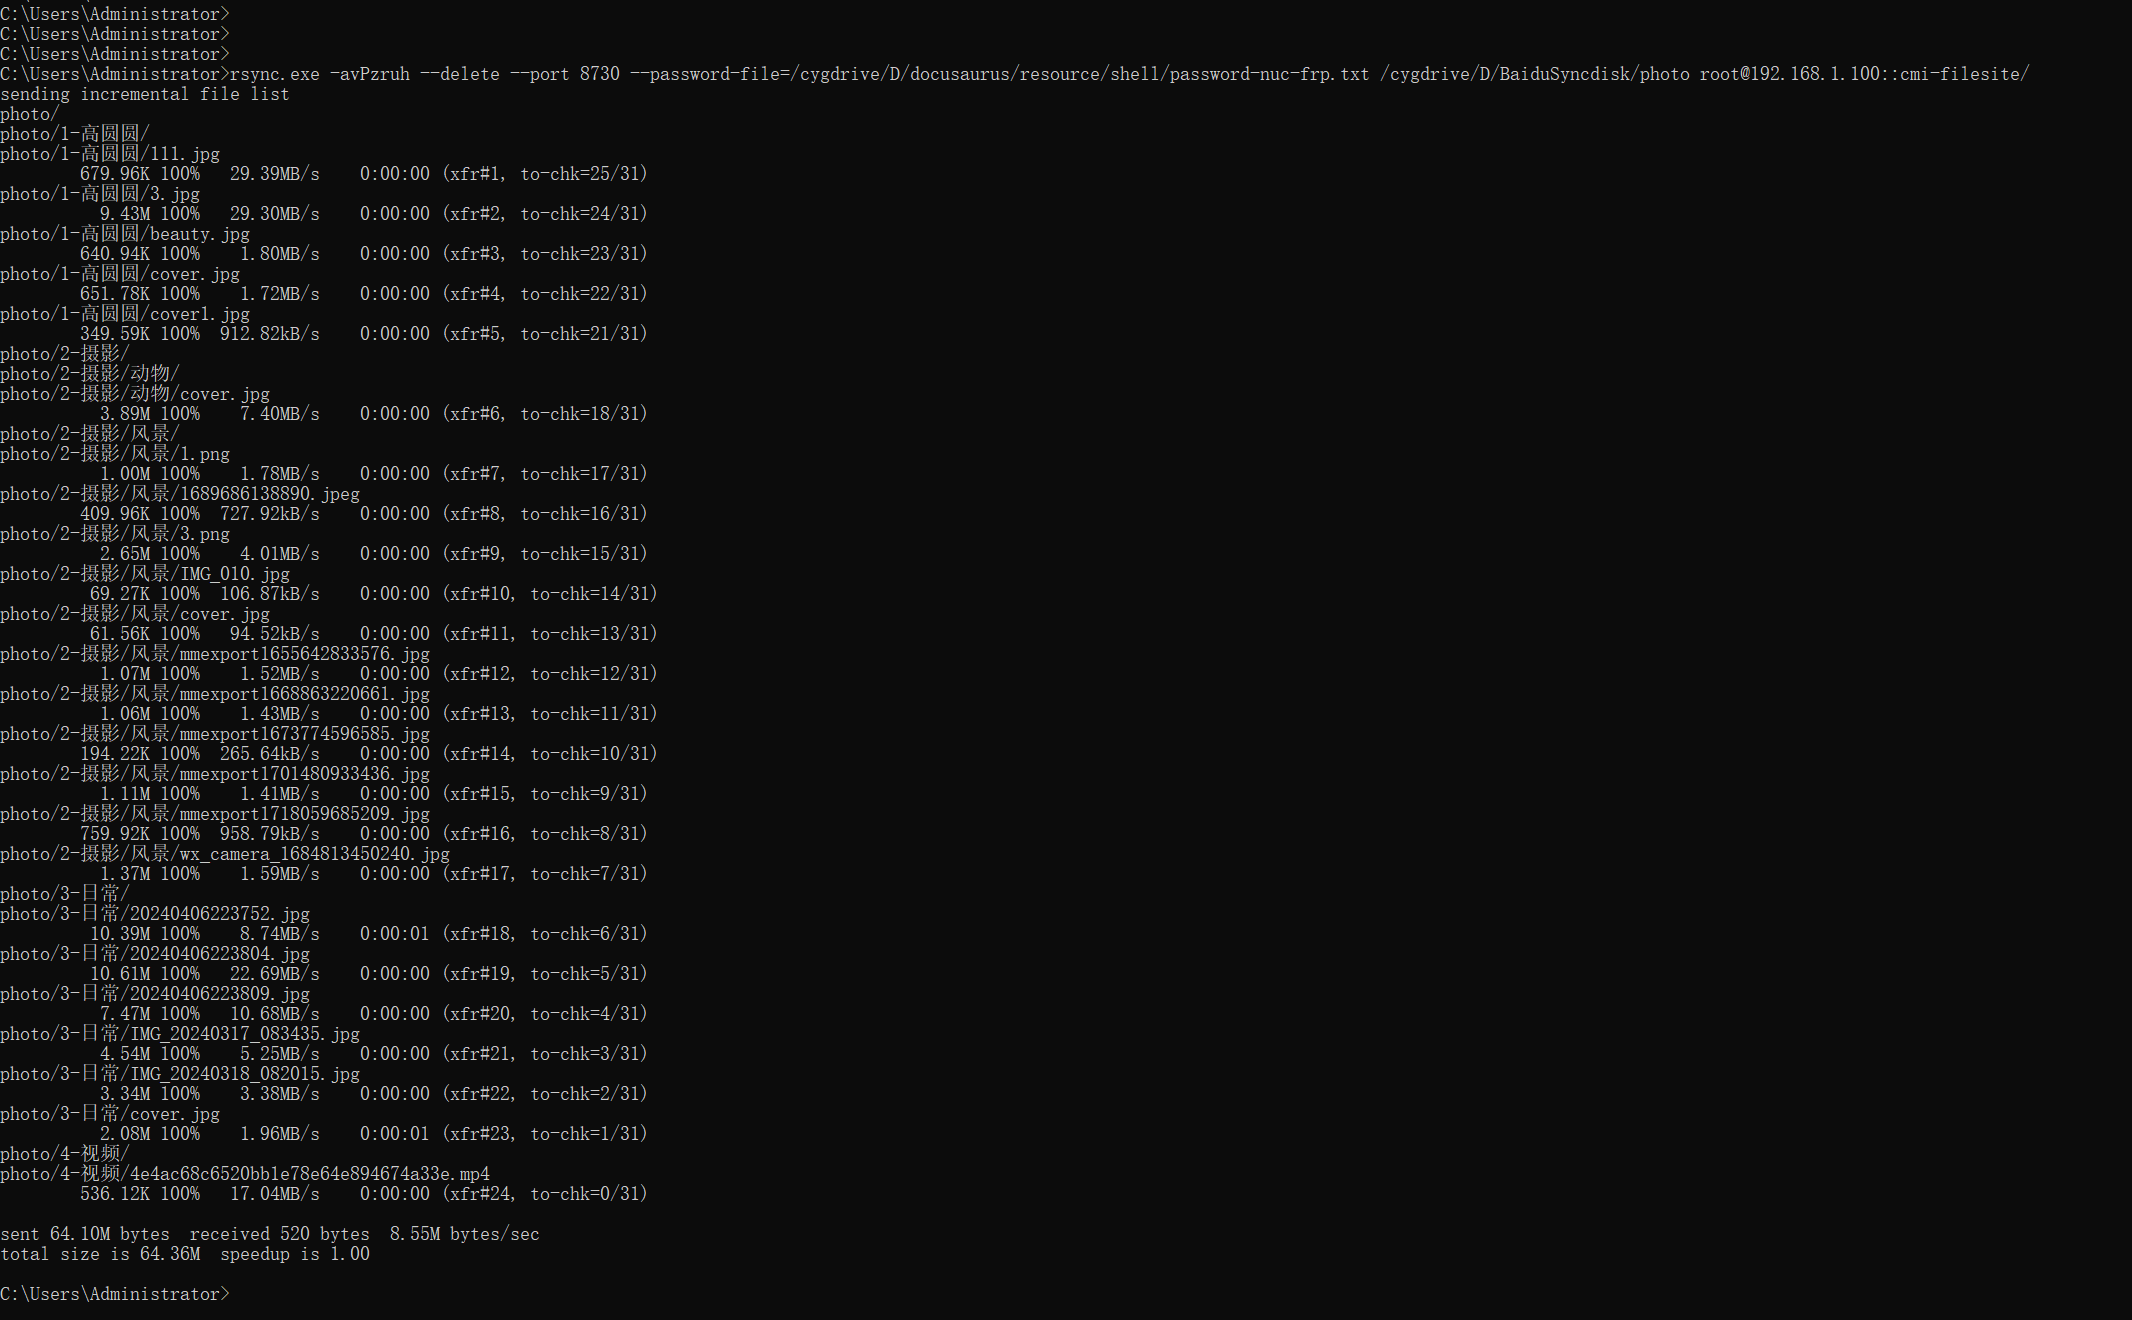
观察效果:

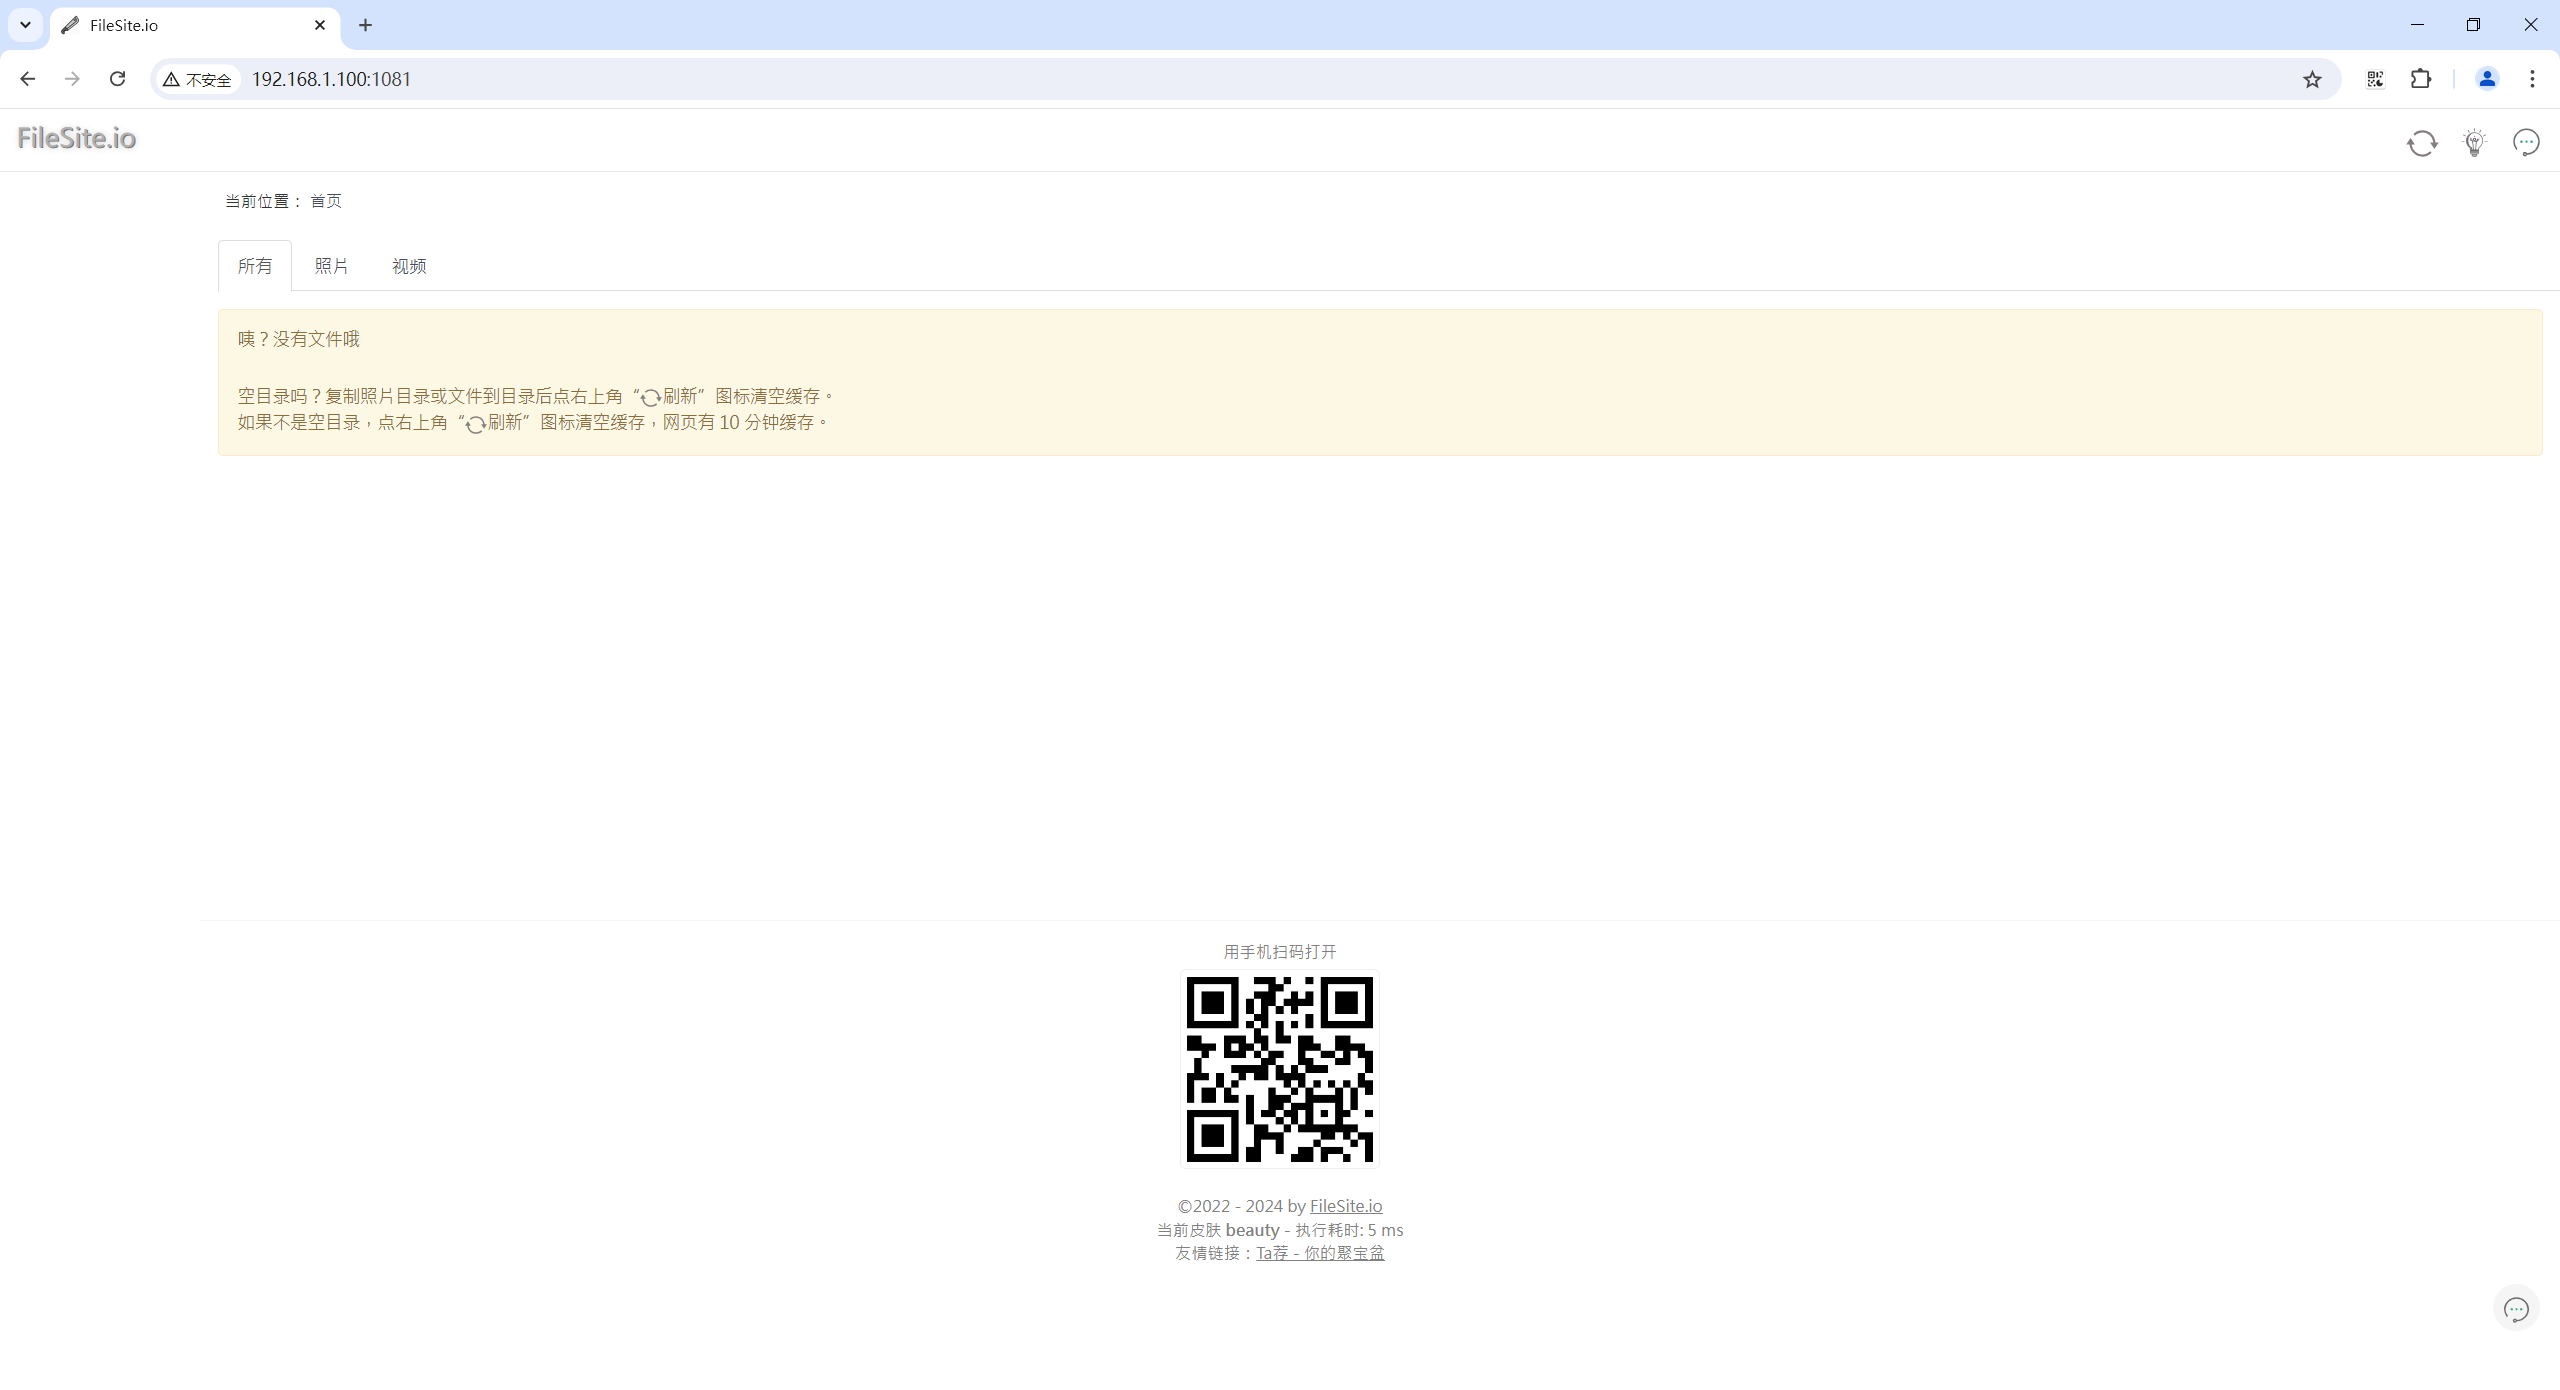
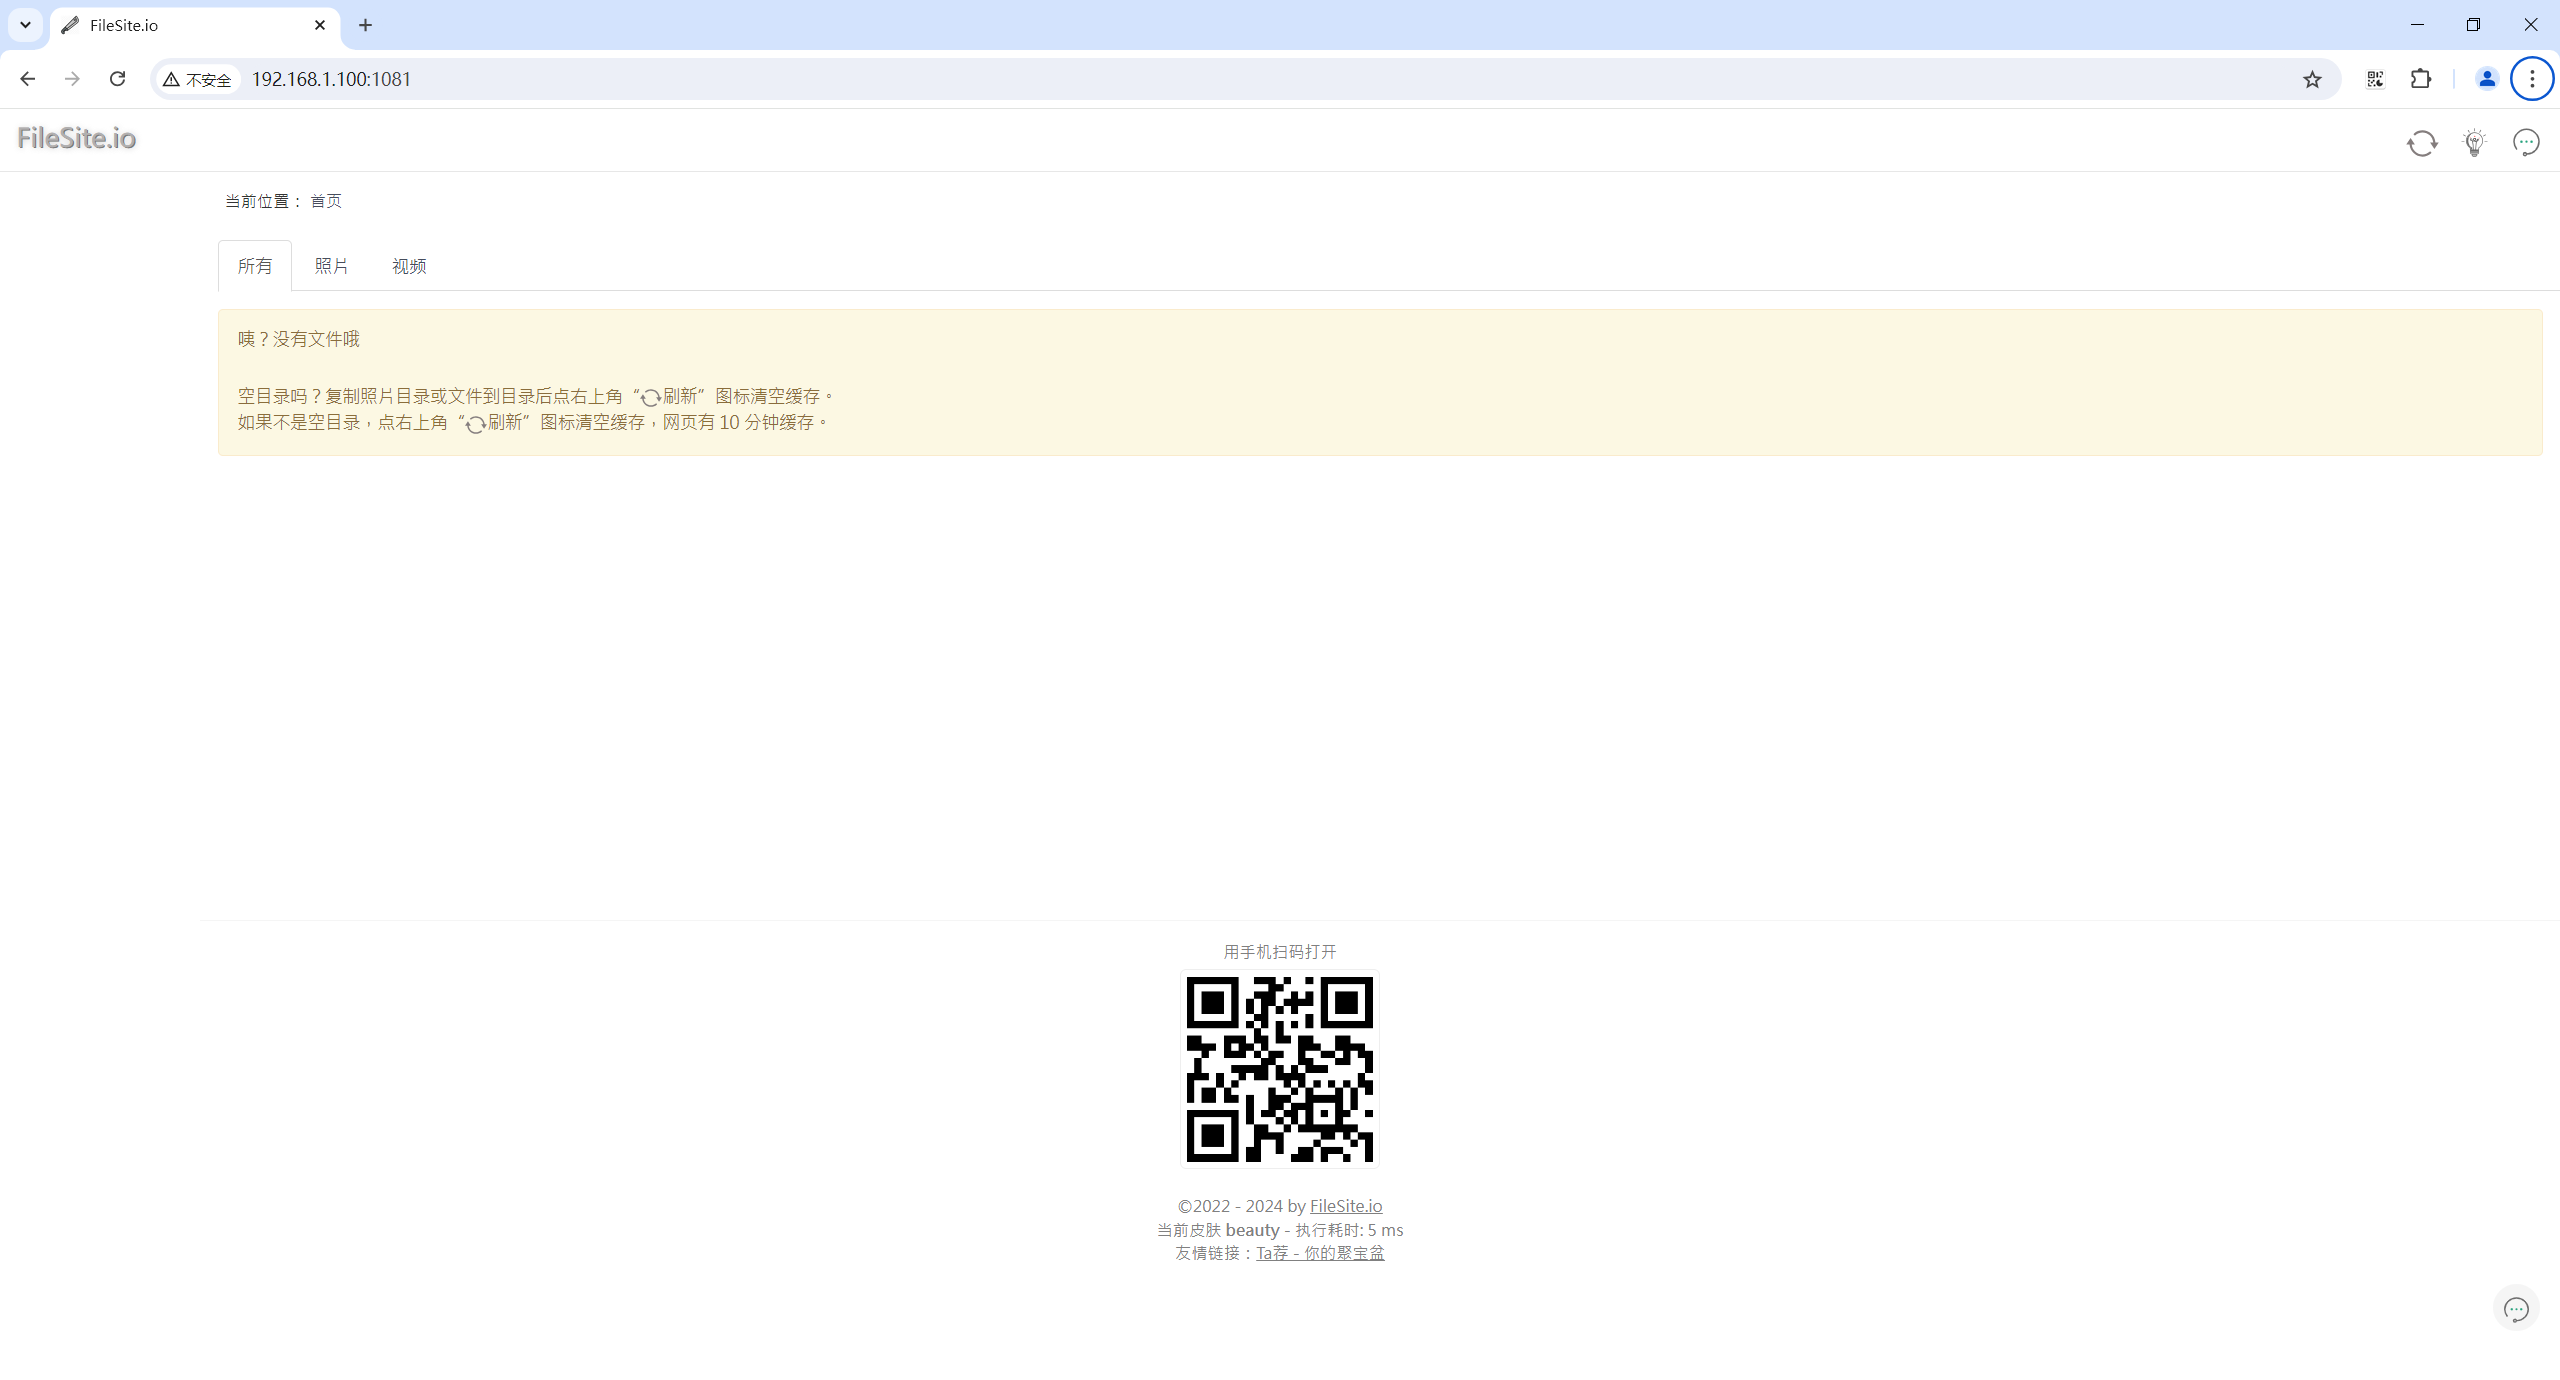
web可以看到:(为什么是空白的呢)
因为winodws上的rsync把数据同步到linux后,同步上去的目录所属主/所属组都发生了改变,不是root,因此docker里的相册服务也就无法正常识别了。
我现在想把windows的某个目录下的内�容利用rsync同步到linux,能否通过设置一些参数,让同步上去的文件默认被赋予655权限吗?(gpt下)

删除相关目录,再次执行测试:
cd ~
cd machete/
rm -rf photo/
ls

开始同步:
rsync.exe -avPzruh --delete --port 8730 --chmod=Fp=655 --password-file=/cygdrive/D/docusaurus/resource/shell/password-nuc-frp.txt /cygdrive/D/BaiduSyncdisk/photo root@192.168.1.100::cmi-filesite/

可以看到,报错了。。。
我们再次gpt下:
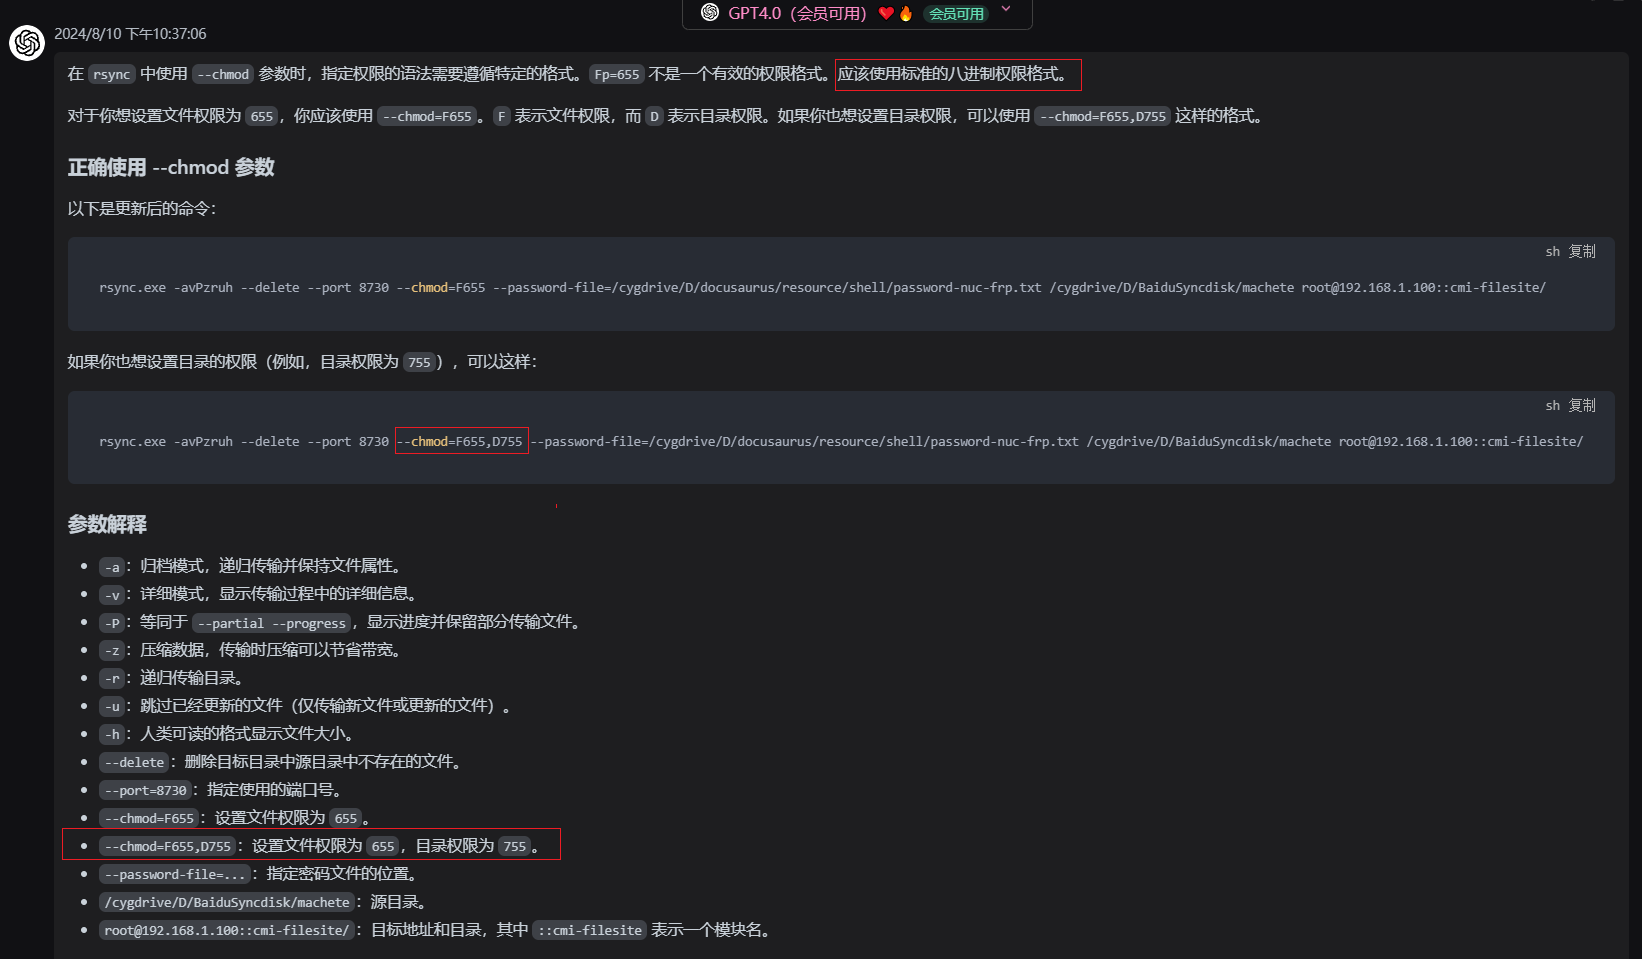
C:\Users\Administrator>rsync.exe -avPzruh --delete --port 8730 --chmod=Fp=655 --password-file=/cygdrive/D/docusaurus/resource/shell/password-nuc-frp.txt /cygdrive/D/BaiduSyncdisk/photo root@192.168.1.100::cmi-filesite/
rsync: Invalid argument passed to --chmod (Fp=655)
rsync error: syntax or usage error (code 1) at main.c(1791) [client=3.2.7]
gpt回答:

亲自测试:
删除相关目录,再次执行测试:
cd ~
cd machete/
rm -rf photo/
ls

开始同步:
rsync.exe -avPzruh --delete --port 8730 --chmod=F655,D755 --password-file=/cygdrive/D/docusaurus/resource/shell/password-nuc-frp.txt /cygdrive/D/BaiduSyncdisk/photo root@192.168.1.100::cmi-filesite/
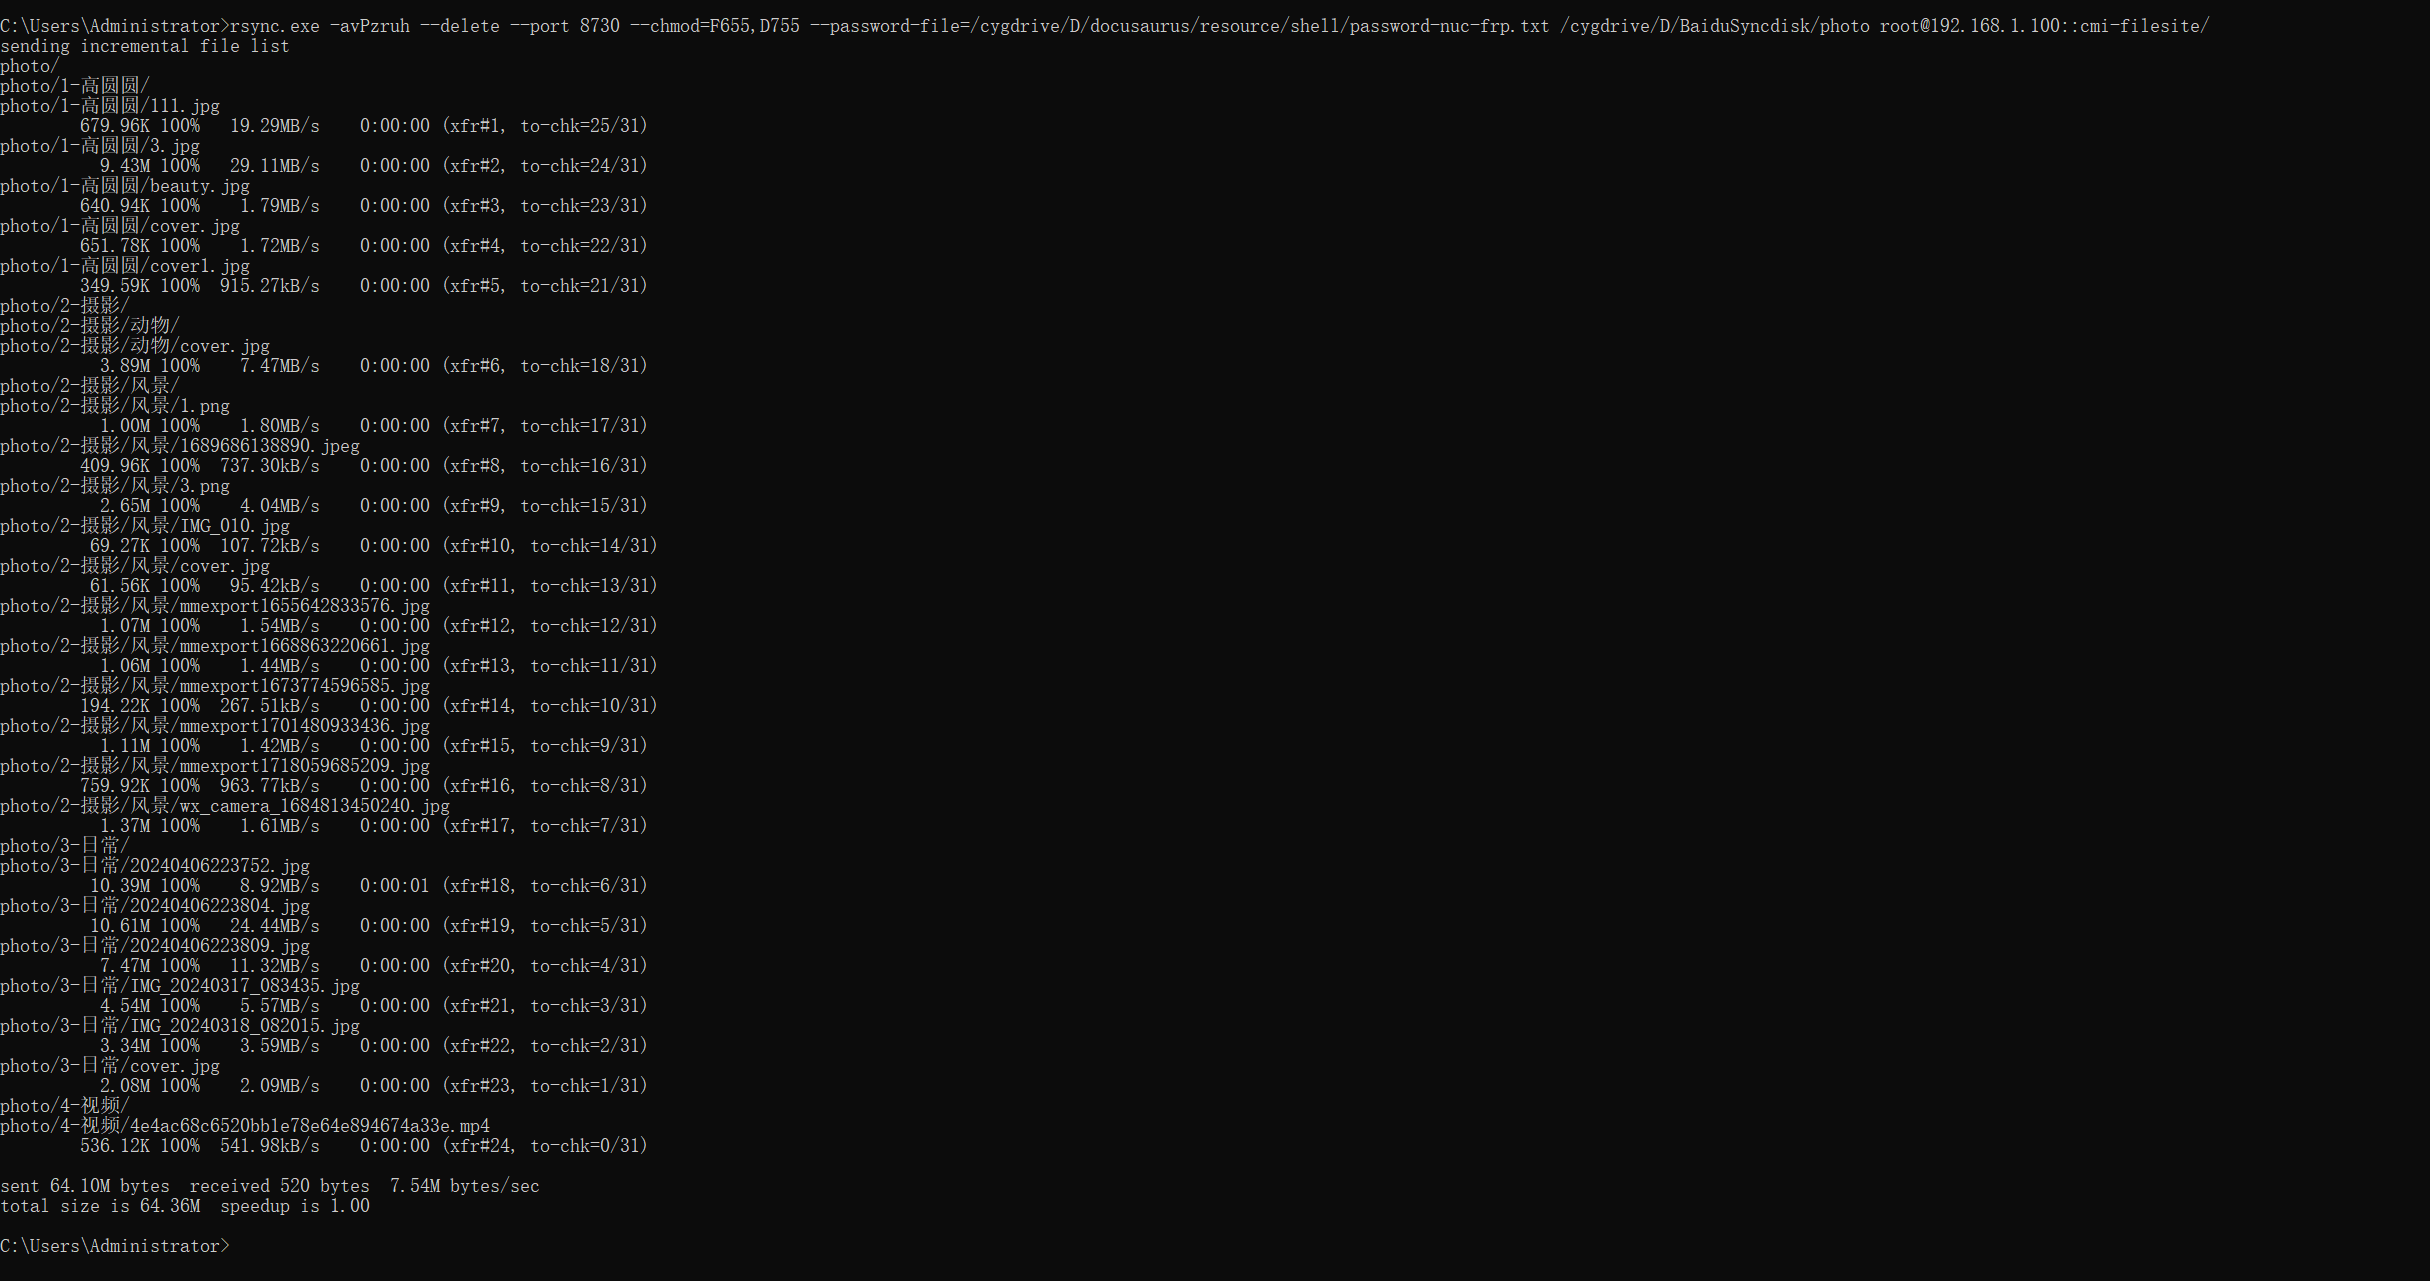
验证:
怎么还是有问题啊。。。。。。(按理说应该好了哇。。。。。)

我重启在容器看看:
docker restart machete

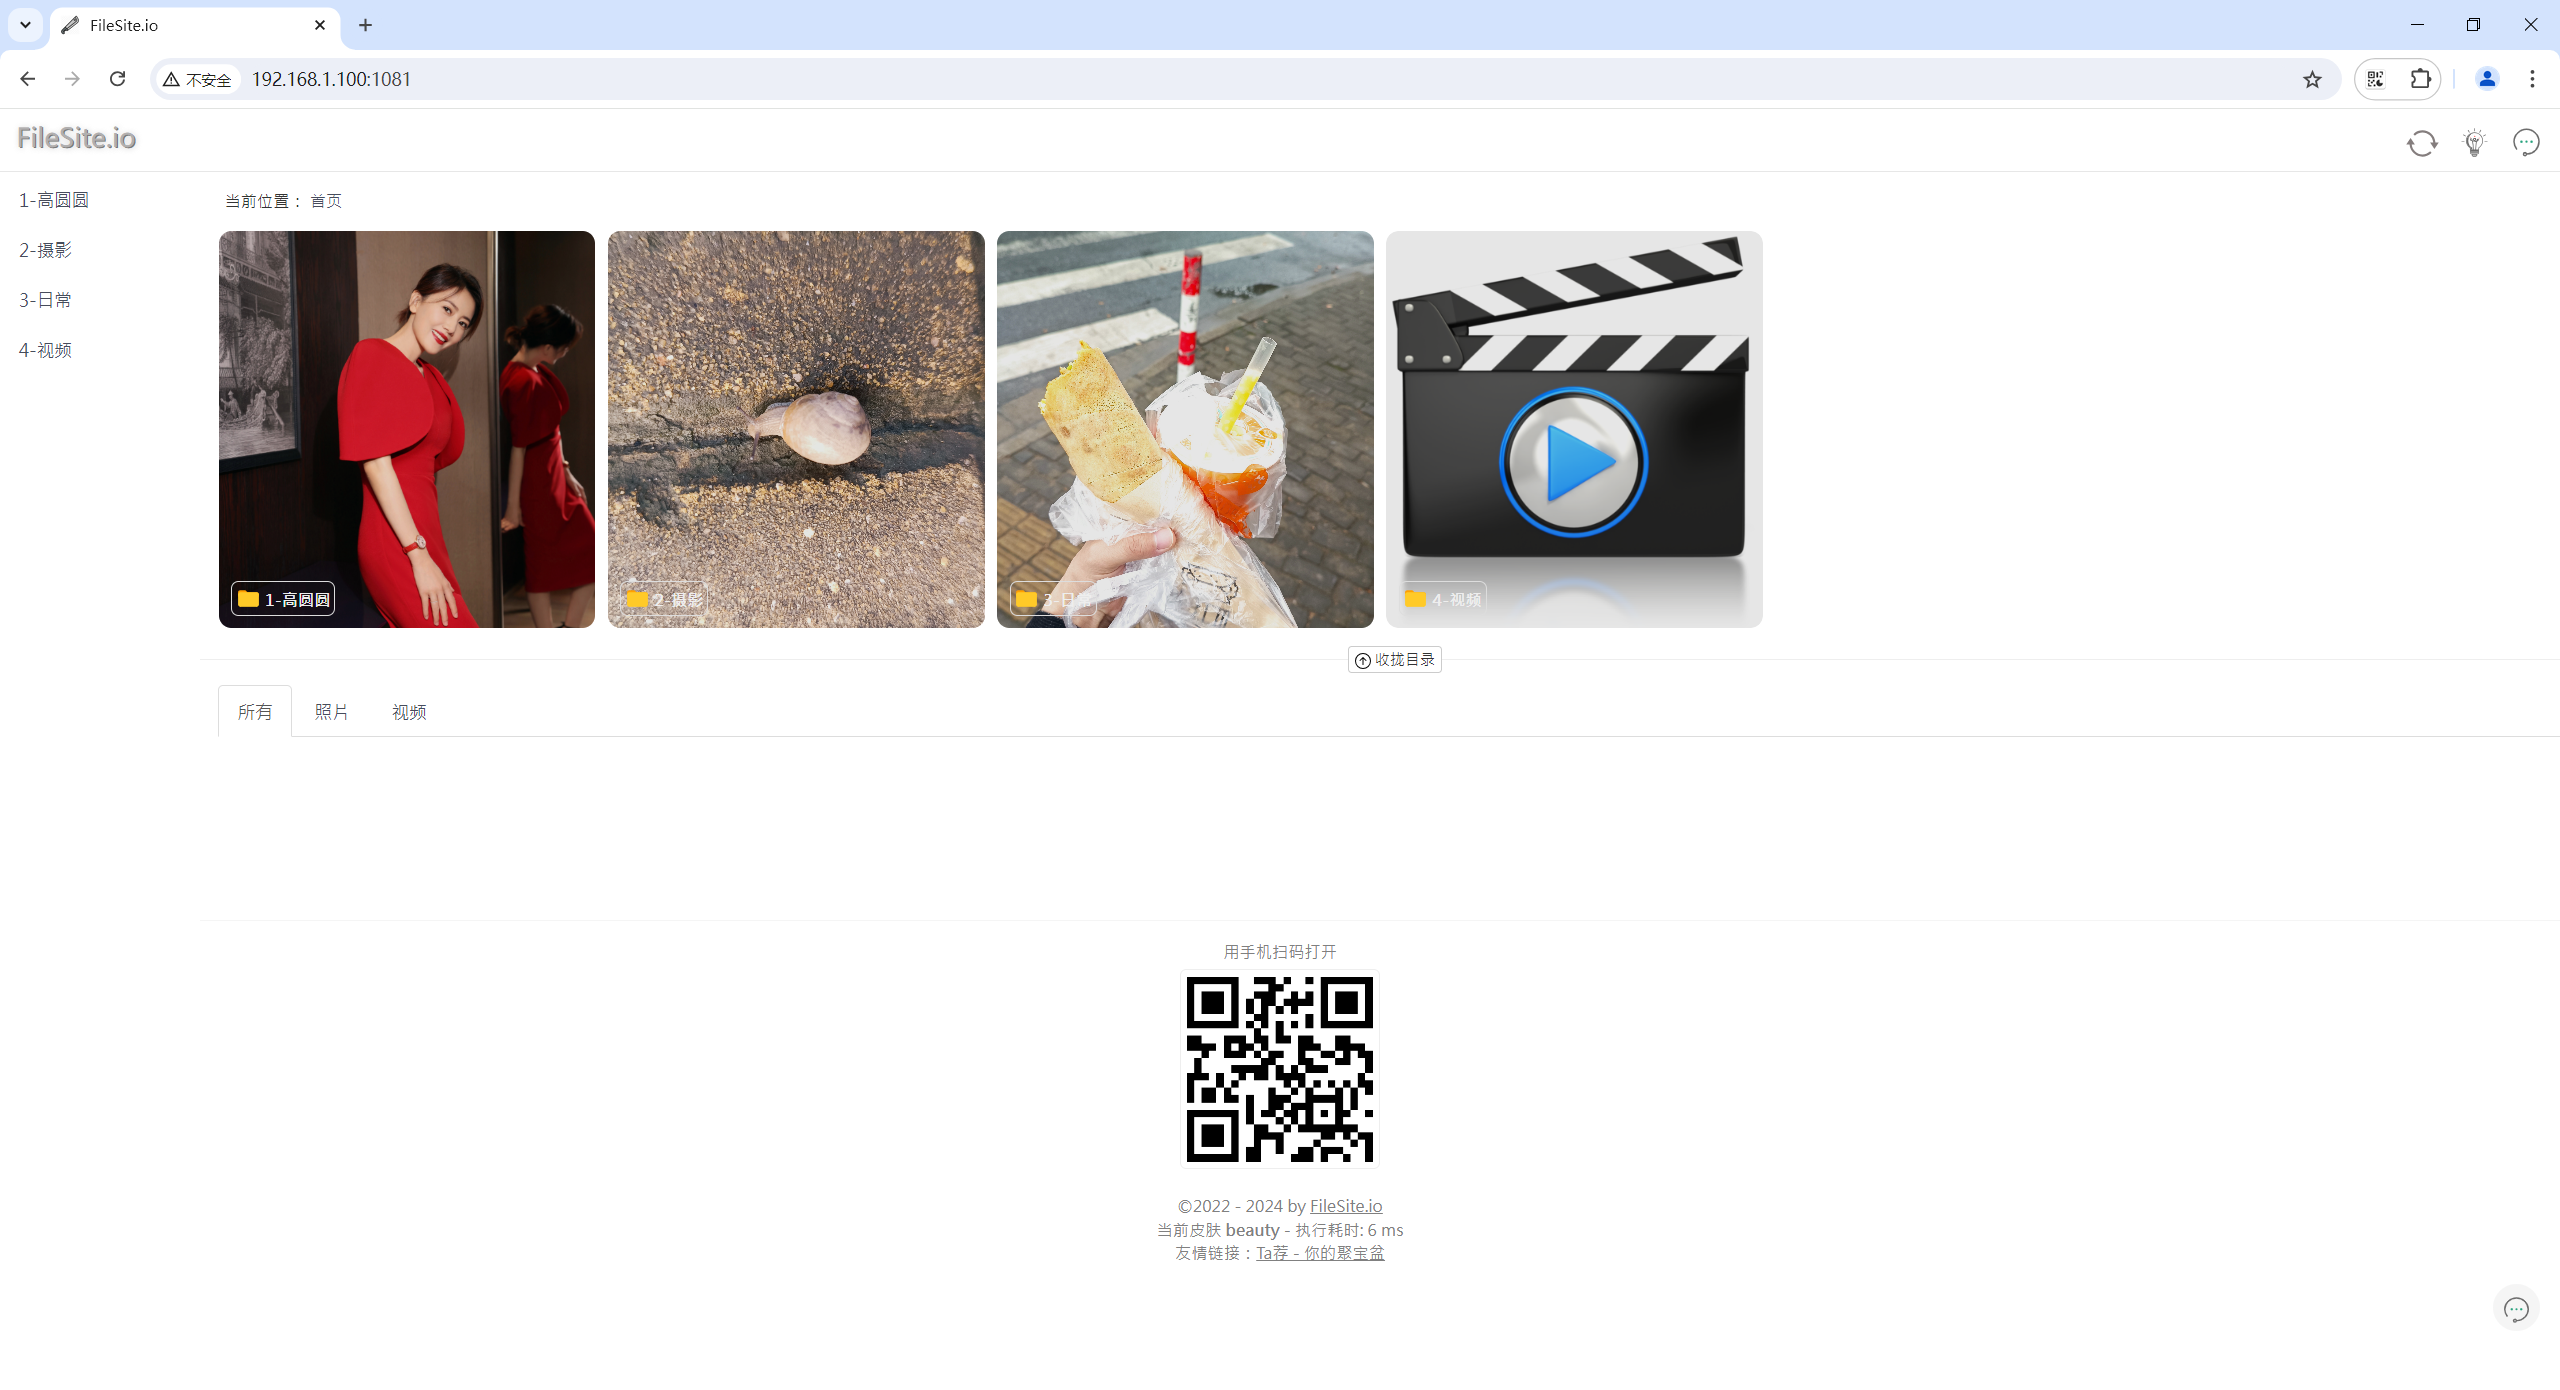
竟然ok了。。。。。
2.方案输出
也就是说,我们通过windows上的rsync客户端将相册数据同步到linux服务器上,且需要重启下linux上的容器,然后相册上才能出现我们最新的数据。
(1)同步数据到linux服务器(winodws上)
rsync.exe -avPzruh --delete --port 8730 --chmod=F655,D755 --password-file=/cygdrive/D/docusaurus/resource/shell/password-nuc-frp.txt /cygdrive/D/BaiduSyncdisk/photo root@192.168.1.100::cmi-filesite/
(2)重启machete容器
docker restart machete
5、FreeFileSync方式同步数据到linux(推荐)
1.安装FreeFileSync_13.7_Windows
- winodws安装
FreeFileSync_13.7_Windows_Setup

官网链接:
下载winodws客户端:
https://freefilesync.org/download/FreeFileSync_13.7_Windows_Setup.exe
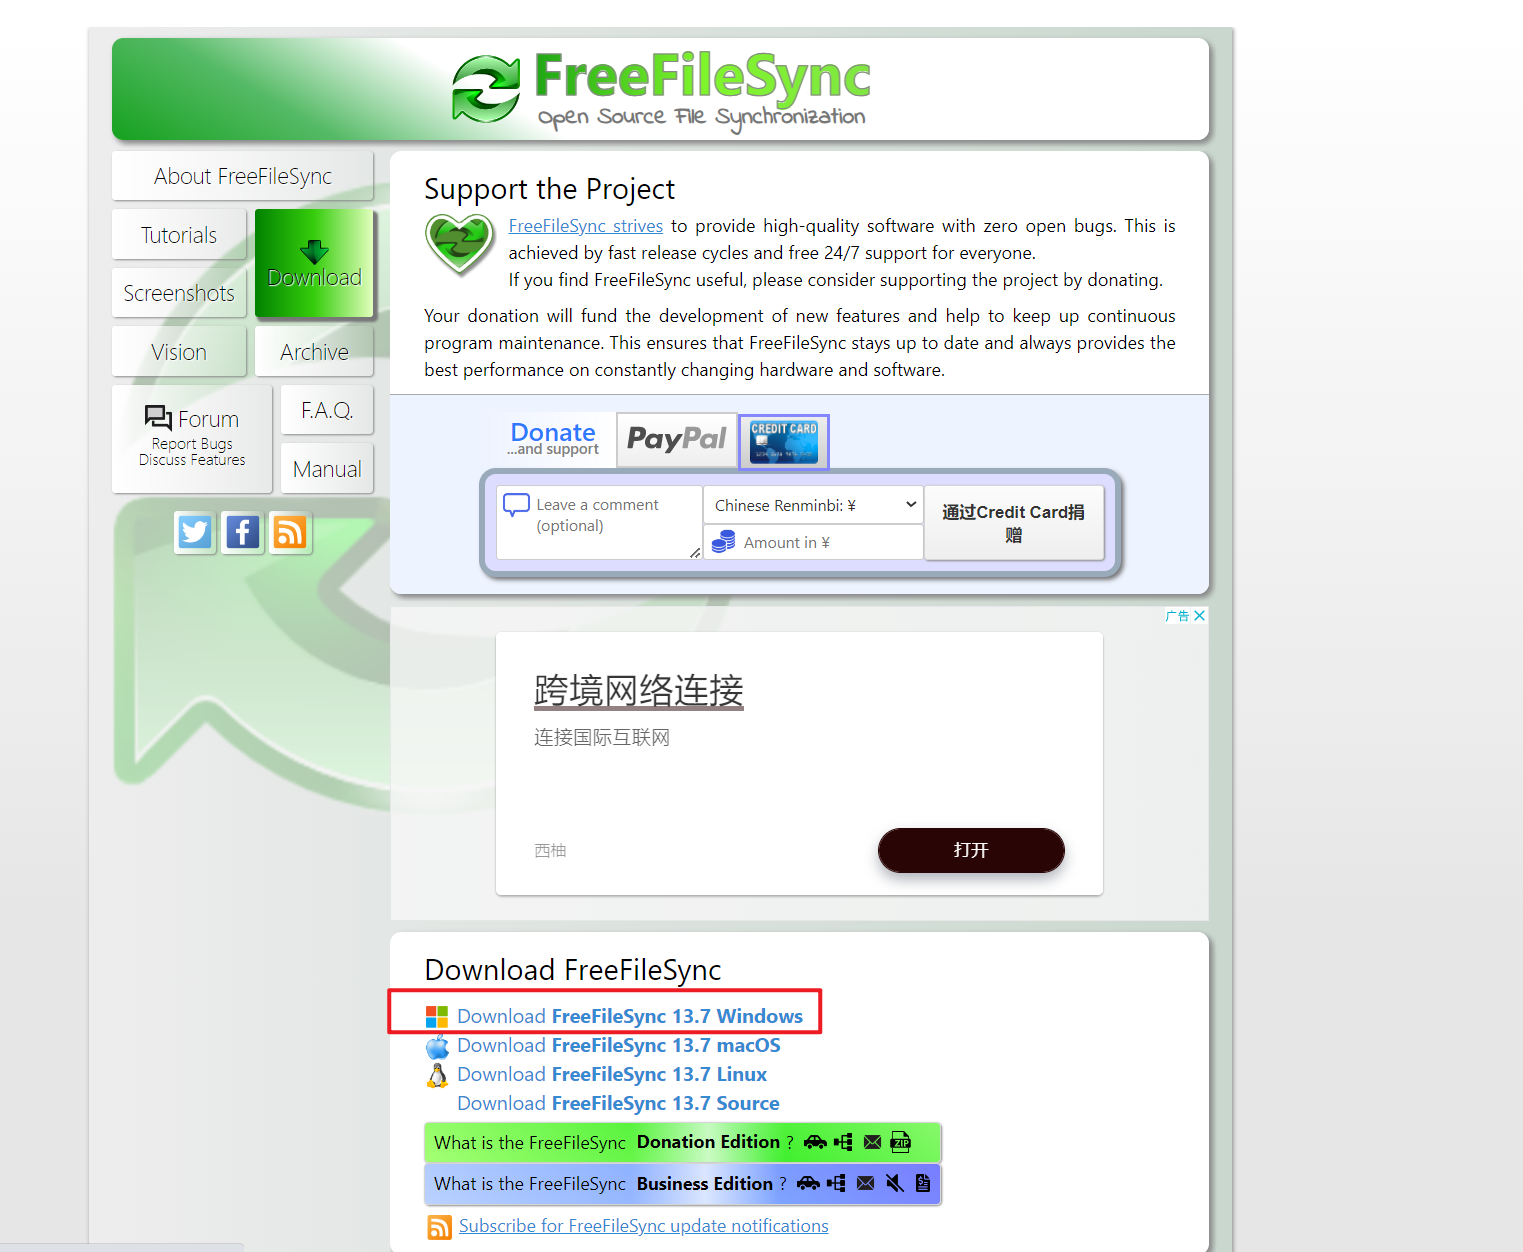
安装:(一直下一步安装即可)
安装后:

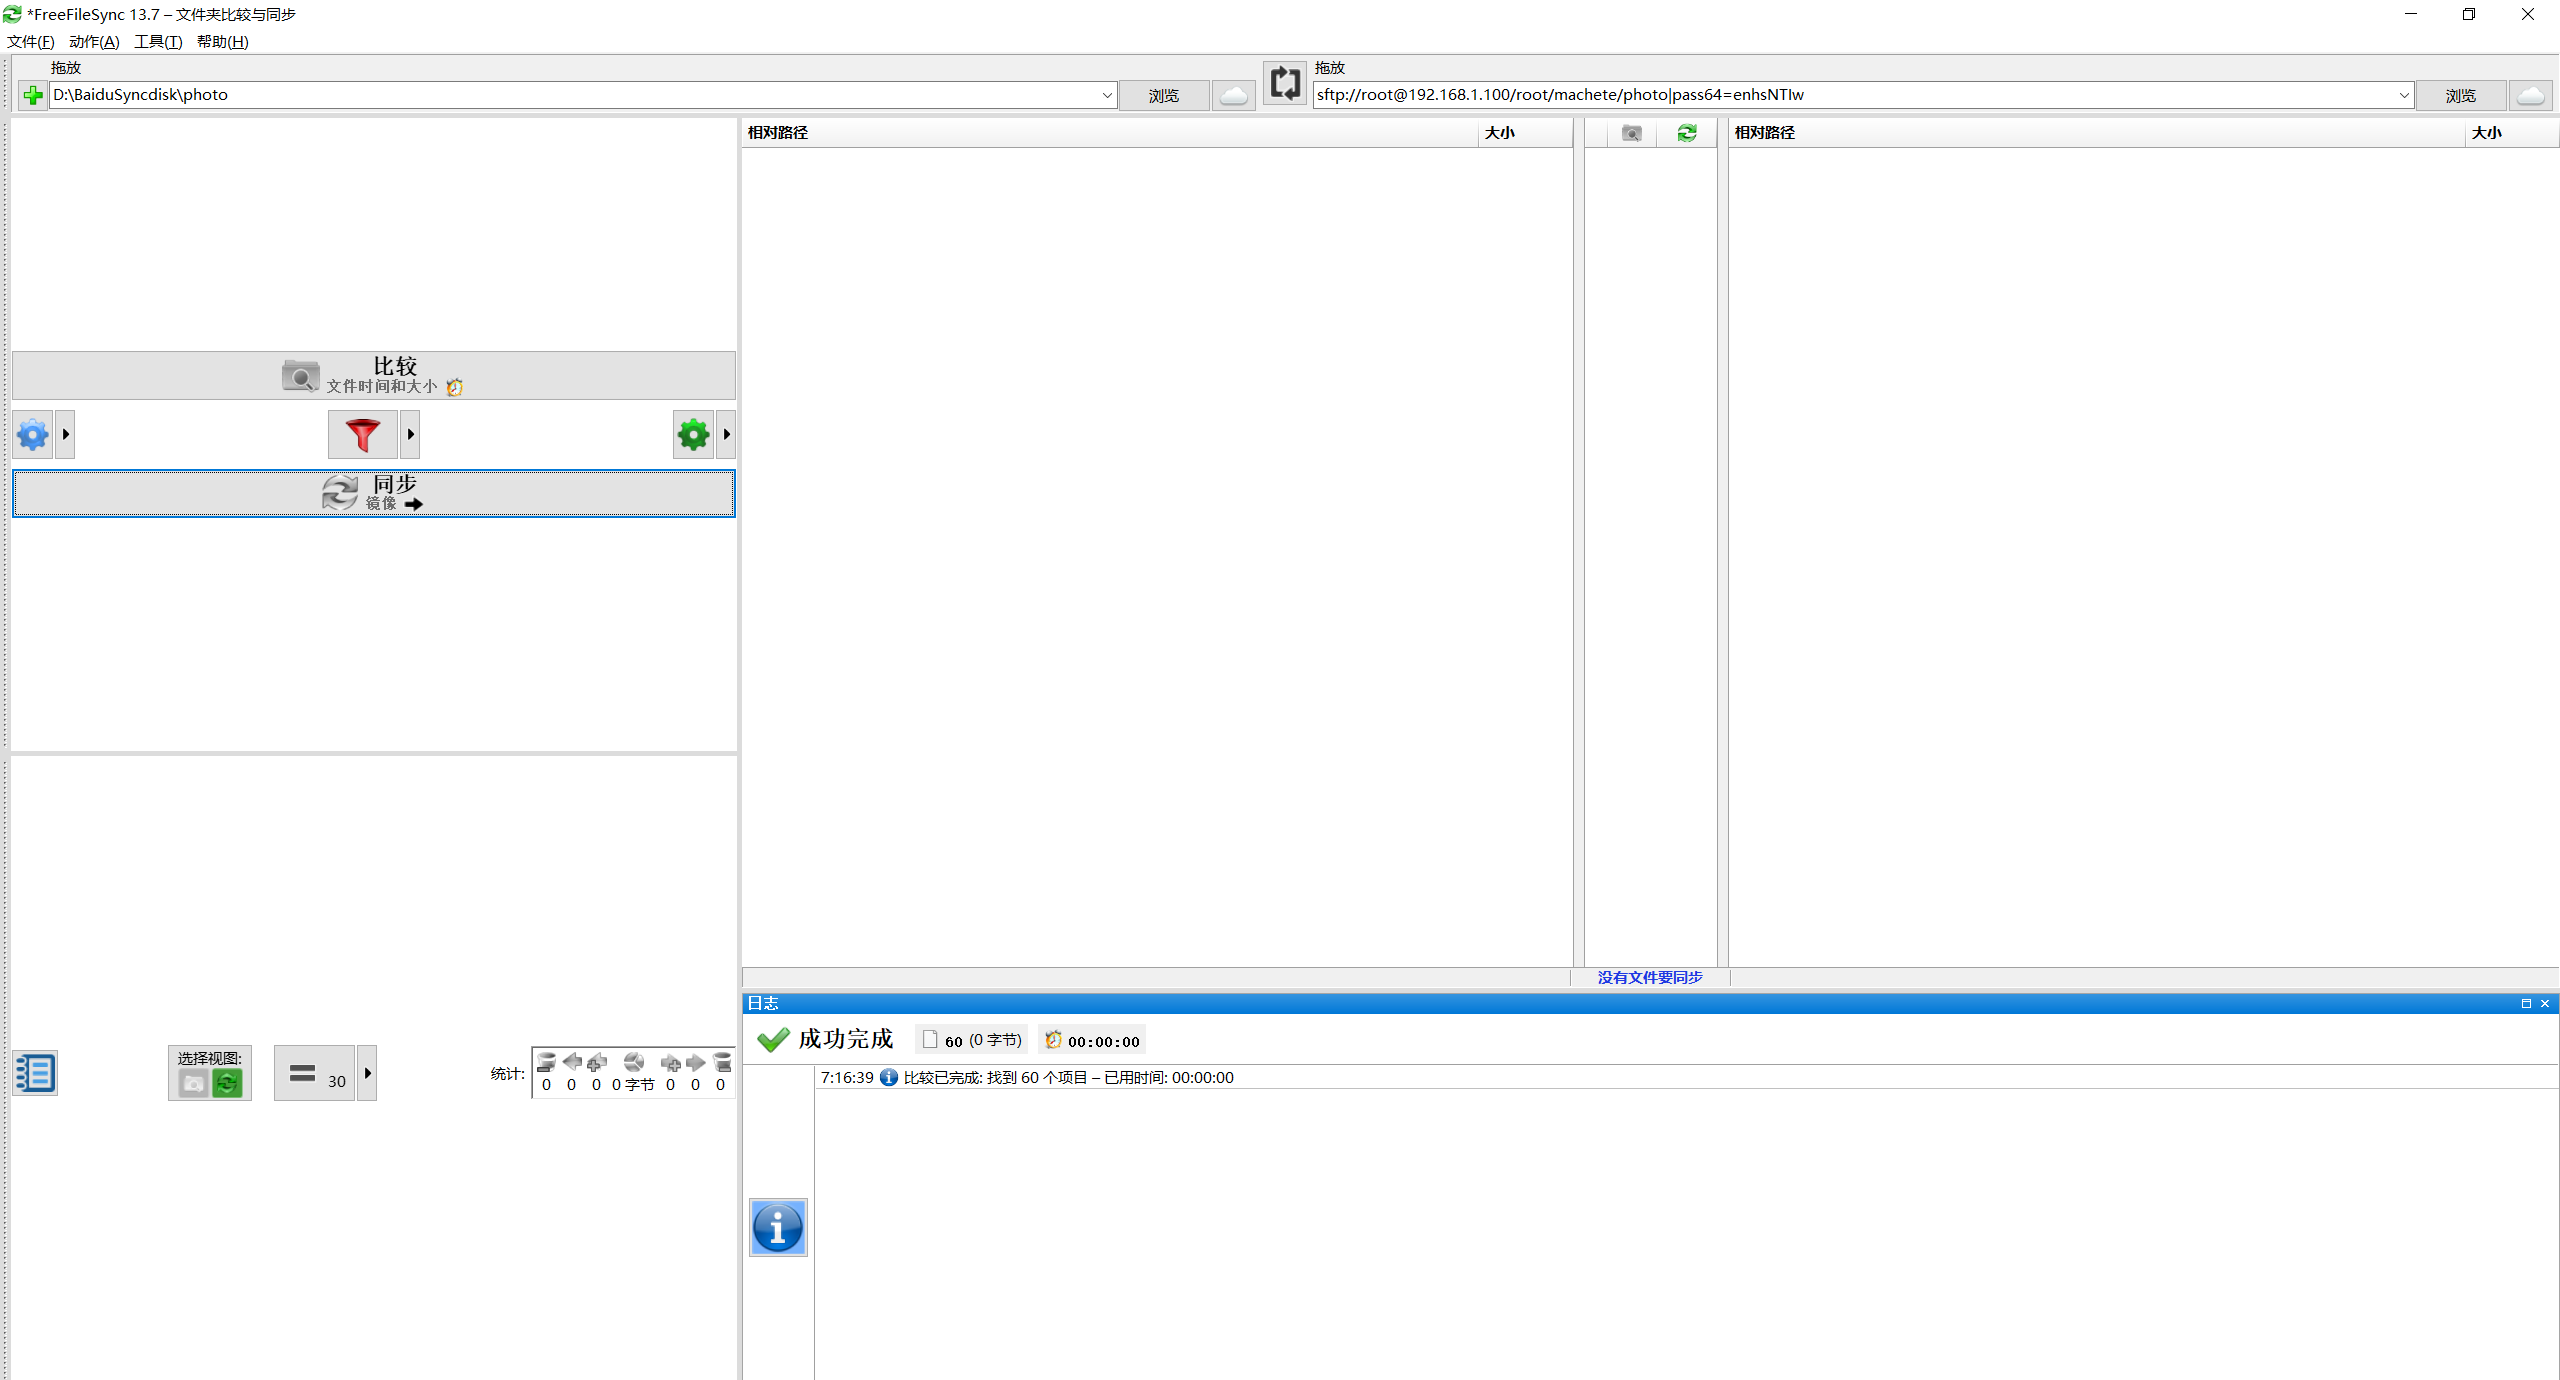
2.同步数据到linux服务器
- 清空环境
删除/root/machete/photo下相册数据:
cd /root/machete/
rm -rf /root/machete/photo
ls

- 利用FreeFileSync同步数据到linux机��器
同步之前,我们先来创建下远程目录:
mkdir /root/machete/photo
ll -d /root/machete/photo

开始同步:
同步前,我们先来做下比较,发现远程目录都为空。
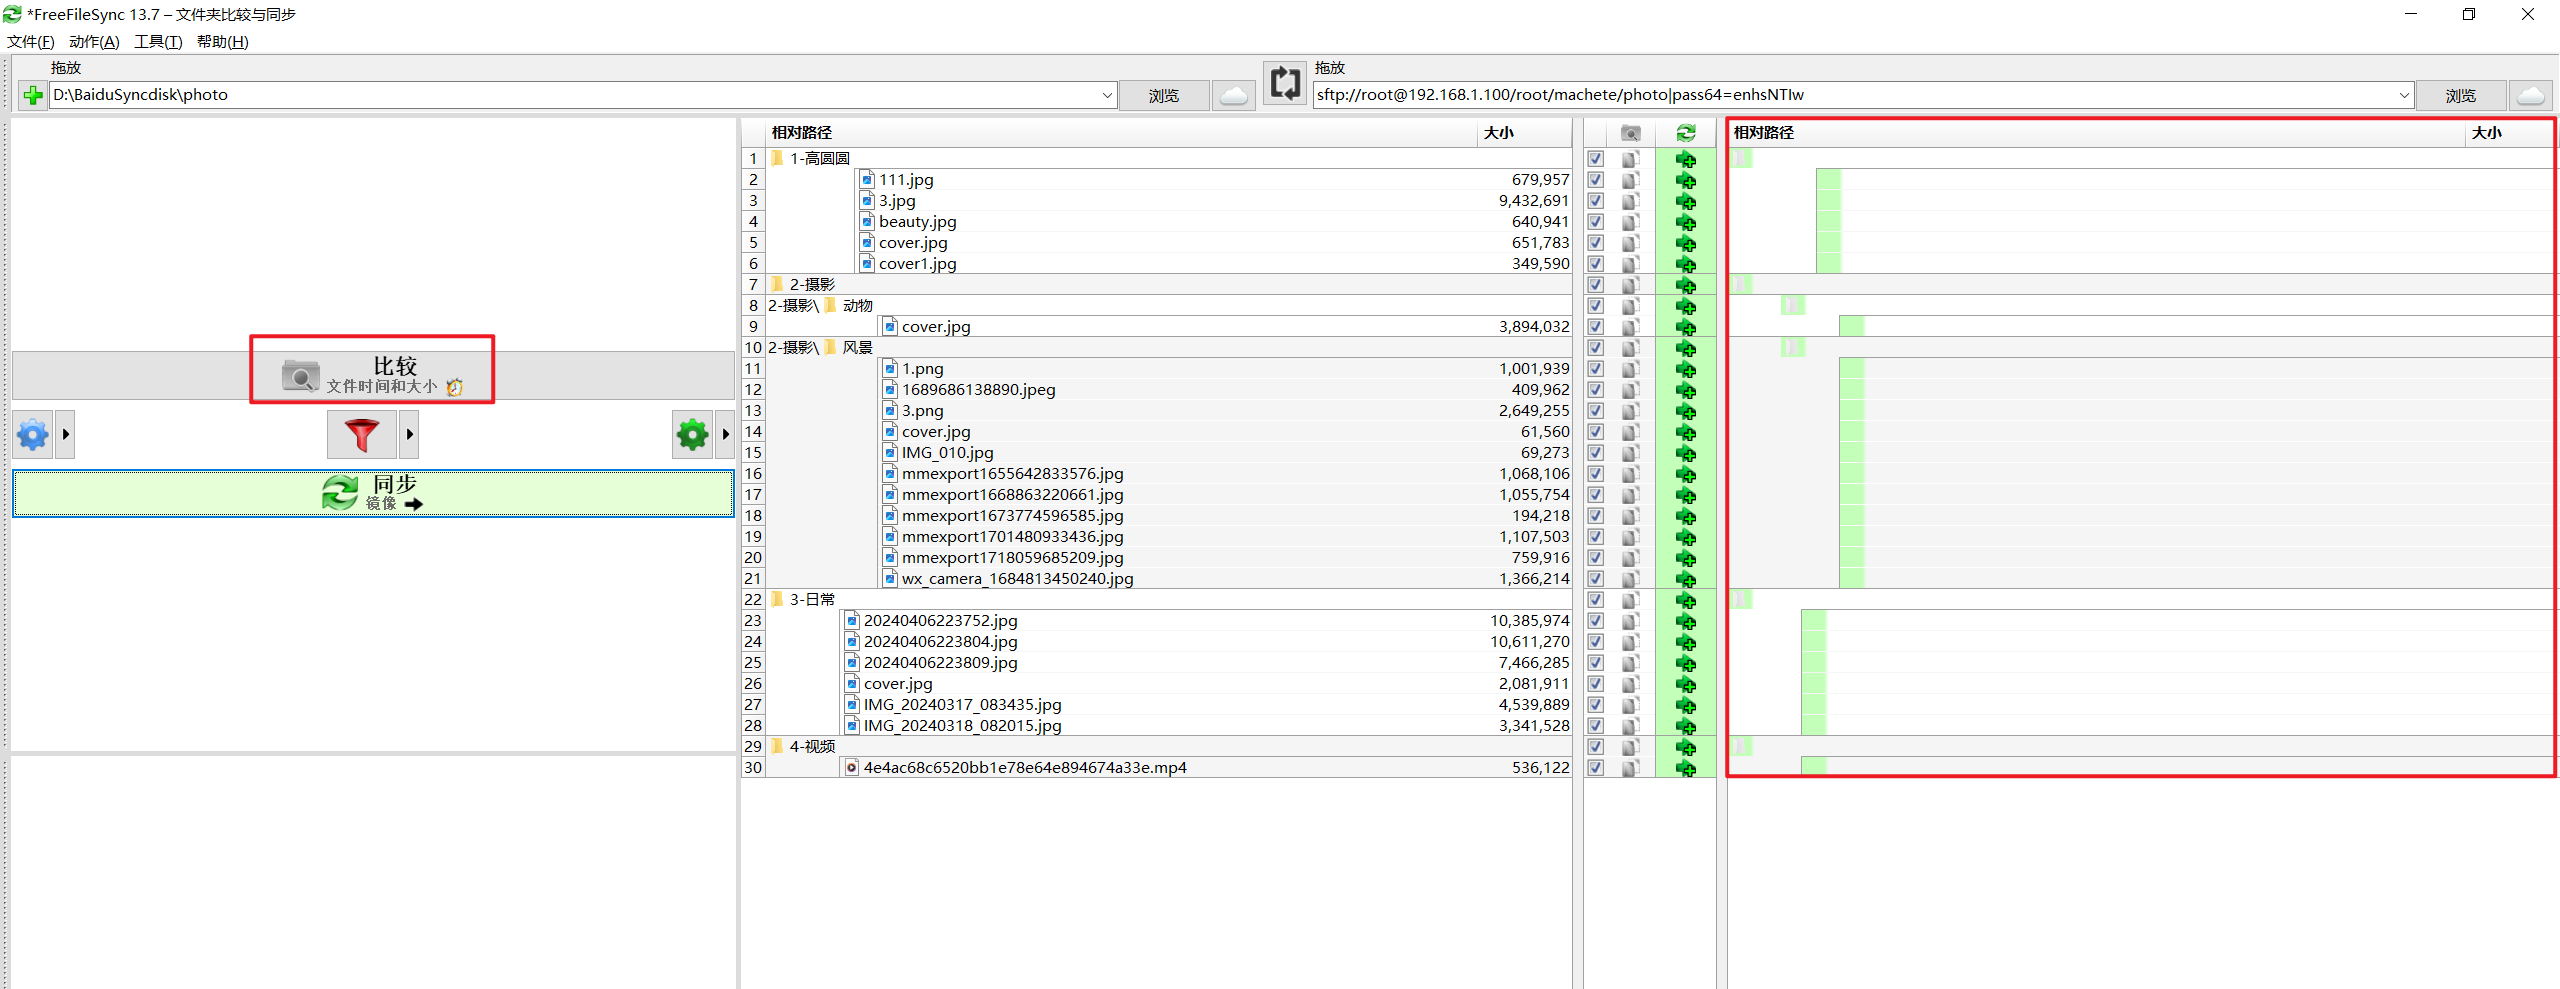
这里选择镜像把本地数据同步到linux服务器:
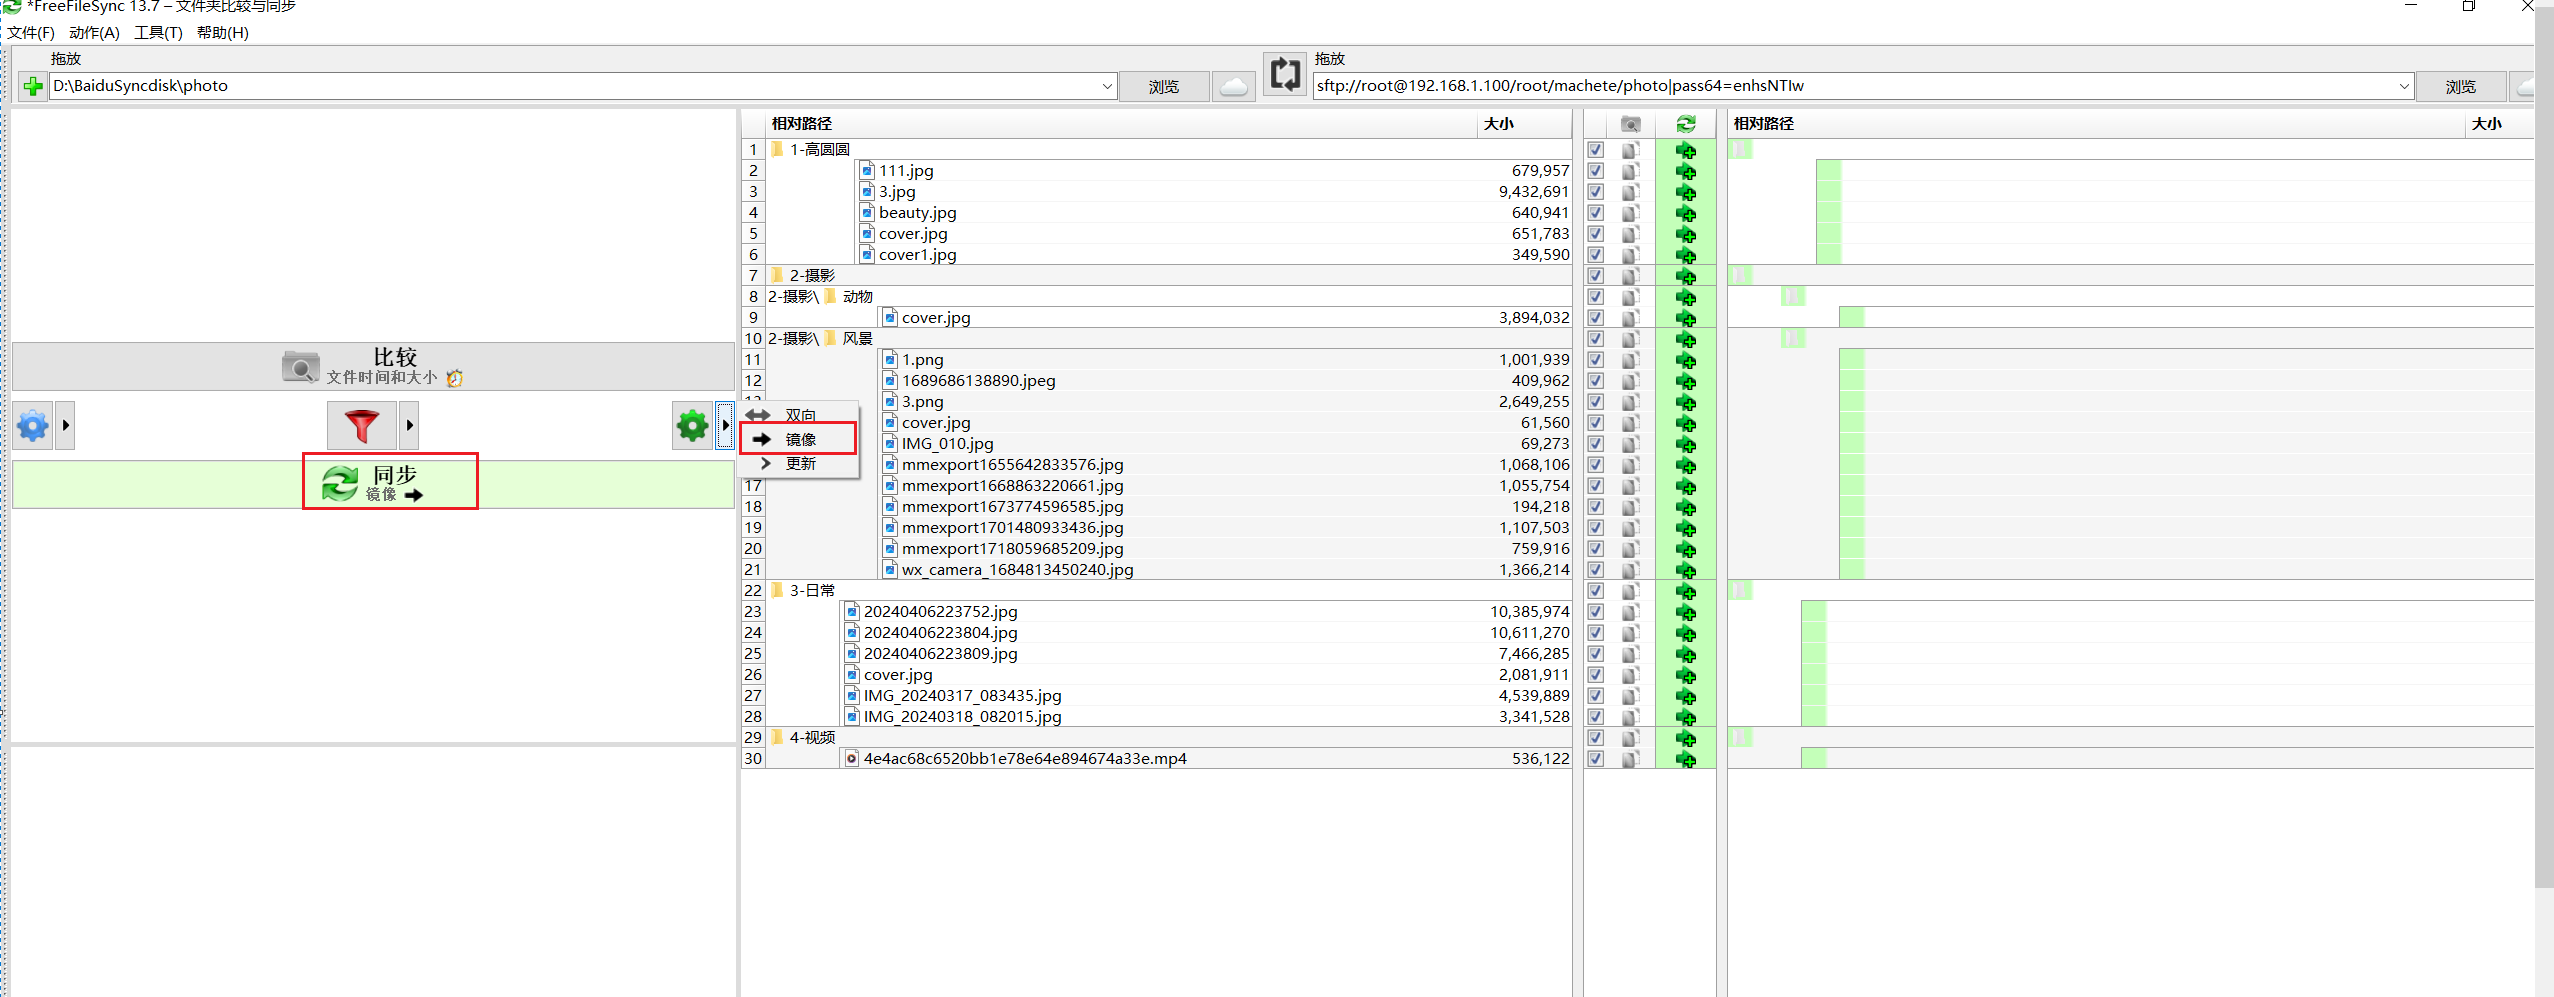
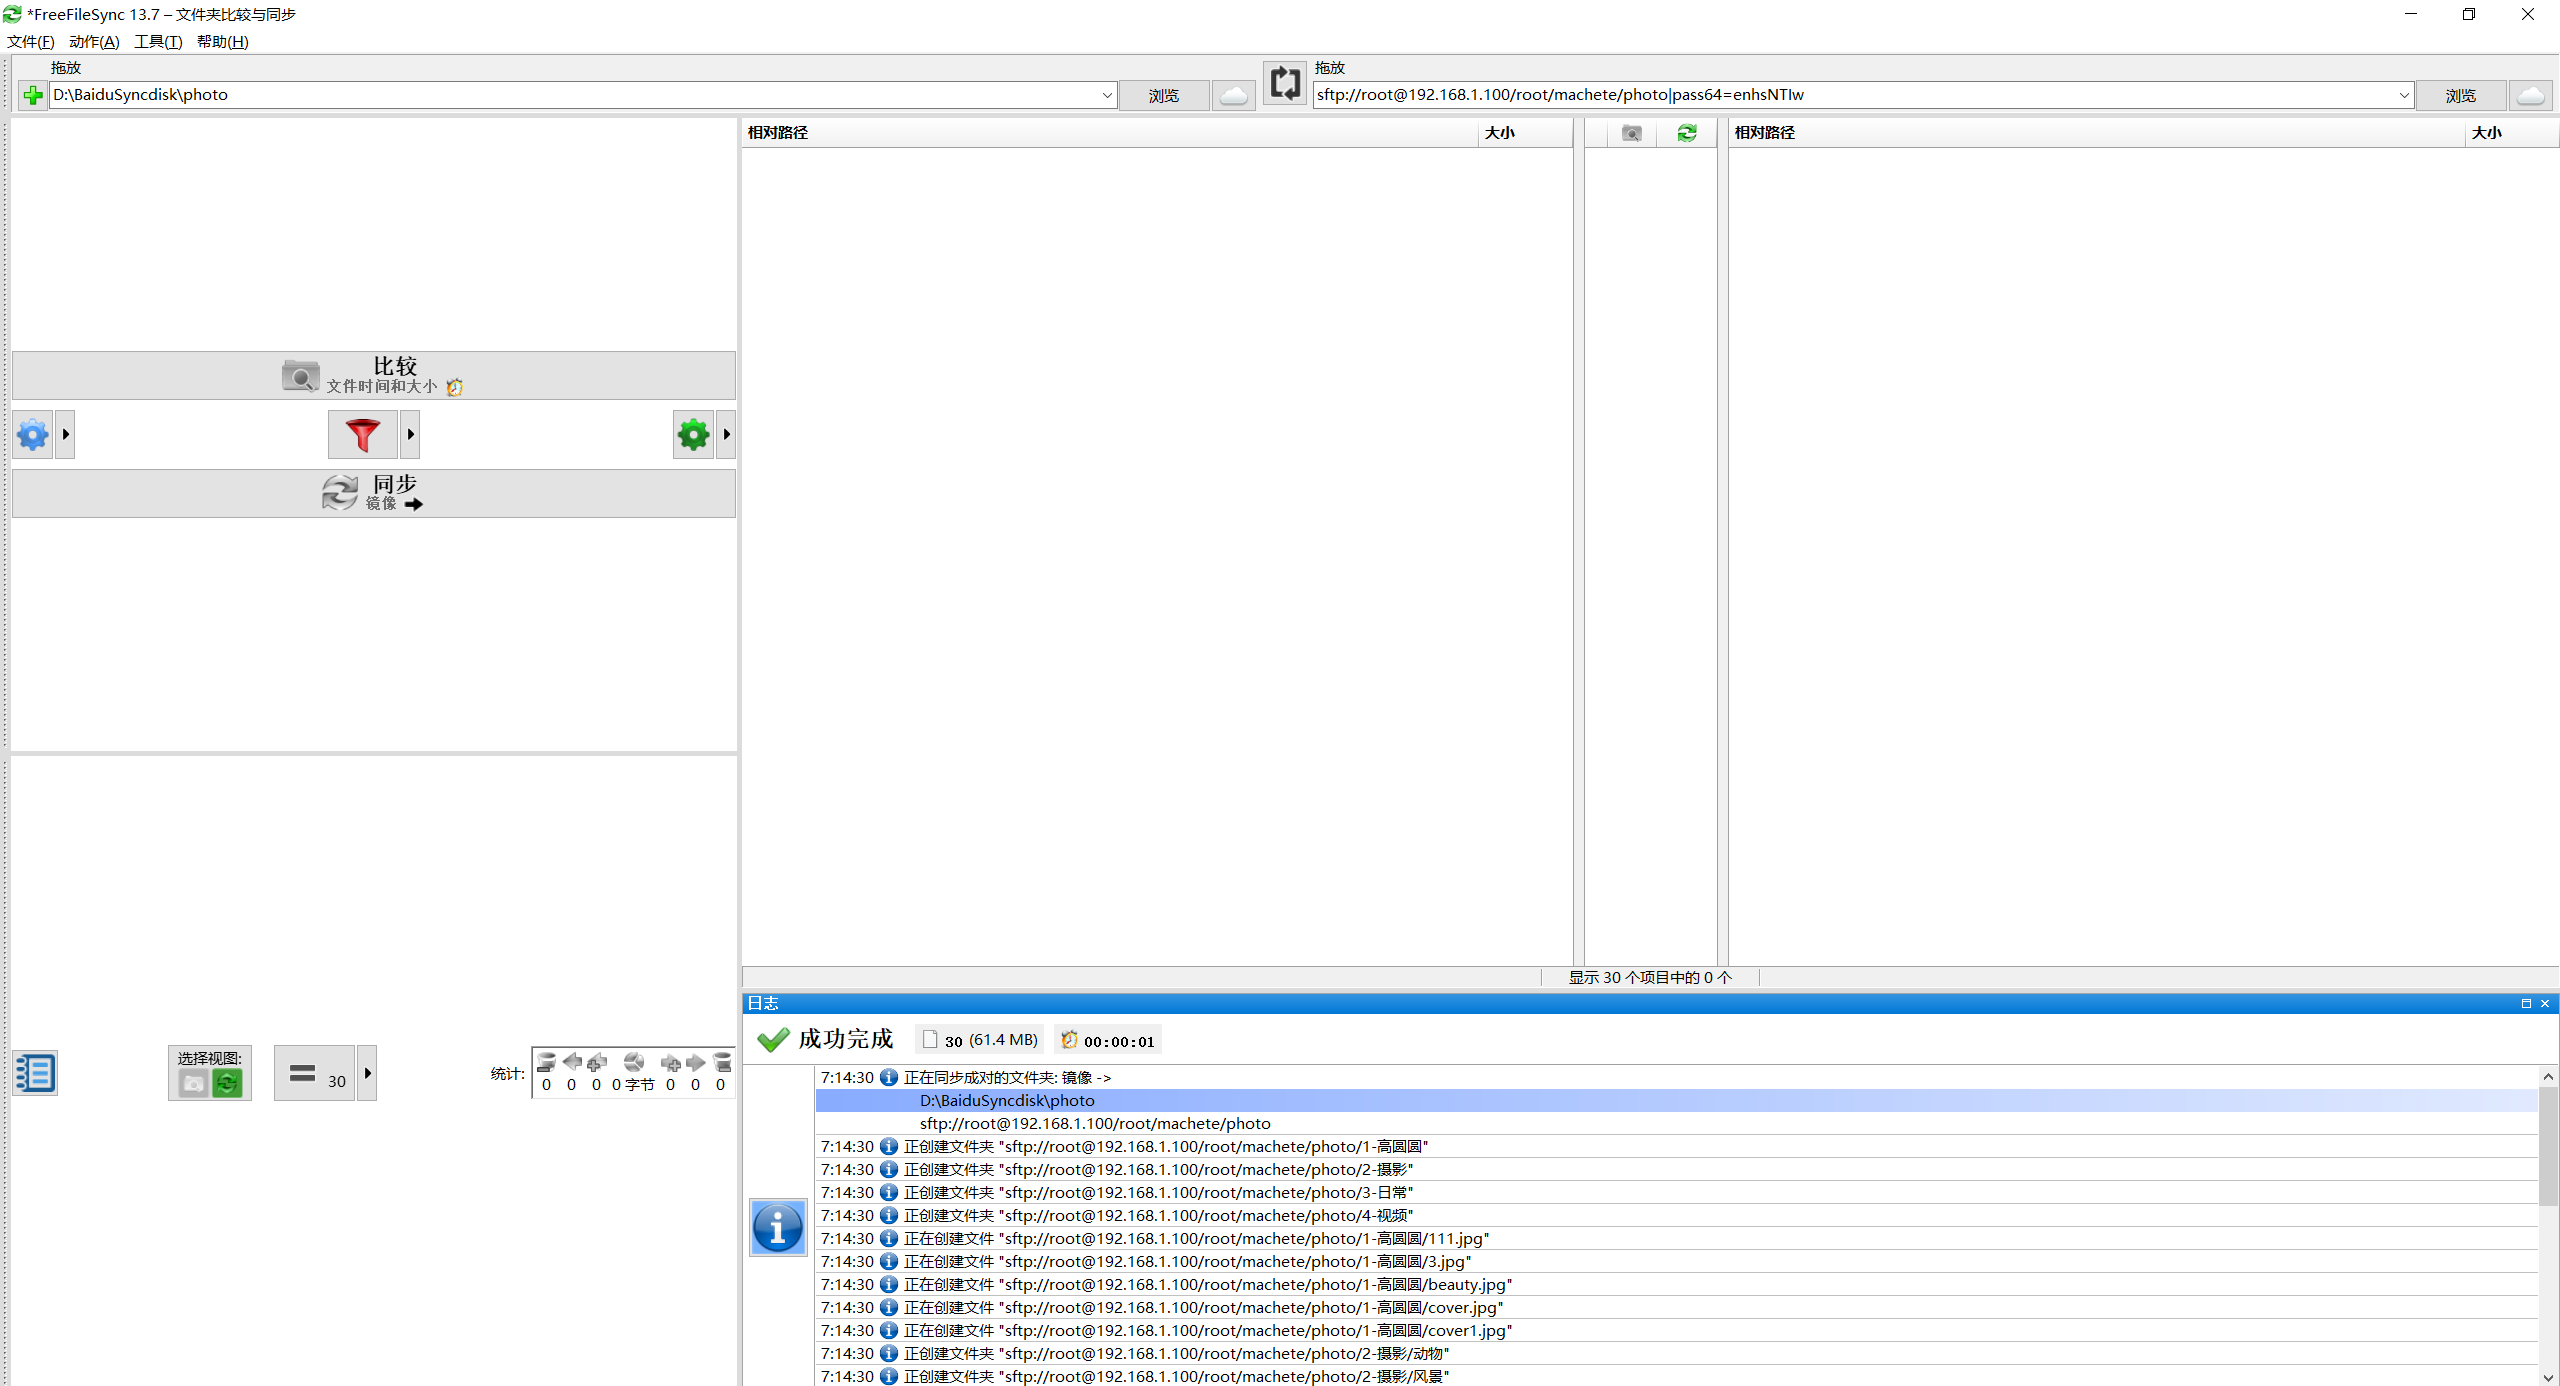
点击同步:
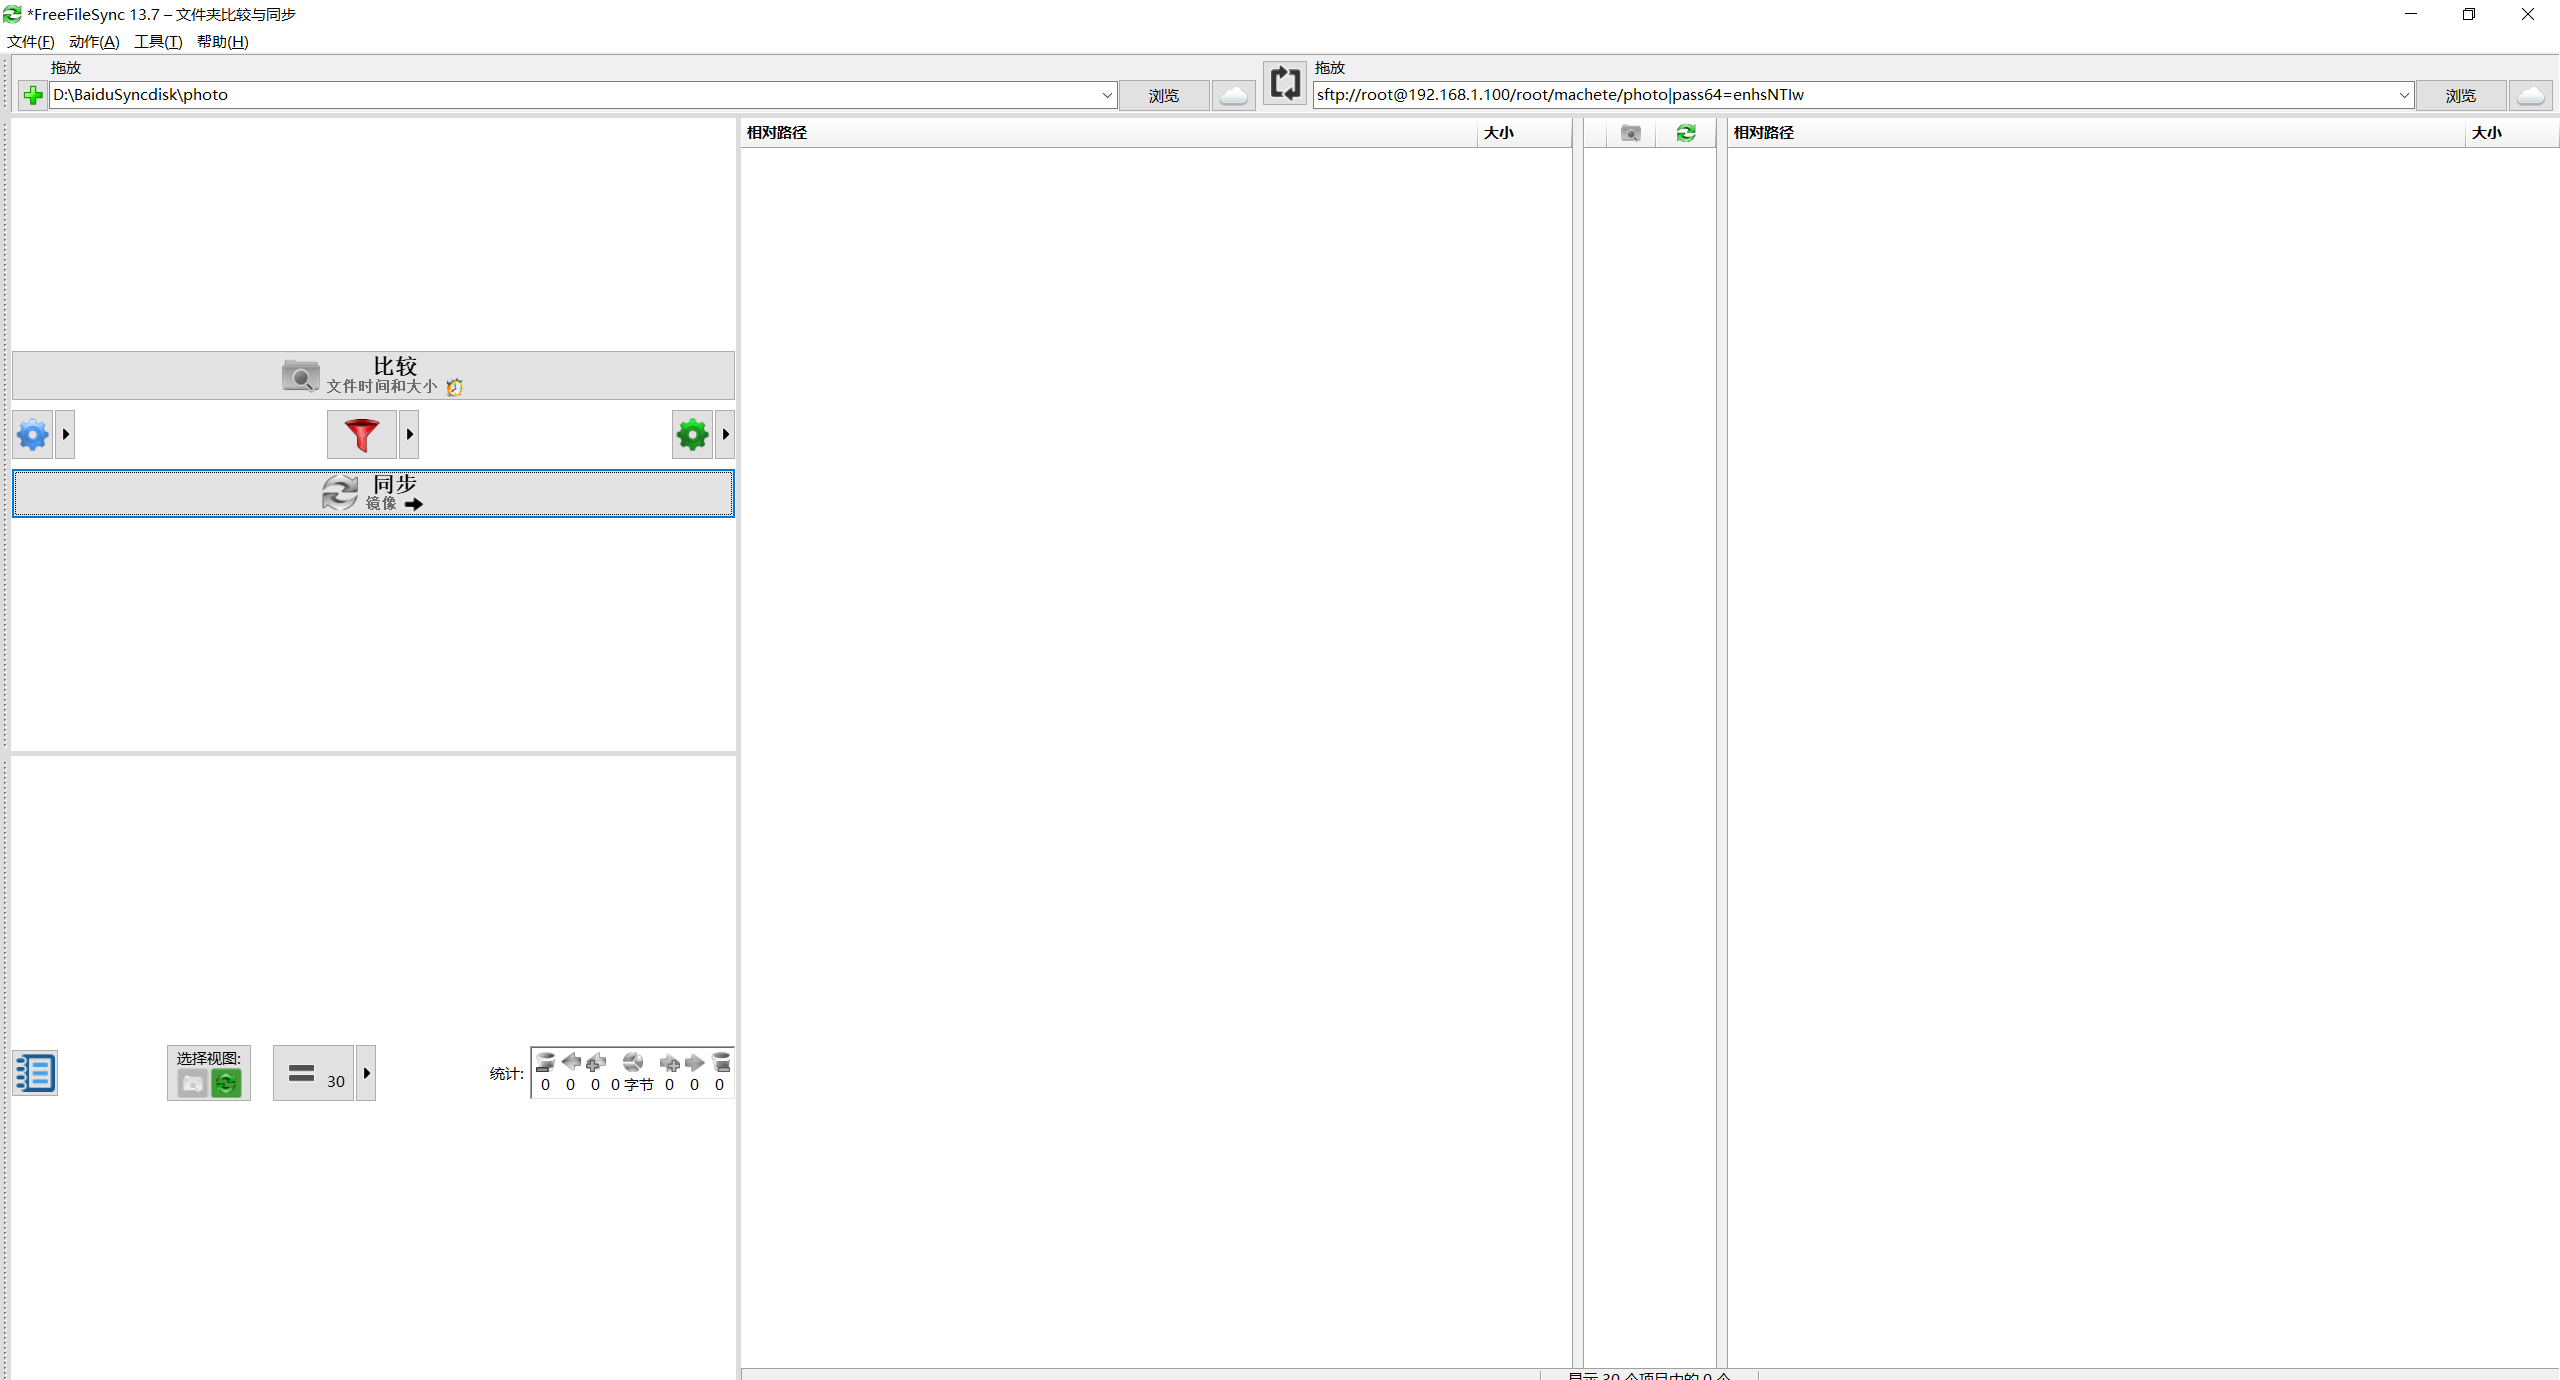
此时已经同步完了。
3.验证
- 验证
此时,发现同步上来的文件权限、属主、属组都是欧克的,完美。😜

可以再做一次数据比较,发现2边数据是完全欧克的。

- 此时访问web
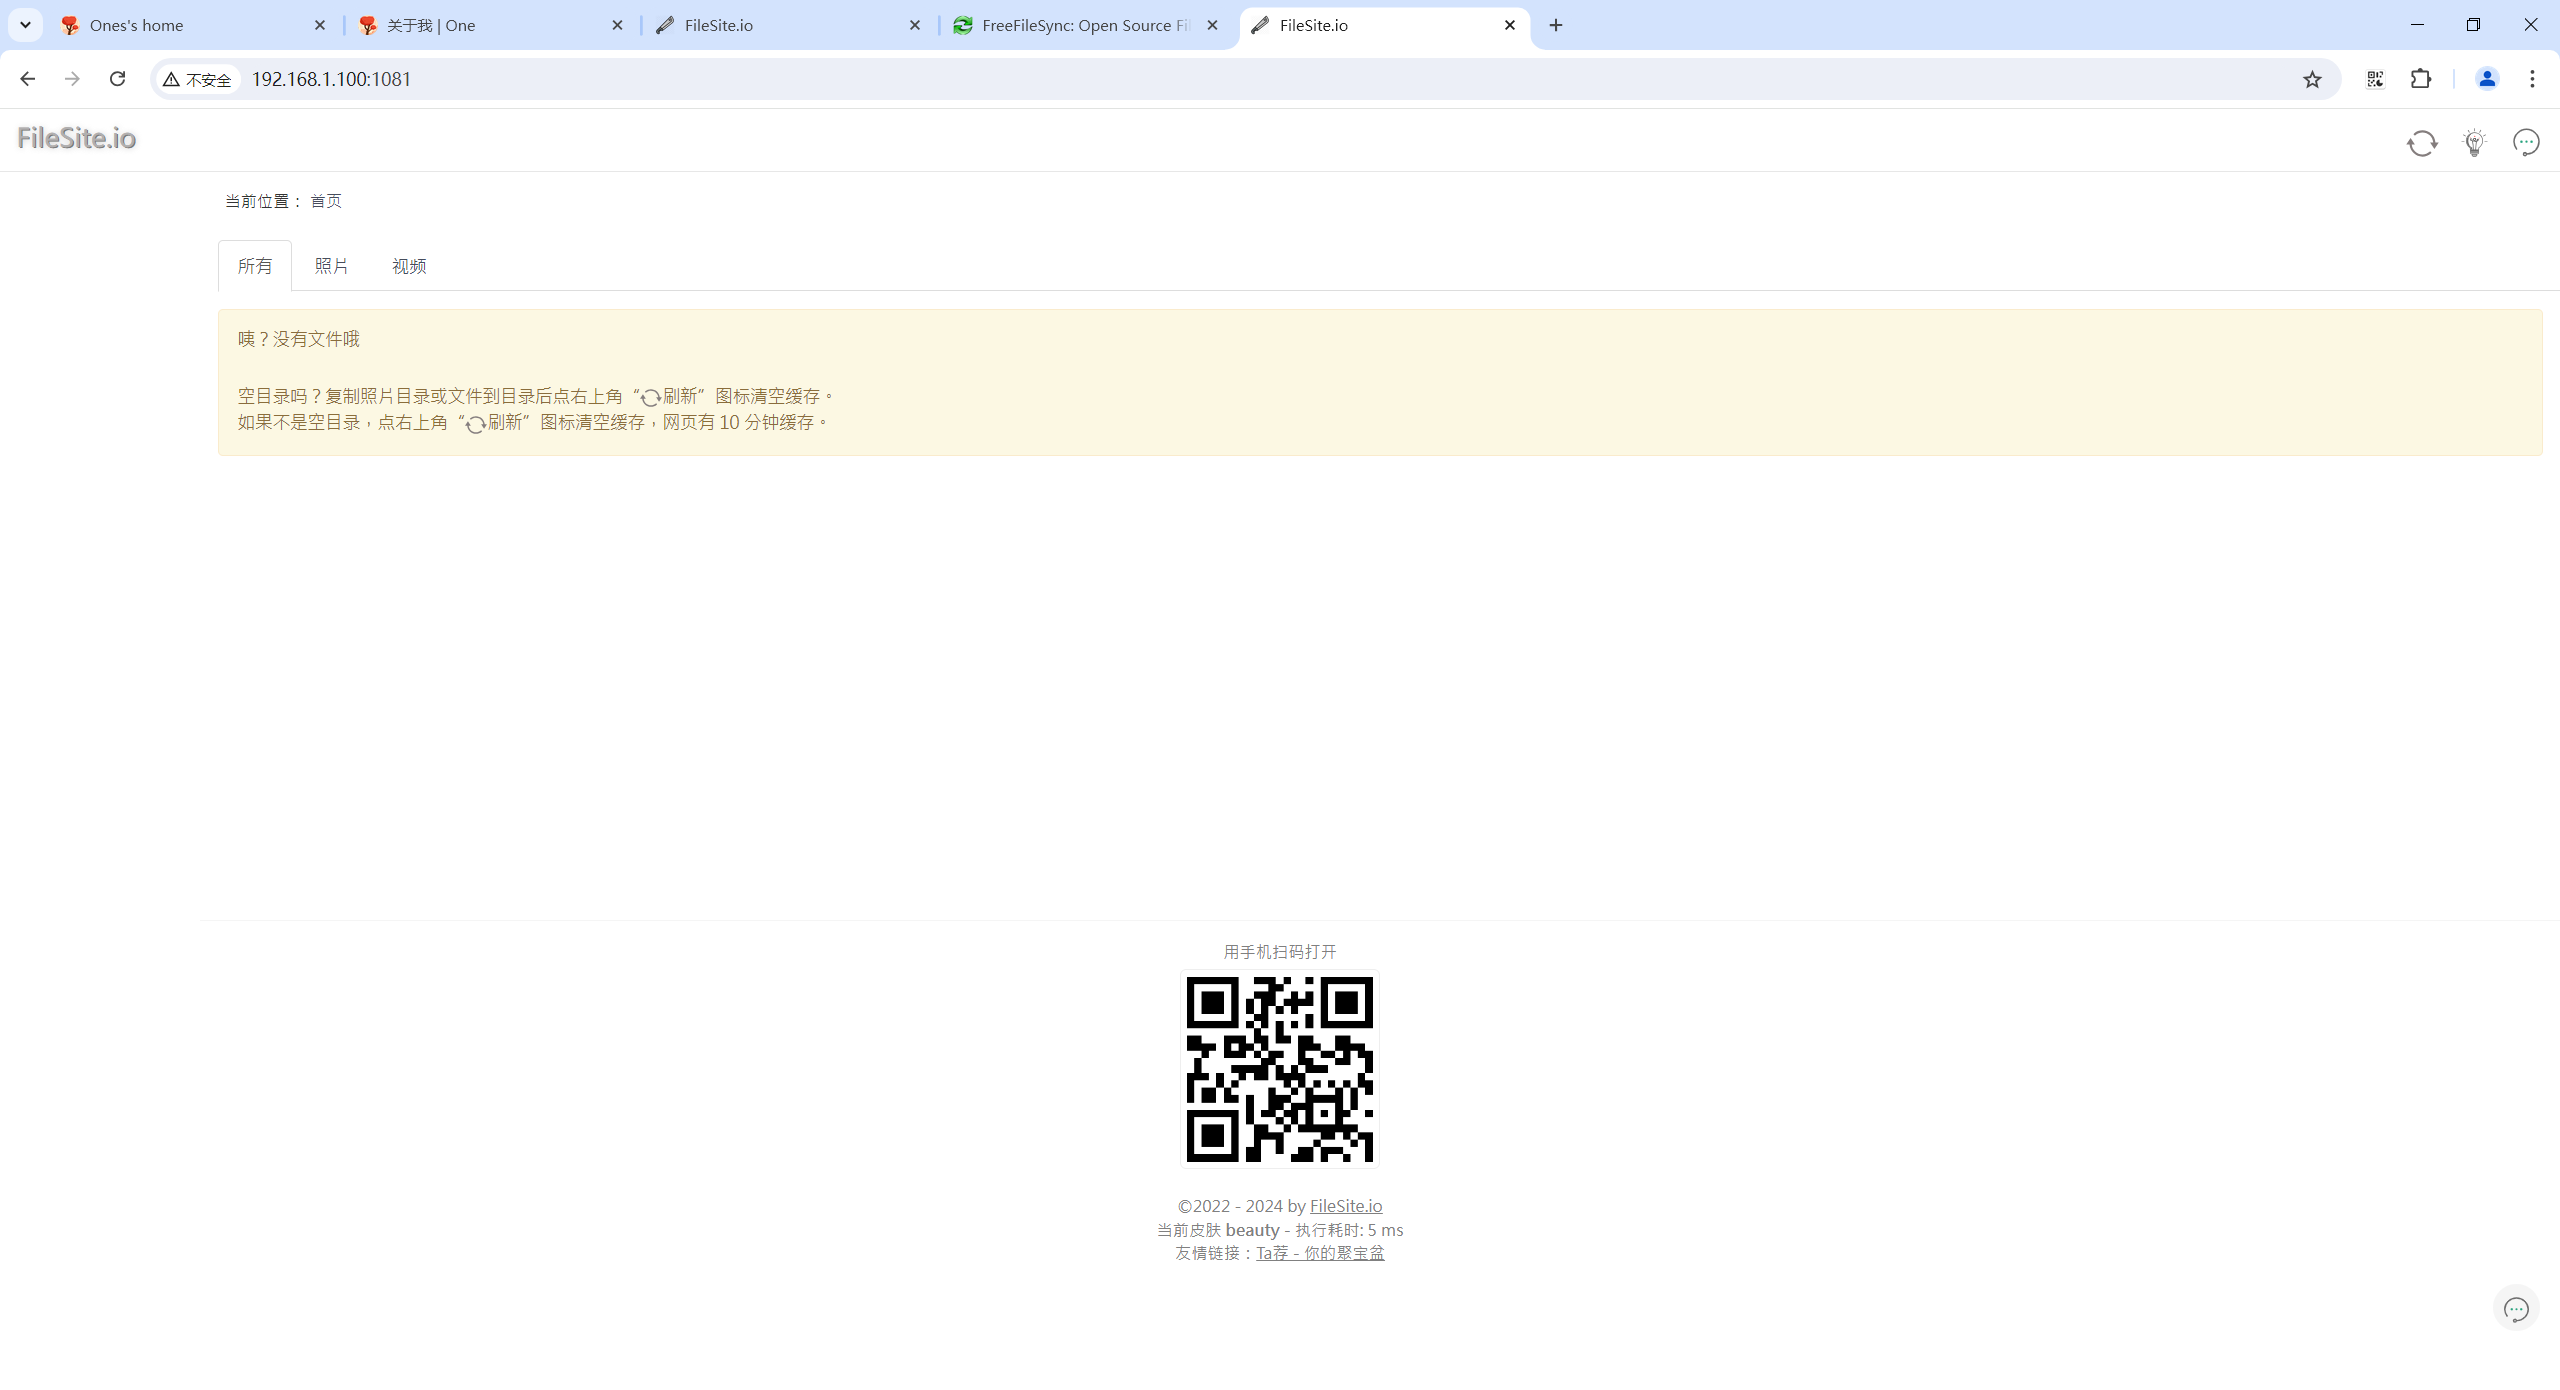
可以看到,是无效果的,我们接着重启下重启看看现象。
docker restart machete

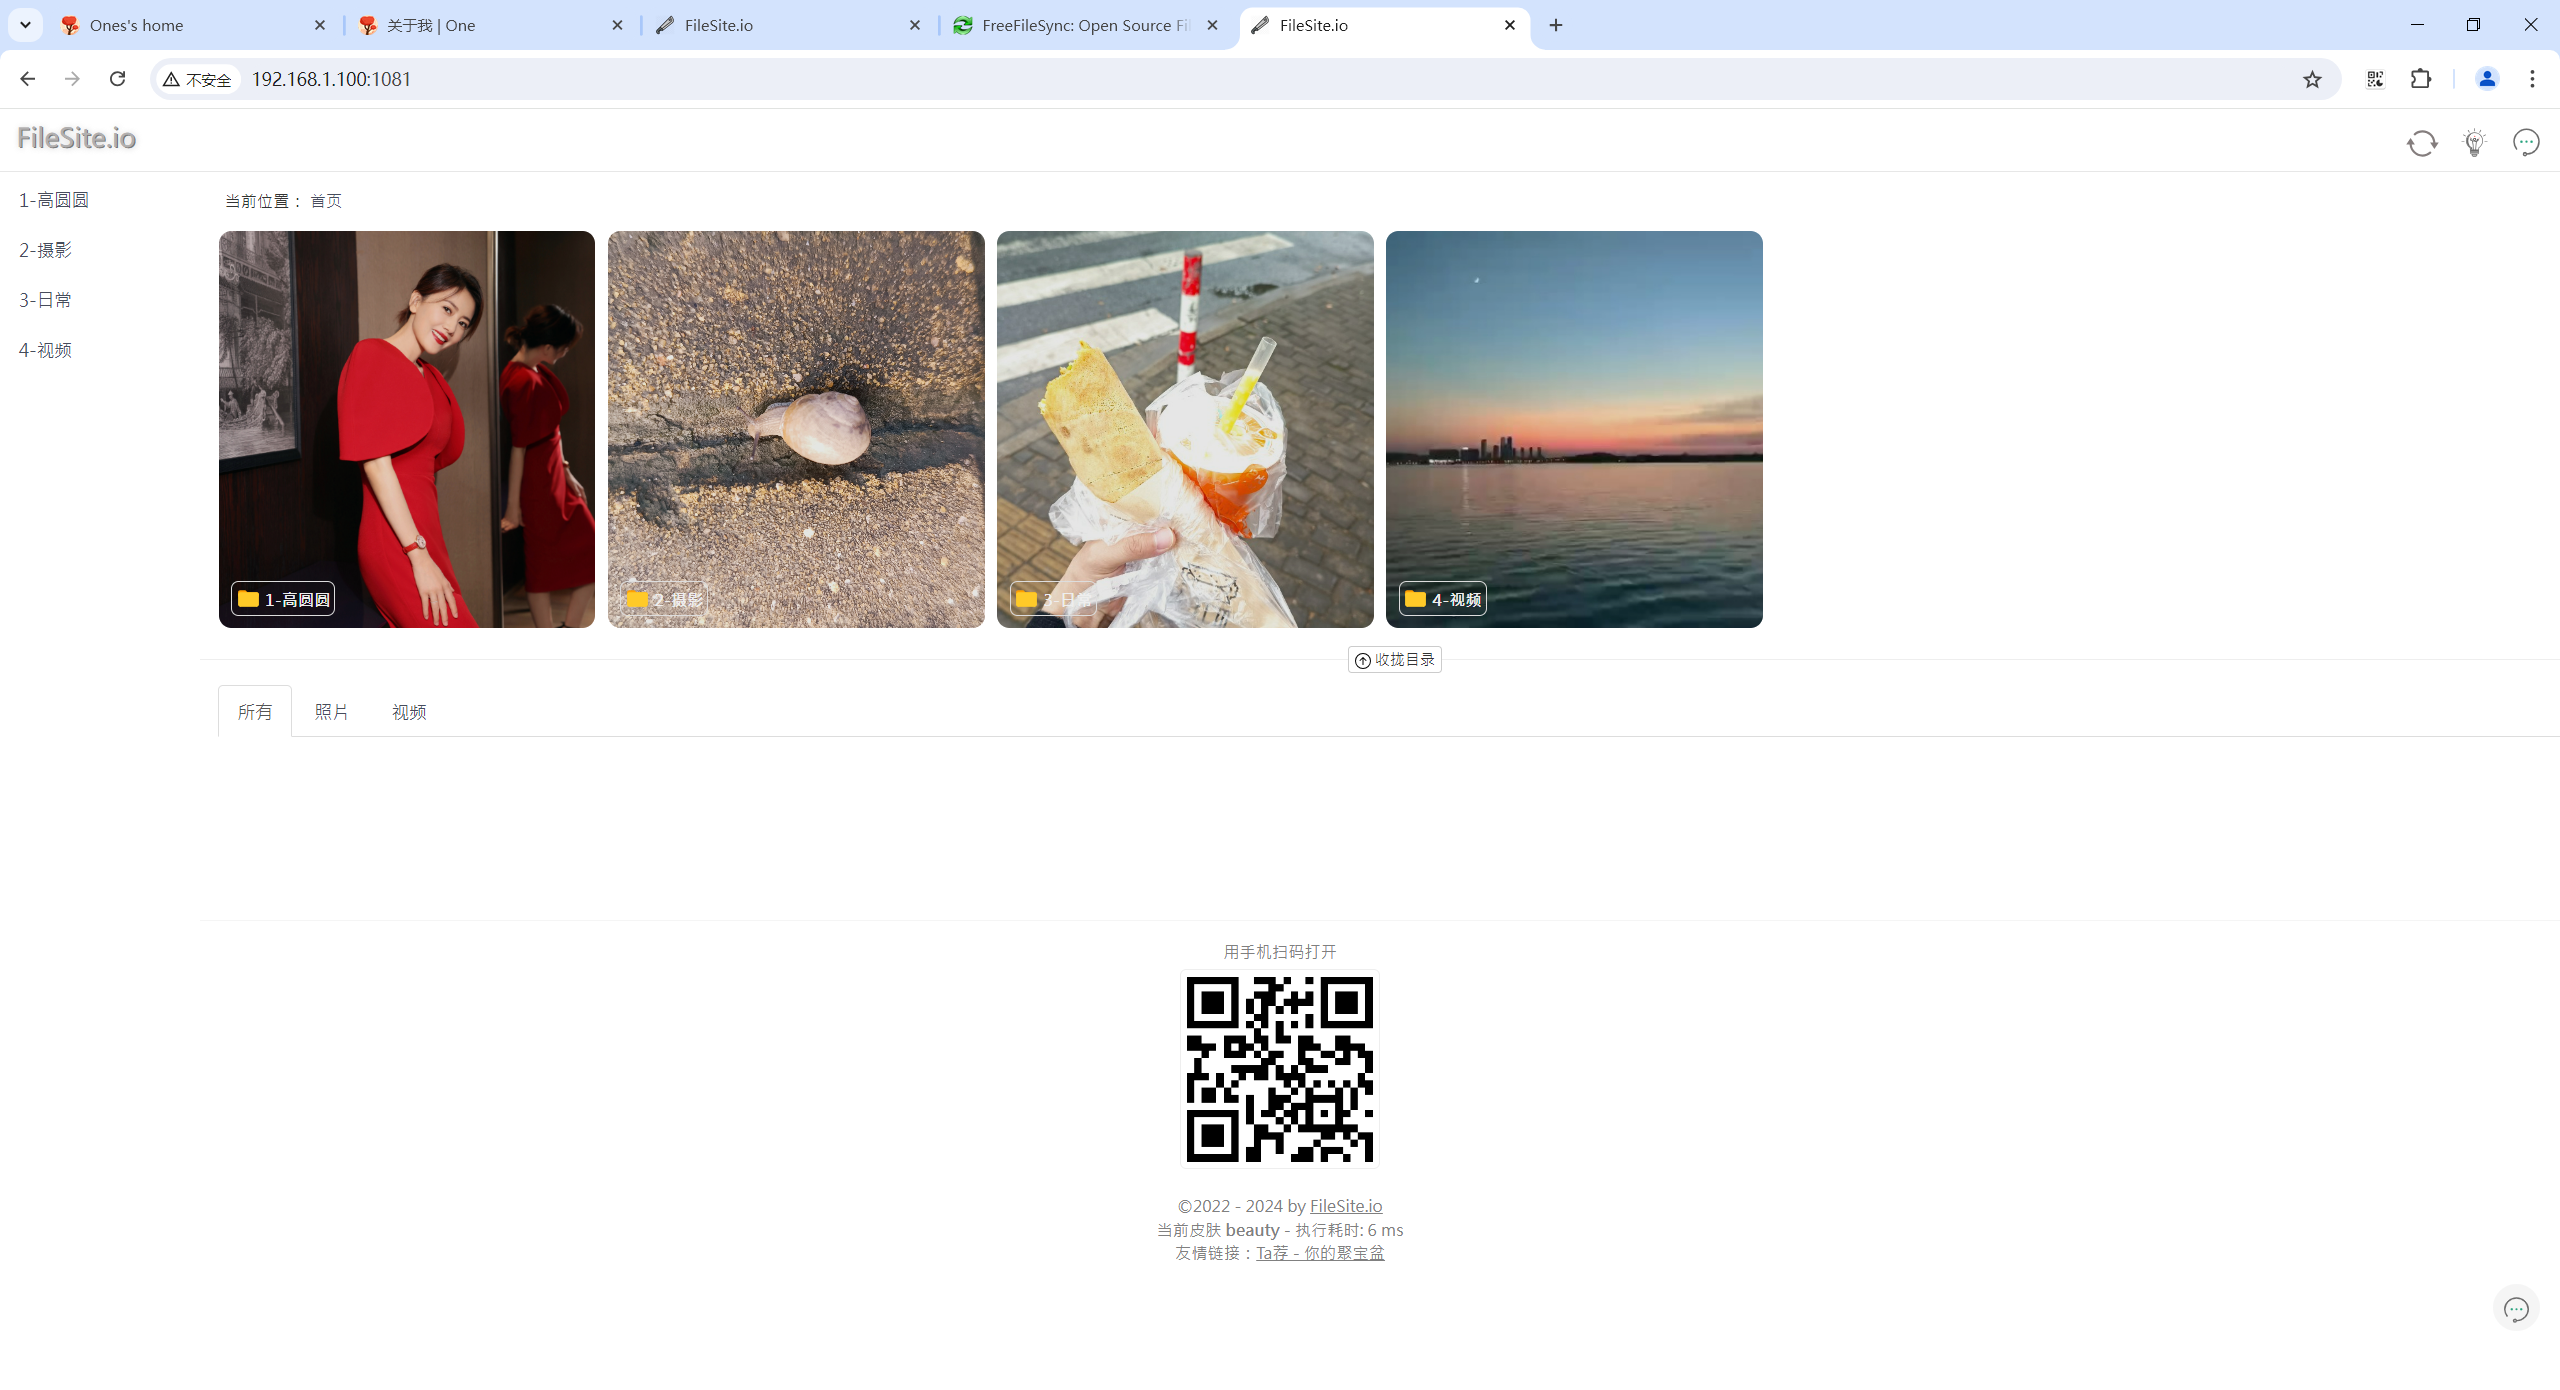
再次访问:
重启重启后,完美,出现效果。(可以看到,这种同步方式更简单丝滑些哦)😜
存在问题:
利用同步软件例如FreeFileSync,把相册数据从winodws同步到linux后,必须要重启容器才能生效,这个能否从代码曾解决下这个问题?
-->我们来修复下这个问题:(根据群主指导解决了这个问题)
不要删除容器映射的目录,直接同步试试

比如容器映射的根目录是photo,你不要删除它,但是可以删除它里面的内容:
rm -rf photo/*
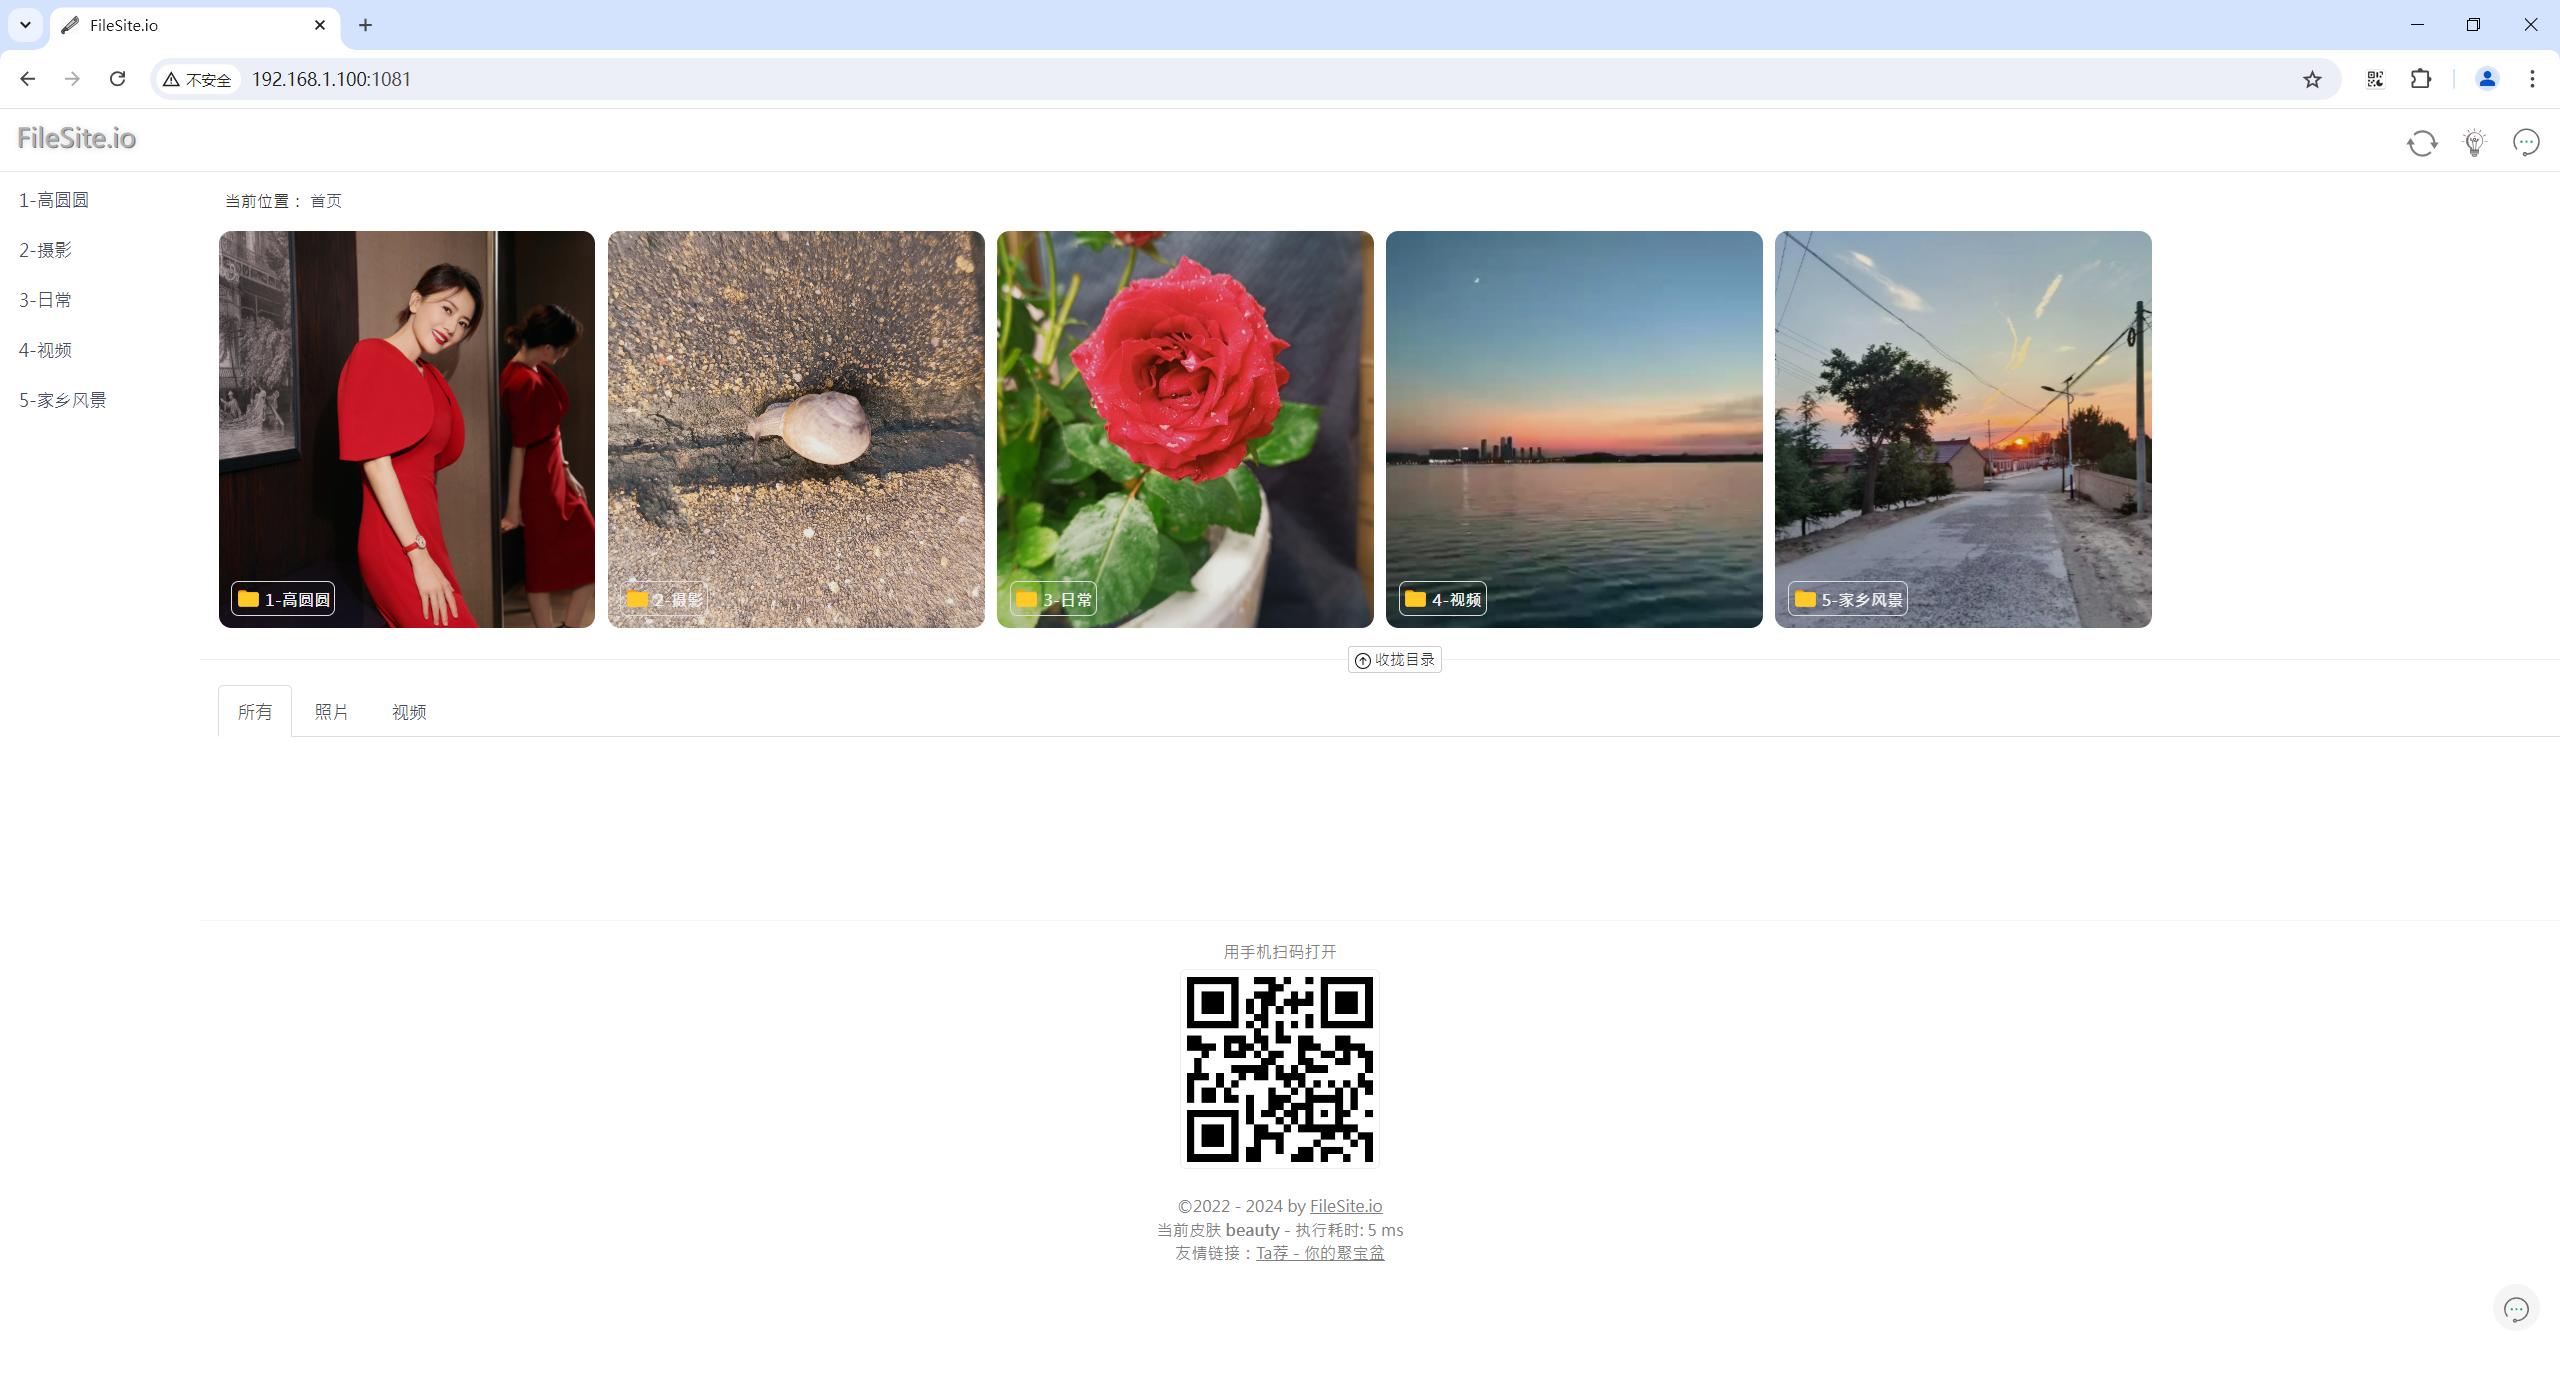
winodws本地新增5-家乡风景相册目录,然后同步数据:
按这个方式测试后,果真正常同步数据后,刷新下就出现象了哦:
至此,完美。😜
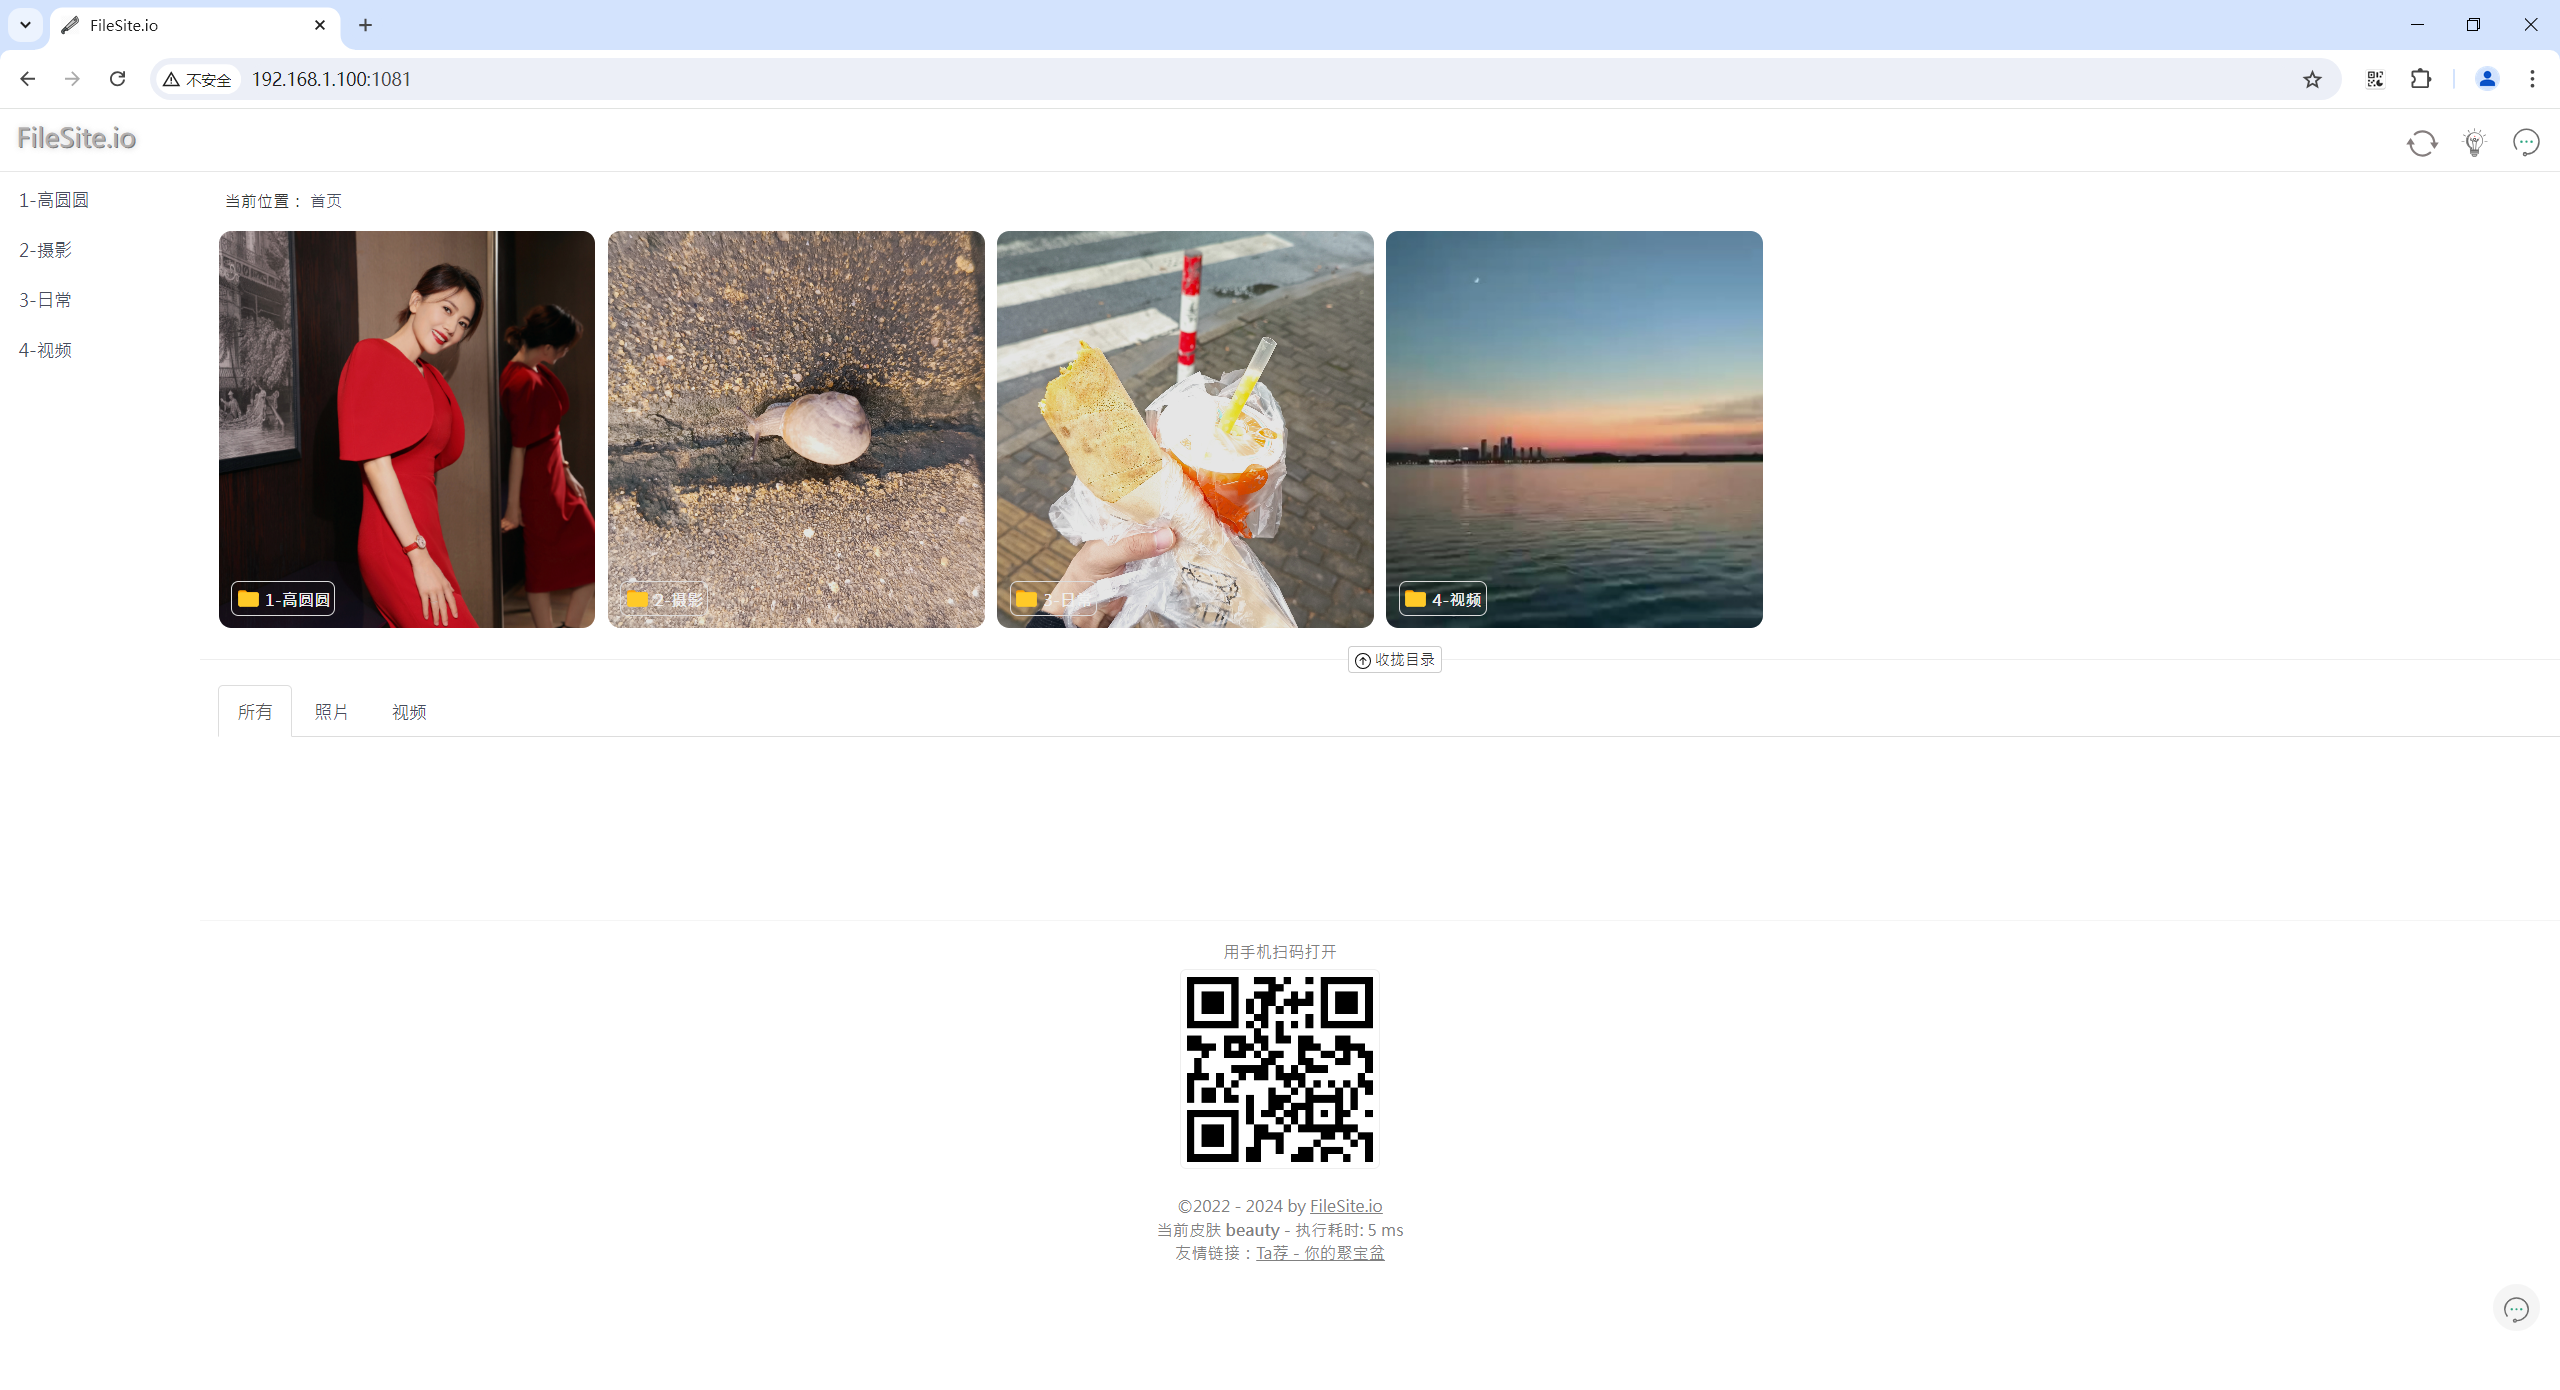
6、最终效果
7、扩展(将家庭相册部署在公网)
以上部署方式可以直接部署在公网的云服务器上,是完全没问题的。
或者将局域网内的小主机frp(内网穿透)出去提供服务。(相册部署都是一样的方法,只是我采用的是frp方式,因此这里仅记录一下)
关于如何部署frp,请看如下文章:
《实战:docker式部署frp内网穿透-2024.7.13(测试成功)》:https://wiki.onedayxyy.cn/docs/docker-install-frp

- 自己nuc小主机frp配置
vim frpc.ini

[filesite-photo]
type = tcp
local_ip = 127.0.0.1
local_port = 1081
remote_port = 1081
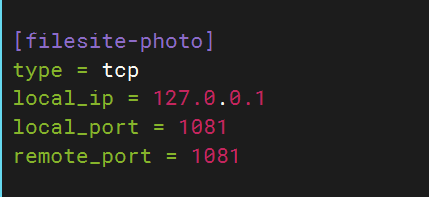
重启frpc客户端:
docker restart frpc
- 自己公网ecs上Nginx配置
vim /etc/nginx/nginx.conf
user root;
worker_processes auto;
error_log /var/log/nginx/error.log;
pid /run/nginx.pid;

# Load dynamic modules. See /usr/share/doc/nginx/README.dynamic.
include /usr/share/nginx/modules/*.conf;

events {
    worker_connections 1024;
}

http {
    gzip on; # 启用 gzip 压缩
    gzip_vary on; # 根据请求中的 `Accept-Encoding` 响应头决定是否启用 gzip
    gzip_proxied any; # 在所有代理请求中启用压缩
    gzip_types text/plain text/css application/json application/javascript text/xml application/xml application/xml+rss text/javascript; # 指定哪些类型的响应需要压缩
    gzip_comp_level 5; # 压缩等级(范围是 1-9,高级别意味着更好的压缩但会消耗更多 CPU 资源)
    gzip_min_length 256; # 只对超过给定长度的响应启用压缩
    log_format  main  '$remote_addr - $remote_user [$time_local] "$request" '
                      '$status $body_bytes_sent "$http_referer" '
                      '"$http_user_agent" "$http_x_forwarded_for"';

    access_log  /var/log/nginx/access.log  main;

    sendfile            on;
    tcp_nopush          on;
    tcp_nodelay         on;
    keepalive_timeout   65;
    types_hash_max_size 4096;

    include             /etc/nginx/mime.types;
    default_type        application/octet-stream;

    # Load modular configuration files from the /etc/nginx/conf.d directory.
    # See http://nginx.org/en/docs/ngx_core_module.html#include
    # for more information.
    include /etc/nginx/conf.d/*.conf;
    charset utf-8;

    # Settings for a TLS enabled server.

}
cat /etc/nginx/conf.d/photo.conf
    server {
        listen 80;
        server_name  photo.onedayxyy.cn;

        #配置https重定向
        return 301 https://$host$request_uri;
    }


    server {
        listen       443 ssl http2;
        listen       [::]:443 ssl http2;
        server_name photo.onedayxyy.cn;

        #root /root/home3.0;

        #location / {
        #    index index.html index.htm;
        #}


        location / {
            proxy_pass http://47.100.215.163:1081/; # 实际的后台路径
            client_max_body_size 100M;
            proxy_set_header Host $host;
            proxy_set_header X-Real-IP $remote_addr;
            proxy_set_header X-Forwarded-For $proxy_add_x_forwarded_for;
            proxy_set_header X-Forwarded-Proto $scheme;
        }

        ssl_certificate "cert/fullchain1.pem";
        ssl_certificate_key "cert/privkey1.pem";

        ssl_session_cache shared:SSL:1m;
        ssl_session_timeout  10m;
        #ssl_ciphers HIGH:!aNULL:!MD5;
        #自定义设置使用的TLS协议的类型以及加密套件(以下为配置示例,请您自行评估是否需要配置)
        #TLS协议版本越高,HTTPS通信的安全性越高,但是相较于低版本TLS协议,高版本TLS协议对浏览器的兼容性较差。
        ssl_ciphers ECDHE-RSA-AES128-GCM-SHA256:ECDHE:ECDH:AES:HIGH:!NULL:!aNULL:!MD5:!ADH:!RC4;
        ssl_protocols TLSv1.1 TLSv1.2 TLSv1.3;

        ssl_prefer_server_ciphers on;

        # Load configuration files for the default server block.
        include /etc/nginx/default.d/*.conf;

        error_page 404 /404.html;
            location = /40x.html {
        }

        error_page 500 502 503 504 /50x.html;
            location = /50x.html {
        }
    }
重启nginx:systemctl -s reload
- 验证

8、总结
以上,关于自己的家庭相册就完美解决了。
我只需要维护winodws本地照片(增加、修改、删除等等),然后就会自动刷新云端照片的,而不需要维护2份数据。
为了数据安全性,我windows本地相册数据是放在百度云同步空间的哦,也对数据安全性做了保障,完美。😜
关于我
我的博客主旨:
- 排版美观,语言精炼;
- 文档即手册,步骤明细,拒绝埋坑,提供源码;
- 本人实战文档都是亲测成功的,各位小伙伴在实际操作过程中如有什么疑问,可随时联系本人帮您解决问题,让我们一起进步!
🍀 微信二维码
x2675263825 (舍得), qq:2675263825。

🍀 微信公众号
《云原生架构师实战》

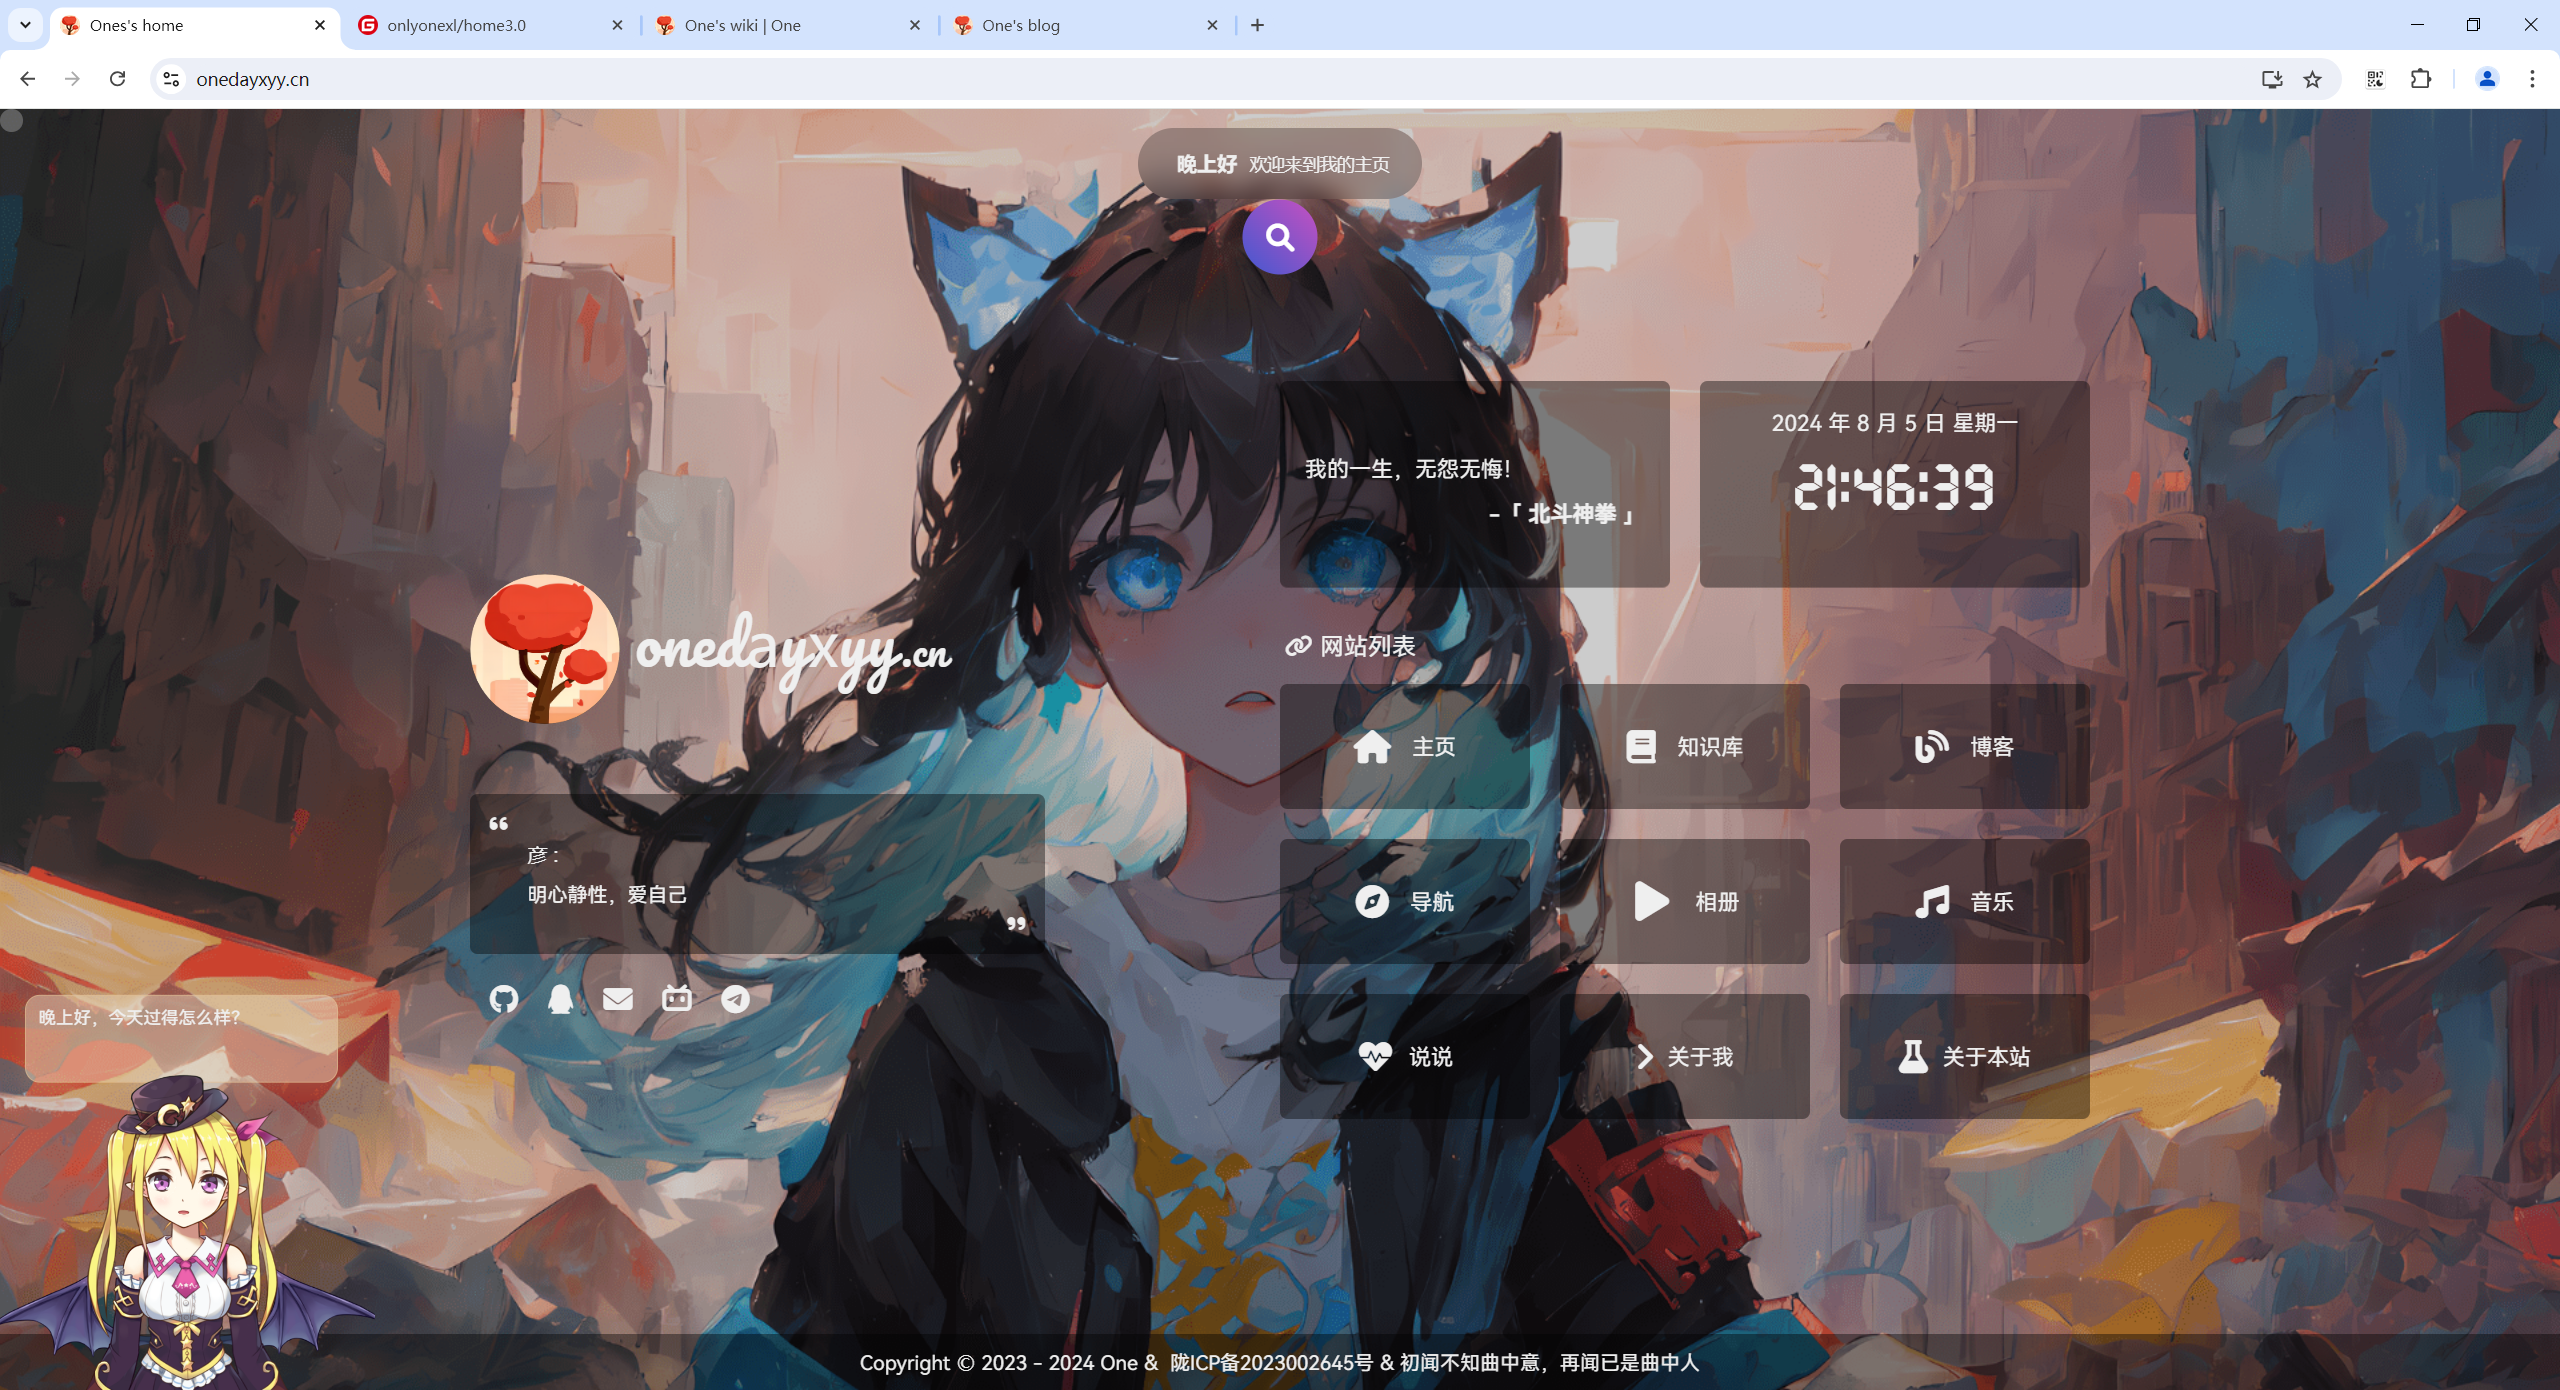
🍀 个人主页:
🍀 知识库:
🍀 博客:
🍀 csdn
https://blog.csdn.net/weixin_39246554?spm=1010.2135.3001.5421

🍀 知乎
https://www.zhihu.com/people/foryouone
往期推荐
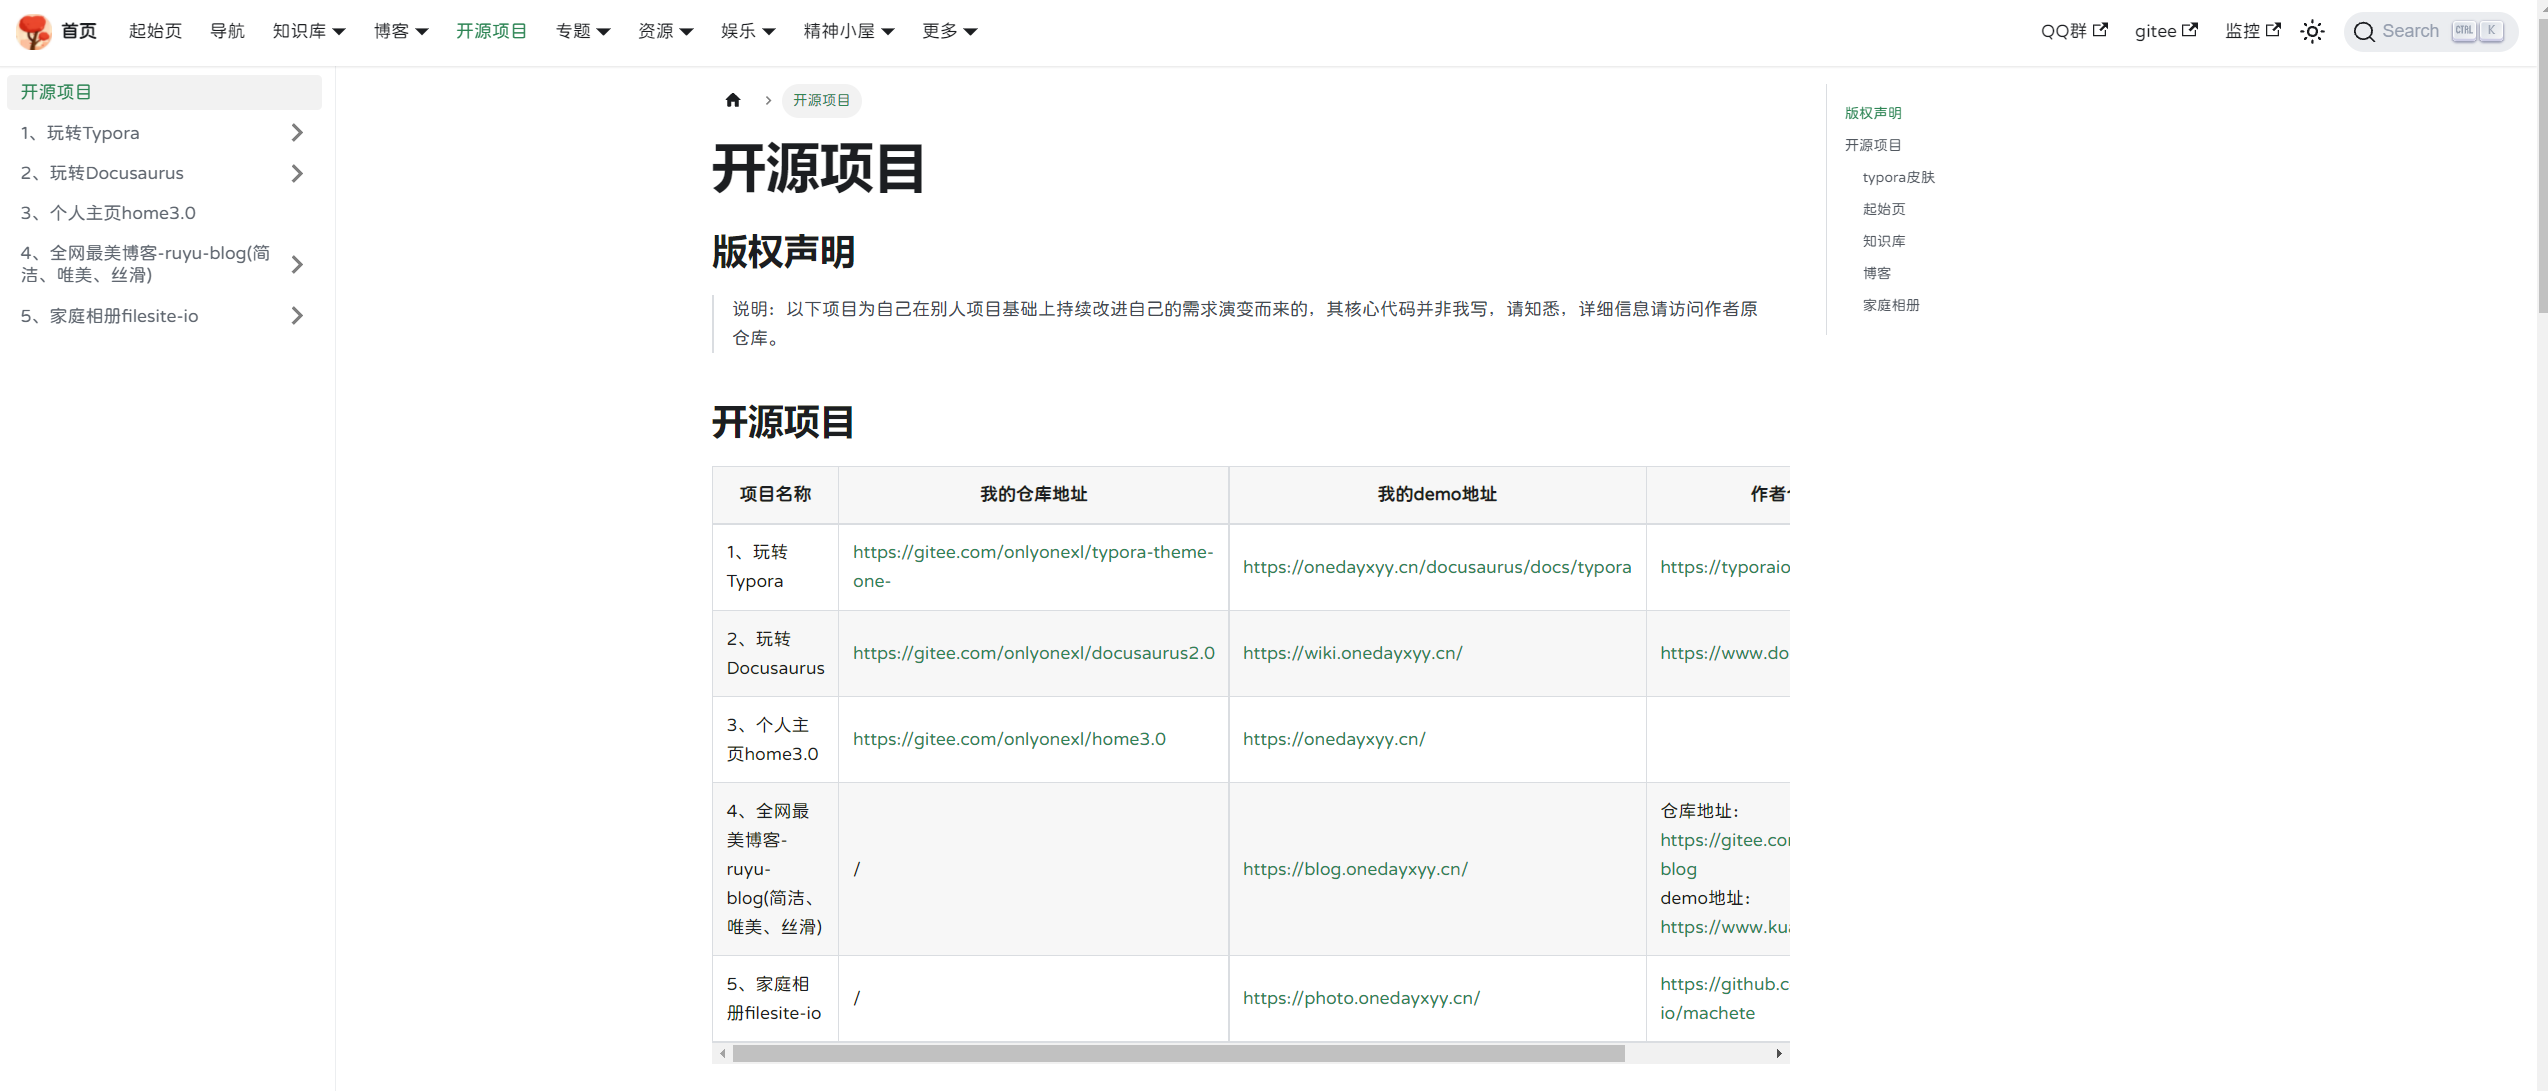
我的开源项目:
https://wiki.onedayxyy.cn/docs/OpenSource
| 项目名称 | 我的仓库地址 | 我的demo地址 | 作者仓库地址 |
|---|---|---|---|
| 1、玩转Typora | https://gitee.com/onlyonexl/typora-theme-one- | https://onedayxyy.cn/docusaurus/docs/typora | https://typoraio.cn/# |
| 2、玩转Docusaurus | https://gitee.com/onlyonexl/docusaurus2.0 | https://wiki.onedayxyy.cn/ | https://www.docusaurus.cn/ |
| 3、个人主页home3.0 | https://gitee.com/onlyonexl/home3.0 | https://onedayxyy.cn/ | |
| 4、全网最美博客-ruyu-blog(简洁、唯美、丝滑) | / | https://blog.onedayxyy.cn/ | 仓库地址:https://gitee.com/kuailemao/ruyu-blog demo地址:https://www.kuailemao.xyz/ |
| 5、家庭相册filesite-io | / | https://photo.onedayxyy.cn/ | https://github.com/filesite-io/machete |
- typora皮肤
https://wiki.onedayxyy.cn/docs/typora
- 起始页
- 知识库
- 博客
- 家庭相册

最后
好了,关于本次就到这里了,感谢大家阅读,最后祝大家生活快乐,每天都过的有意义哦,我们下期见!
