实战:完美解决md图床问题-nginx图床-2024.8.4(测试成功)

目录
[toc]
版权声明
本文为One原创文章,转载无需和我联系,但请注明文章来源 https://onedayxyy.cn/
前提条件
-
已经提前购买好云服务器;
-
域名已完成备案(域名备案也是很方便的哈);
-
域名已配置https证书;
-
需要给次域名配置cdn;(未配置cdn时,如果md里图片偏多后,打开一个md后图片加载会出现延迟……)
说明:
最好建议通过域名来访问自己的图床服务,因为公网ip后续可能会更改,但域名是不会变的,因此后续迁移图床数据是非常方便的;
域名备案流程也不复杂,把该填的内容都填了,等待审批通过就好;
域名配置https泛域名证书也很方便;(见手把手文档:《实战:使用Certbot签发免费ssl泛域名证书(主域名及其它子域名共用同一套证书)-2024.8.4(成功测试)》)
1、部署nginx服务
- 云服务器上部署nginx服务
参考文章:
《实战:yum方式部署nginx-2024.4.16(测试成功)》https://wiki.onedayxyy.cn/docs/ngnix-install-yum
- 给自己网站配置https泛域名证书
参考如下链接:
《实战:使用Certbot签发免费ssl泛域名证书(主域名及其它子域名共用同一套证书)-2024.8.4(成功测试)》:https://wiki.onedayxyy.cn/docs/docs/Certbot-install
- 自己本次nginx配置如下:
2024年8月4日
nginx.conf配置文件:
cat /etc/nginx/nginx.conf
user root;
worker_processes auto;
error_log /var/log/nginx/error.log;
pid /run/nginx.pid;
# Load dynamic modules. See /usr/share/doc/nginx/README.dynamic.
include /usr/share/nginx/modules/*.conf;
events {
worker_connections 1024;
}
http {
gzip on; # 启用 gzip 压缩
gzip_vary on; # 根据请求中的 `Accept-Encoding` 响应头决定是否启用 gzip
gzip_proxied any; # 在所有代理请求中启用压缩
gzip_types text/plain text/css application/json application/javascript text/xml application/xml application/xml+rss text/javascript; # 指定哪些类型的响应需要压缩
gzip_comp_level 5; # 压缩等级(范围是 1-9,高级别意味着更好的压��缩但会消耗更多 CPU 资源)
gzip_min_length 256; # 只对超过给定长度的响应启用压缩
log_format main '$remote_addr - $remote_user [$time_local] "$request" '
'$status $body_bytes_sent "$http_referer" '
'"$http_user_agent" "$http_x_forwarded_for"';
access_log /var/log/nginx/access.log main;
sendfile on;
tcp_nopush on;
tcp_nodelay on;
keepalive_timeout 65;
types_hash_max_size 4096;
include /etc/nginx/mime.types;
default_type application/octet-stream;
# Load modular configuration files from the /etc/nginx/conf.d directory.
# See http://nginx.org/en/docs/ngx_core_module.html#include
# for more information.
include /etc/nginx/conf.d/*.conf;
charset utf-8;
# Settings for a TLS enabled server.
}
ssl证书位置:
[root@docusaurus-wiki cert]#pwd
/etc/nginx/cert
[root@docusaurus-wiki cert]#ll
total 8
-rw-rw-rw- 1 root root 2855 Aug  3 10:00 fullchain1.pem
-rw-rw-rw- 1 root root  241 Aug  3 10:00 privkey1.pem
[root@docusaurus-wiki cert]#
conf.d目录下:
[root@docusaurus-wiki conf.d]#pwd
/etc/nginx/conf.d
[root@docusaurus-wiki conf.d]#ll
total 28
-rw-r--r-- 1 root root 5252 Aug  3 14:57 blog.conf
-rw-r--r-- 1 root root 2498 Aug  3 14:15 home.conf
-rw-r--r-- 1 root root 1749 Aug  3 10:27 moments.conf
-rw-r--r-- 1 root root 1370 Aug  3 10:26 music.conf
-rw-r--r-- 1 root root 1745 Aug  3 10:23 photo.conf
-rw-r--r-- 1 root root 1404 Aug  3 09:11 wiki.conf
[root@docusaurus-wiki conf.d]#
主域名配置文件:
[root@docusaurus-wiki conf.d]#cat home.conf
server {
listen 80;
server_name onedayxyy.cn www.onedayxyy.cn;
#配置https重定向
return 301 https://$host$request_uri;
}
server {
listen 443 ssl http2;
listen [::]:443 ssl http2;
server_name onedayxyy.cn www.onedayxyy.cn;
root /root/home3.0;
location / {
index index.html index.htm;
}
##图床数据
location /images {
alias /images;
index index.html;
}
# ……删除部分敏感信息
ssl_certificate "cert/fullchain1.pem";
ssl_certificate_key "cert/privkey1.pem";
ssl_session_cache shared:SSL:1m;
ssl_session_timeout 10m;
#ssl_ciphers HIGH:!aNULL:!MD5;
#自定义设置�使用的TLS协议的类型以及加密套件(以下为配置示例,请您自行评估是否需要配置)
#TLS协议版本越高,HTTPS通信的安全性越高,但是相较于低版本TLS协议,高版本TLS协议对浏览器的兼容性较差。
ssl_ciphers ECDHE-RSA-AES128-GCM-SHA256:ECDHE:ECDH:AES:HIGH:!NULL:!aNULL:!MD5:!ADH:!RC4;
ssl_protocols TLSv1.1 TLSv1.2 TLSv1.3;
ssl_prefer_server_ciphers on;
# Load configuration files for the default server block.
include /etc/nginx/default.d/*.conf;
error_page 404 /404.html;
location = /40x.html {
}
error_page 500 502 503 504 /50x.html;
location = /50x.html {
}
}
2、配置picgo
==方法:配置picgo上传图片到云服务器-2023.12.4(测试成功)==
- 环境
picgo v2.3.1
typora v1.7.6
win10
- 提出问题(肯定是可以的)
picgo软件是否可以支持上传图片到自己的云服务器呢?
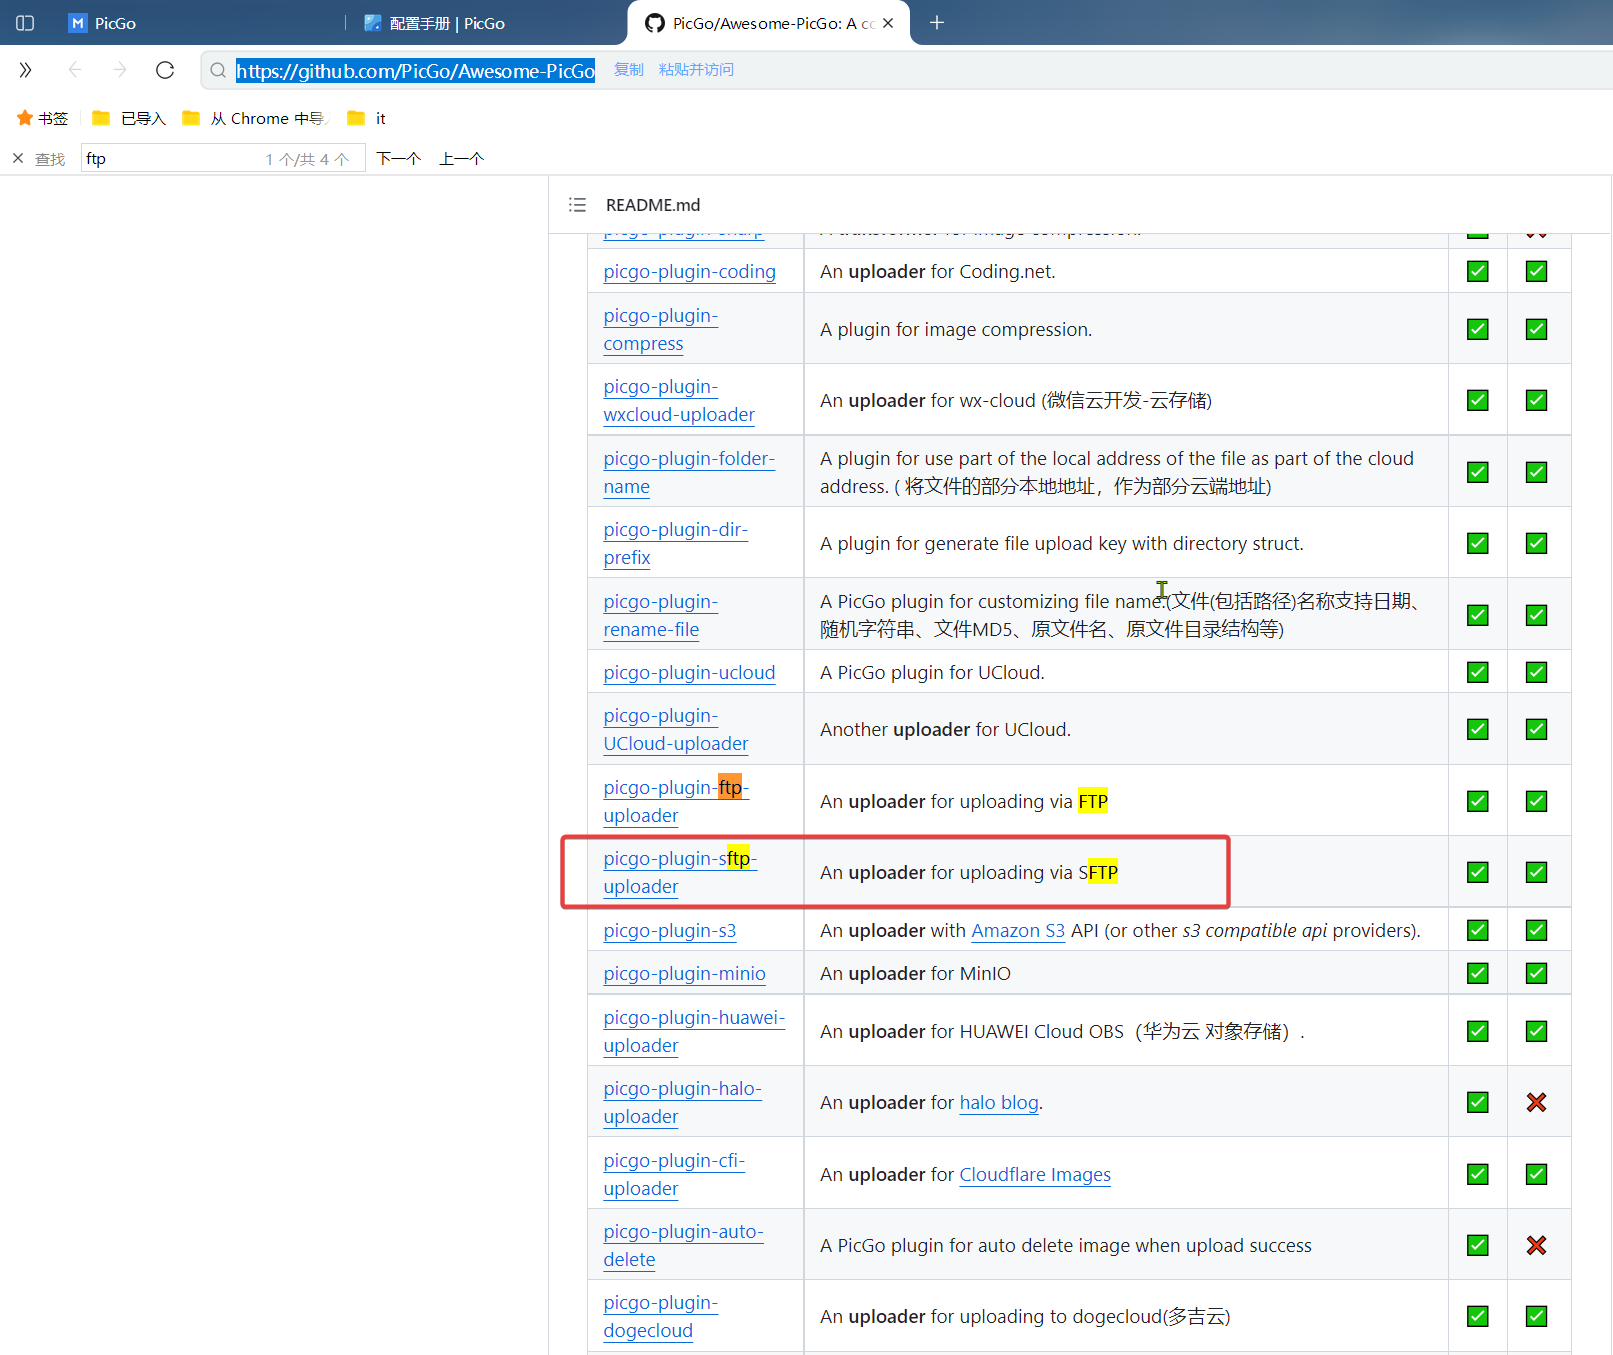
- 寻找官网插件
https://github.com/PicGo/Awesome-PicGo
文档地址
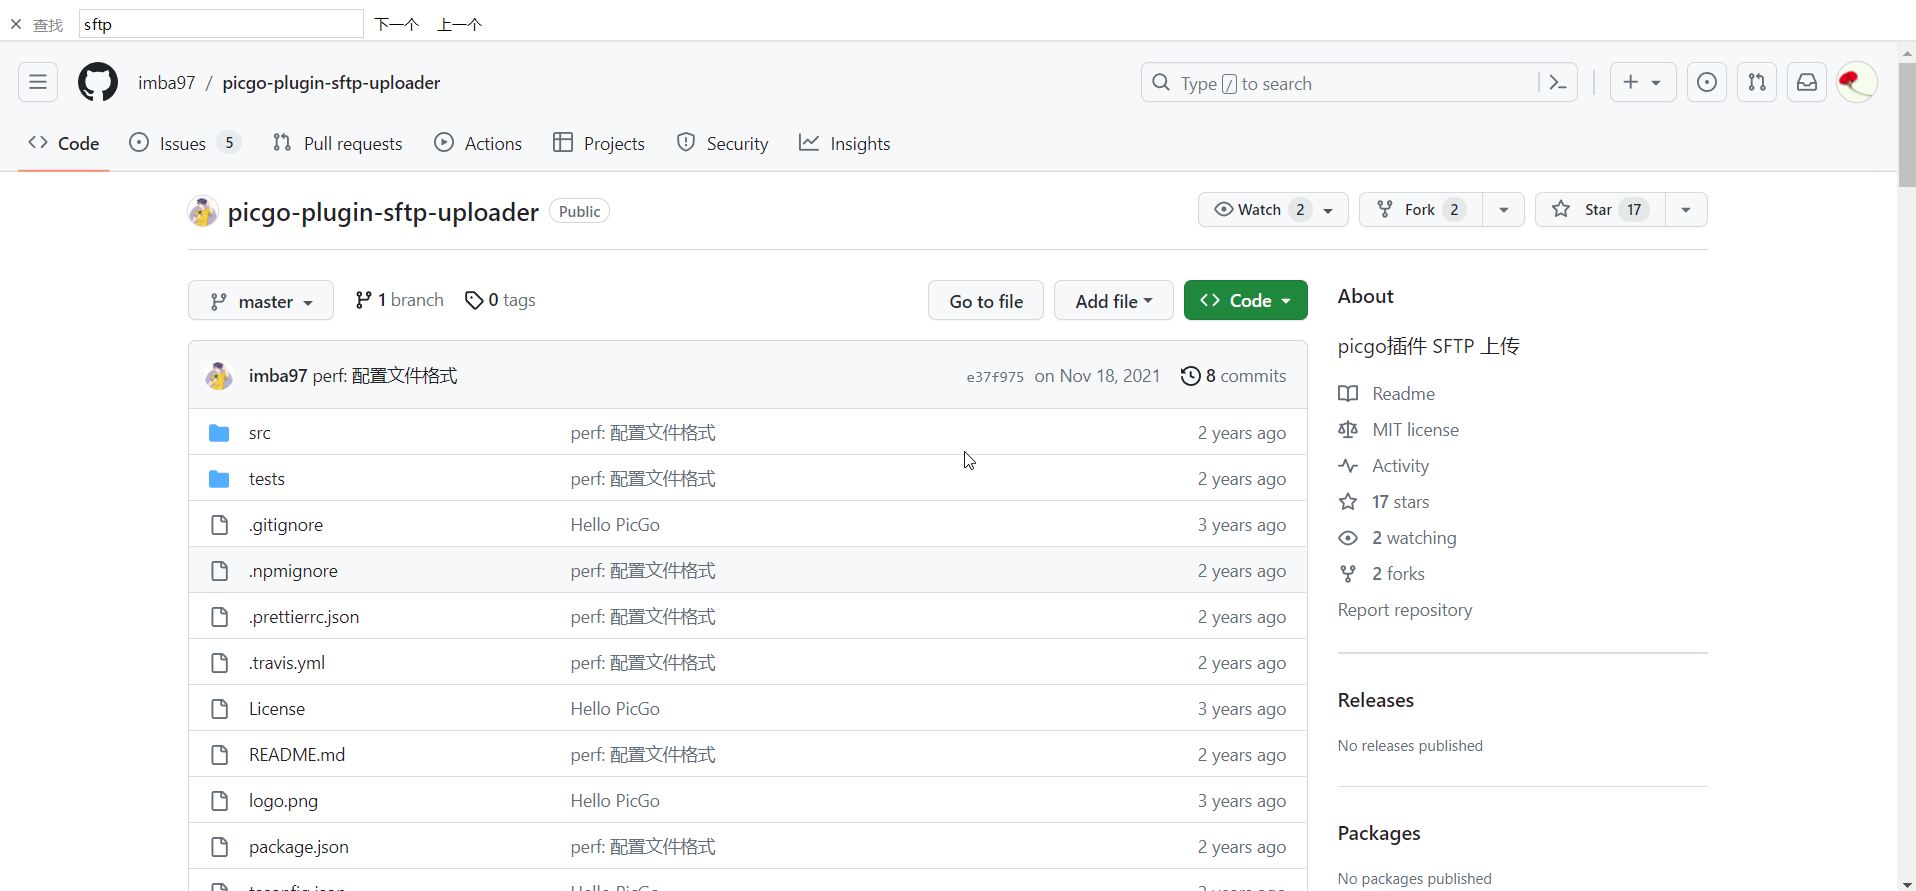
https://github.com/imba97/picgo-plugin-sftp-uploader
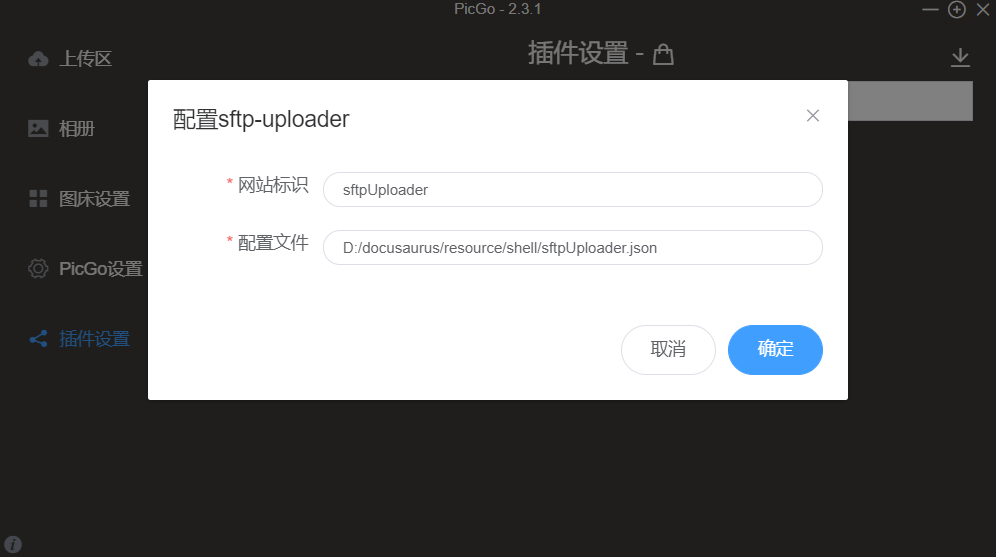
- 自己本次配置
D:/docusaurus/resource/shell/sftpUploader.json
{
    "sftpUploader": {
        "url": "https://onedayxyy.cn",
        "path": "/images/{fullName}",
        "uploadPath": "/images/{fullName}",
        "host": "ecsip",
        "port": 22,
        "username": "root",
        "password": "123456"
    }
}
自己云服务器ecs地址:
自己域名:onedayxyy.cn
nginx图床配置路径:/images
图片url地址:https://onedayxyy.cn/images/image-20231123144421591.png
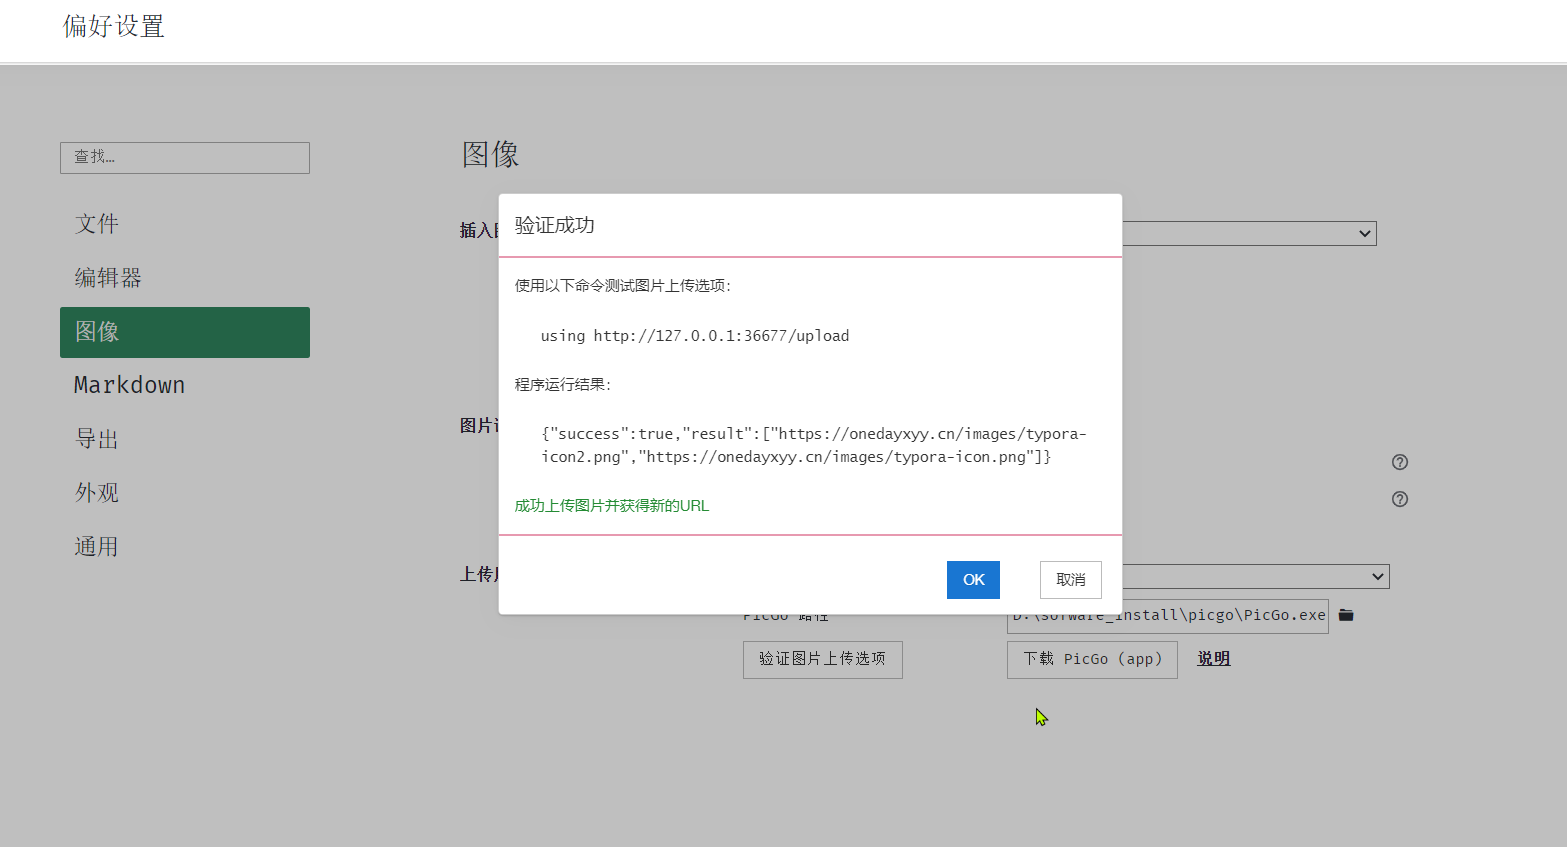
- 测试:(符合预期)
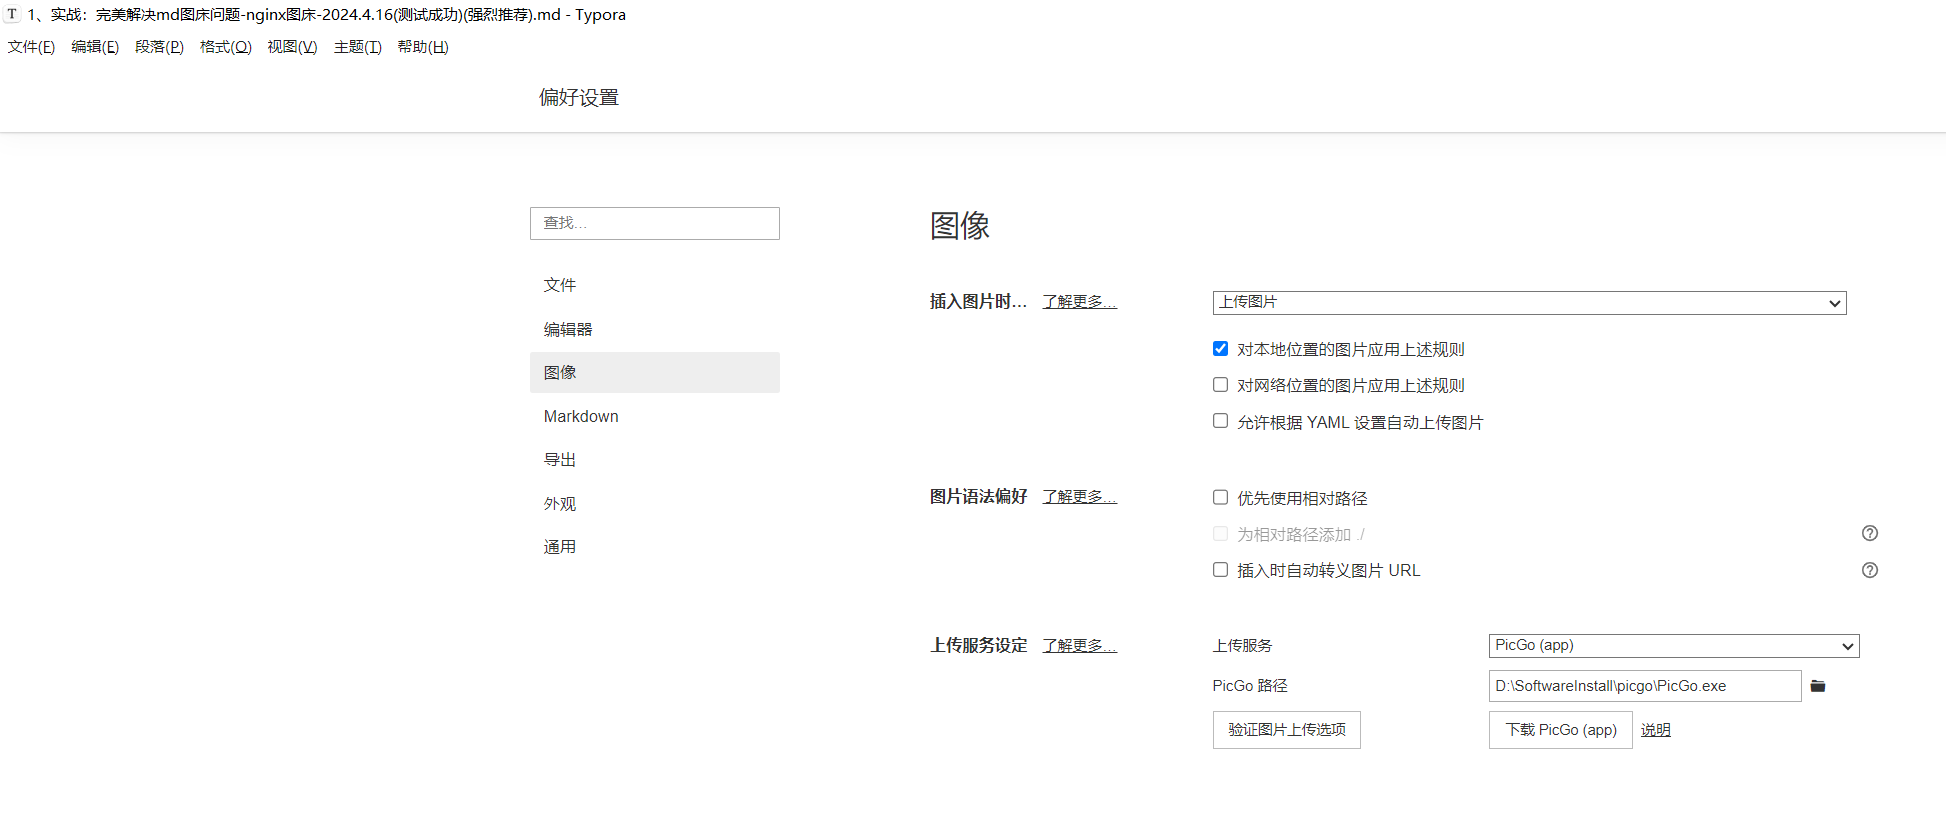
- 自己typora配置
测试结束。😘
注意:经测试,这里的网站标识 要填内容一定得是 json文件里的 "xx"名称才行的,不然就会报如下错误。🤣
3、配置rsync服务(可选)(推荐配置)
- 配置rsync服务,主要是可以配置winodws定期拉取图床数据,方便后期如果更换云服务器,可以更快速迁移数据,也是为了备份数据。(建议配置)
- 配置rsync服务,很简单的,可按如下文档配置。
- 参考文档
《实战:从linux同步数据到winodws(增量定时同步)-2023.11.30(测试成功)》(本次用到的) https://wiki.onedayxyy.cn/docs/rsync-linux-to-winodws
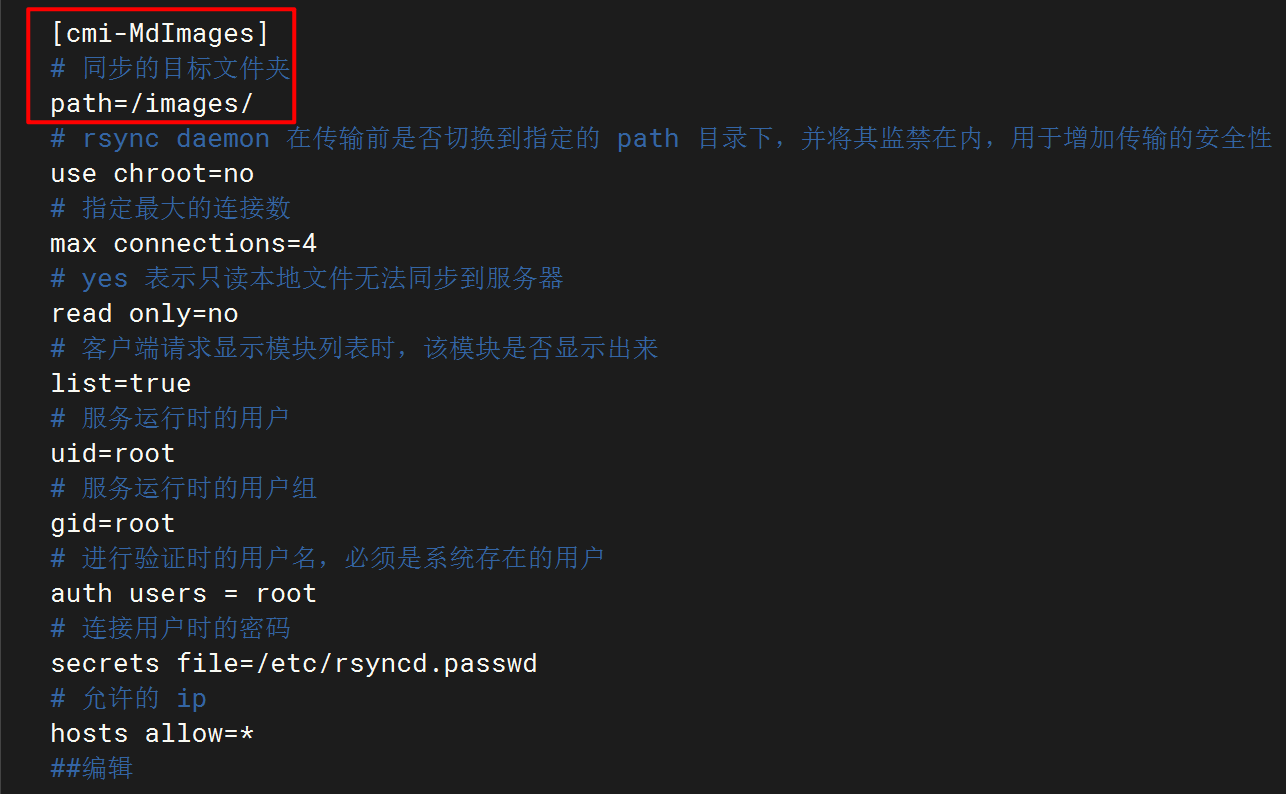
- 自己云服务器rsyncd服务配置截图
[root@docusaurus-wiki ~]#vim /etc/rsyncd.conf
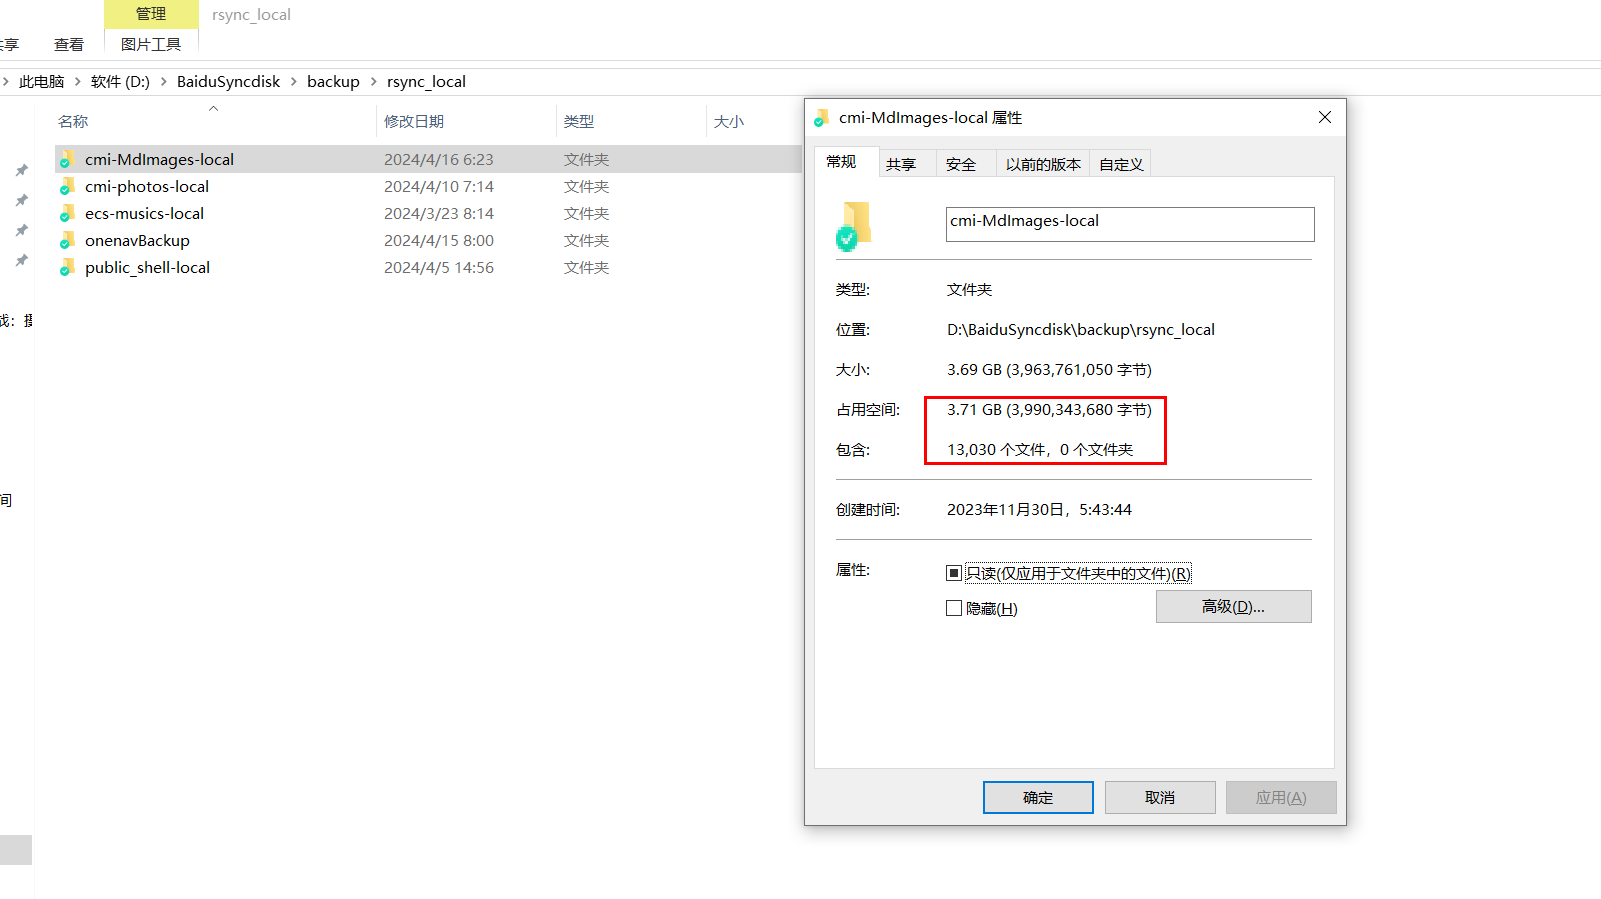
- winodws本地同步数据截图
echo backupmd图床数据……
rsync.exe -avPzruh  --port 8730 --password-file=/cygdrive/D/docusaurus/resource/shell/password.txt  root@47.100.215.163::cmi-MdImages/ /cygdrive/D/BaiduSyncdisk/backup/rsync_local/cmi-MdImages-local

- 图床数据量汇总:
本次更换图床为ecs nginx提供的图床,体验nice。
##本地docusaurus配置
Administrator@DESKTOP-LJJNG21 MINGW64 /d/docusaurus (master)
$ du -shc docs/
10M     docs/
10M     total

##ecs
[root@docusaurus-wiki ~]#ll /images/ |wc -l
13026
[root@docusaurus-wiki ~]#du -shc /images/
3.8G    /images/
3.8G    total
[root@docusaurus-wiki ~]#
5、配置winodws定时任务
参考如下文章:
《实战-winodws配置定时脚本-2023.11.30(测试成功)》 https://wiki.onedayxyy.cn/docs/DingShiJiaoBen/
我自己目前为图床做的备份定时配置如下:
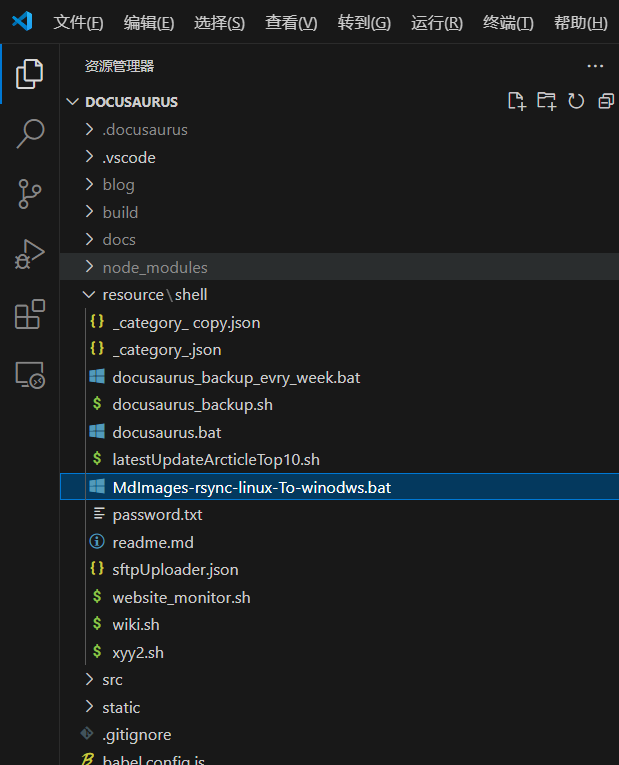
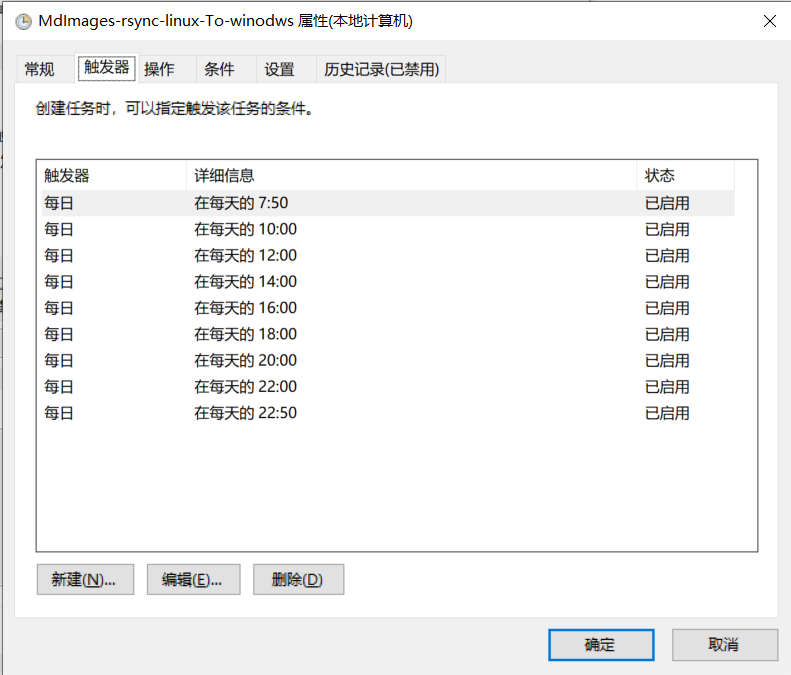
6、测试验证
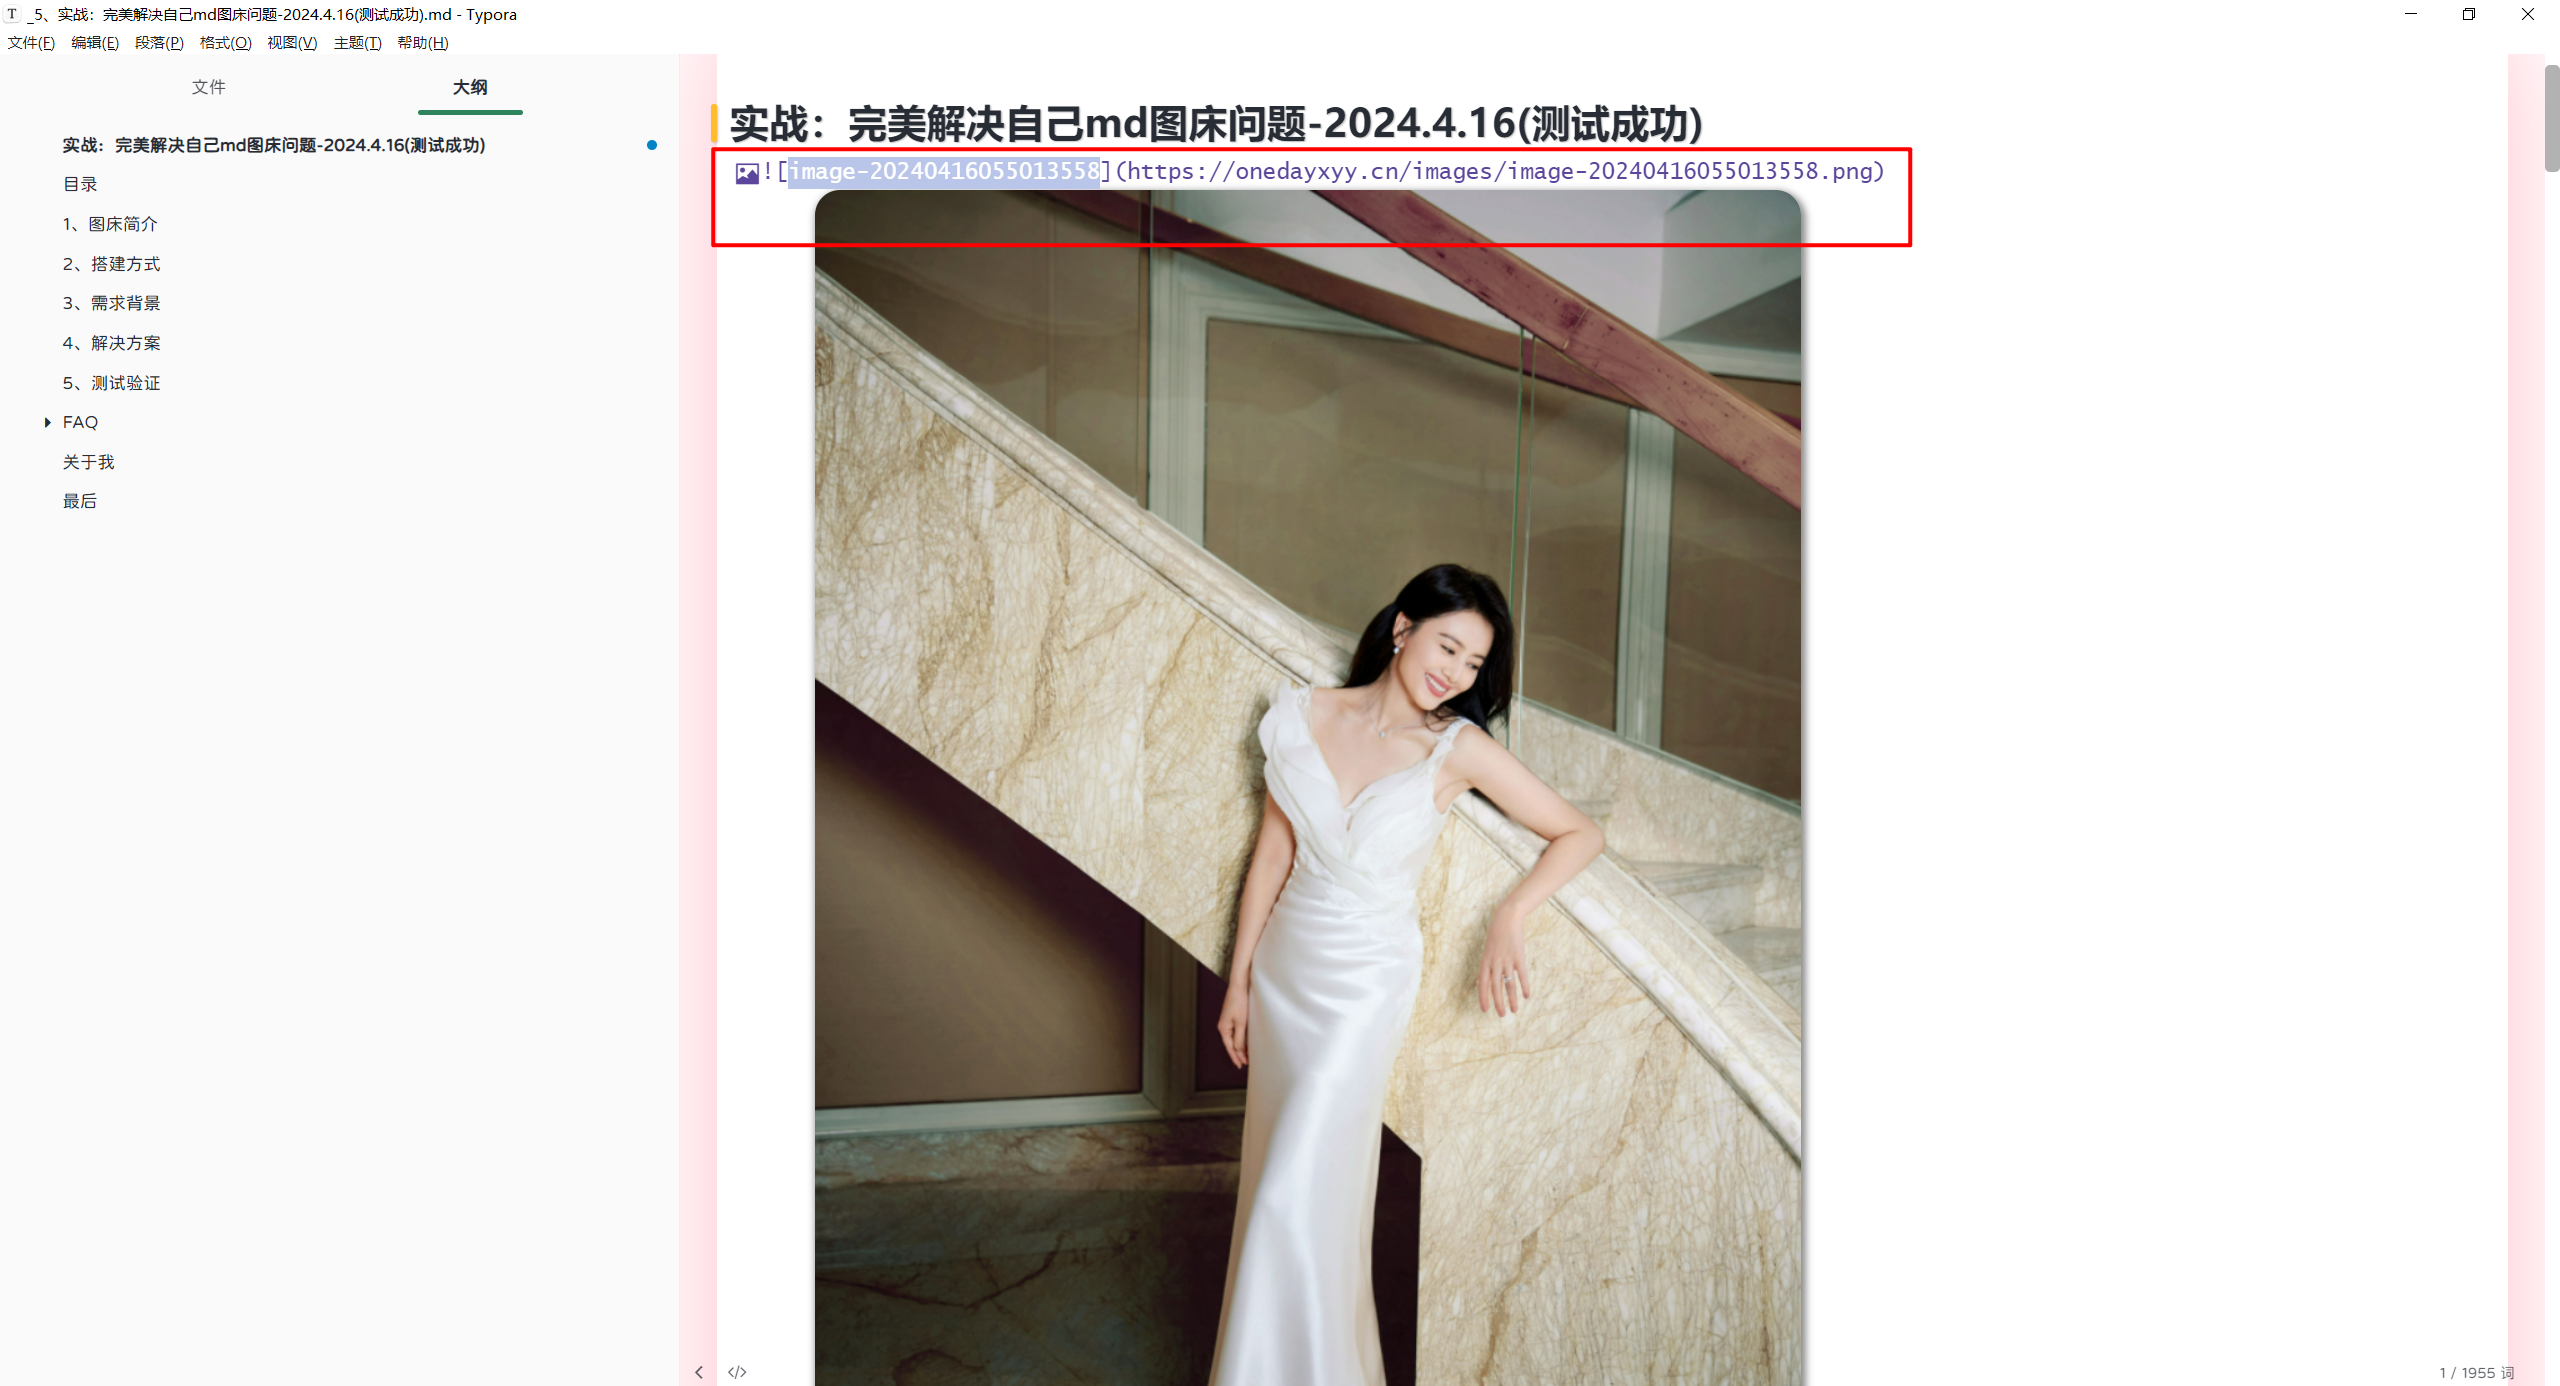
- 使用测试
https://onedayxyy.cn/images/image-20240416055013558.png

总结
笔记数据对任何人来说,都是至关重要的。(尤其对IT人员)
通过md来维护自己的IT数据,特别丝滑;
但md最大的问题就是处理好图床问题,通过这种方式,我们可以轻松解决md图床问题,ecs寸一份图床数据,然后会定期同步到本地(百度云同步空间),自己的md文档也通过坚果云进行同步(免费),基本完全保证了自己的笔记数据安全。
笔记数据安全得到了保证,然后通过丝��滑的typora,我们就可以好好专心生成原创文章了。😊
关于我
我的博客主旨:
- 排版美观,语言精炼;
- 文档即手册,步骤明细,拒绝埋坑,提供源码;
- 本人实战文档都是亲测成功的,各位小伙伴在实际操作过程中如有什么疑问,可随时联系本人帮您解决问题,让我们一起进步!
🍀 微信二维码
x2675263825 (舍得), qq:2675263825。

🍀 微信公众号
《云原生架构师实战》

🍀 csdn
https://blog.csdn.net/weixin_39246554?spm=1010.2135.3001.5421
🍀 知乎
https://www.zhihu.com/people/foryouone
往期推荐
QQ群
《玩转Typora+Docusuaurus+起始页》交流群:(欢迎小伙伴一起探讨有趣的IT技术,来完成一些漂亮的项目)
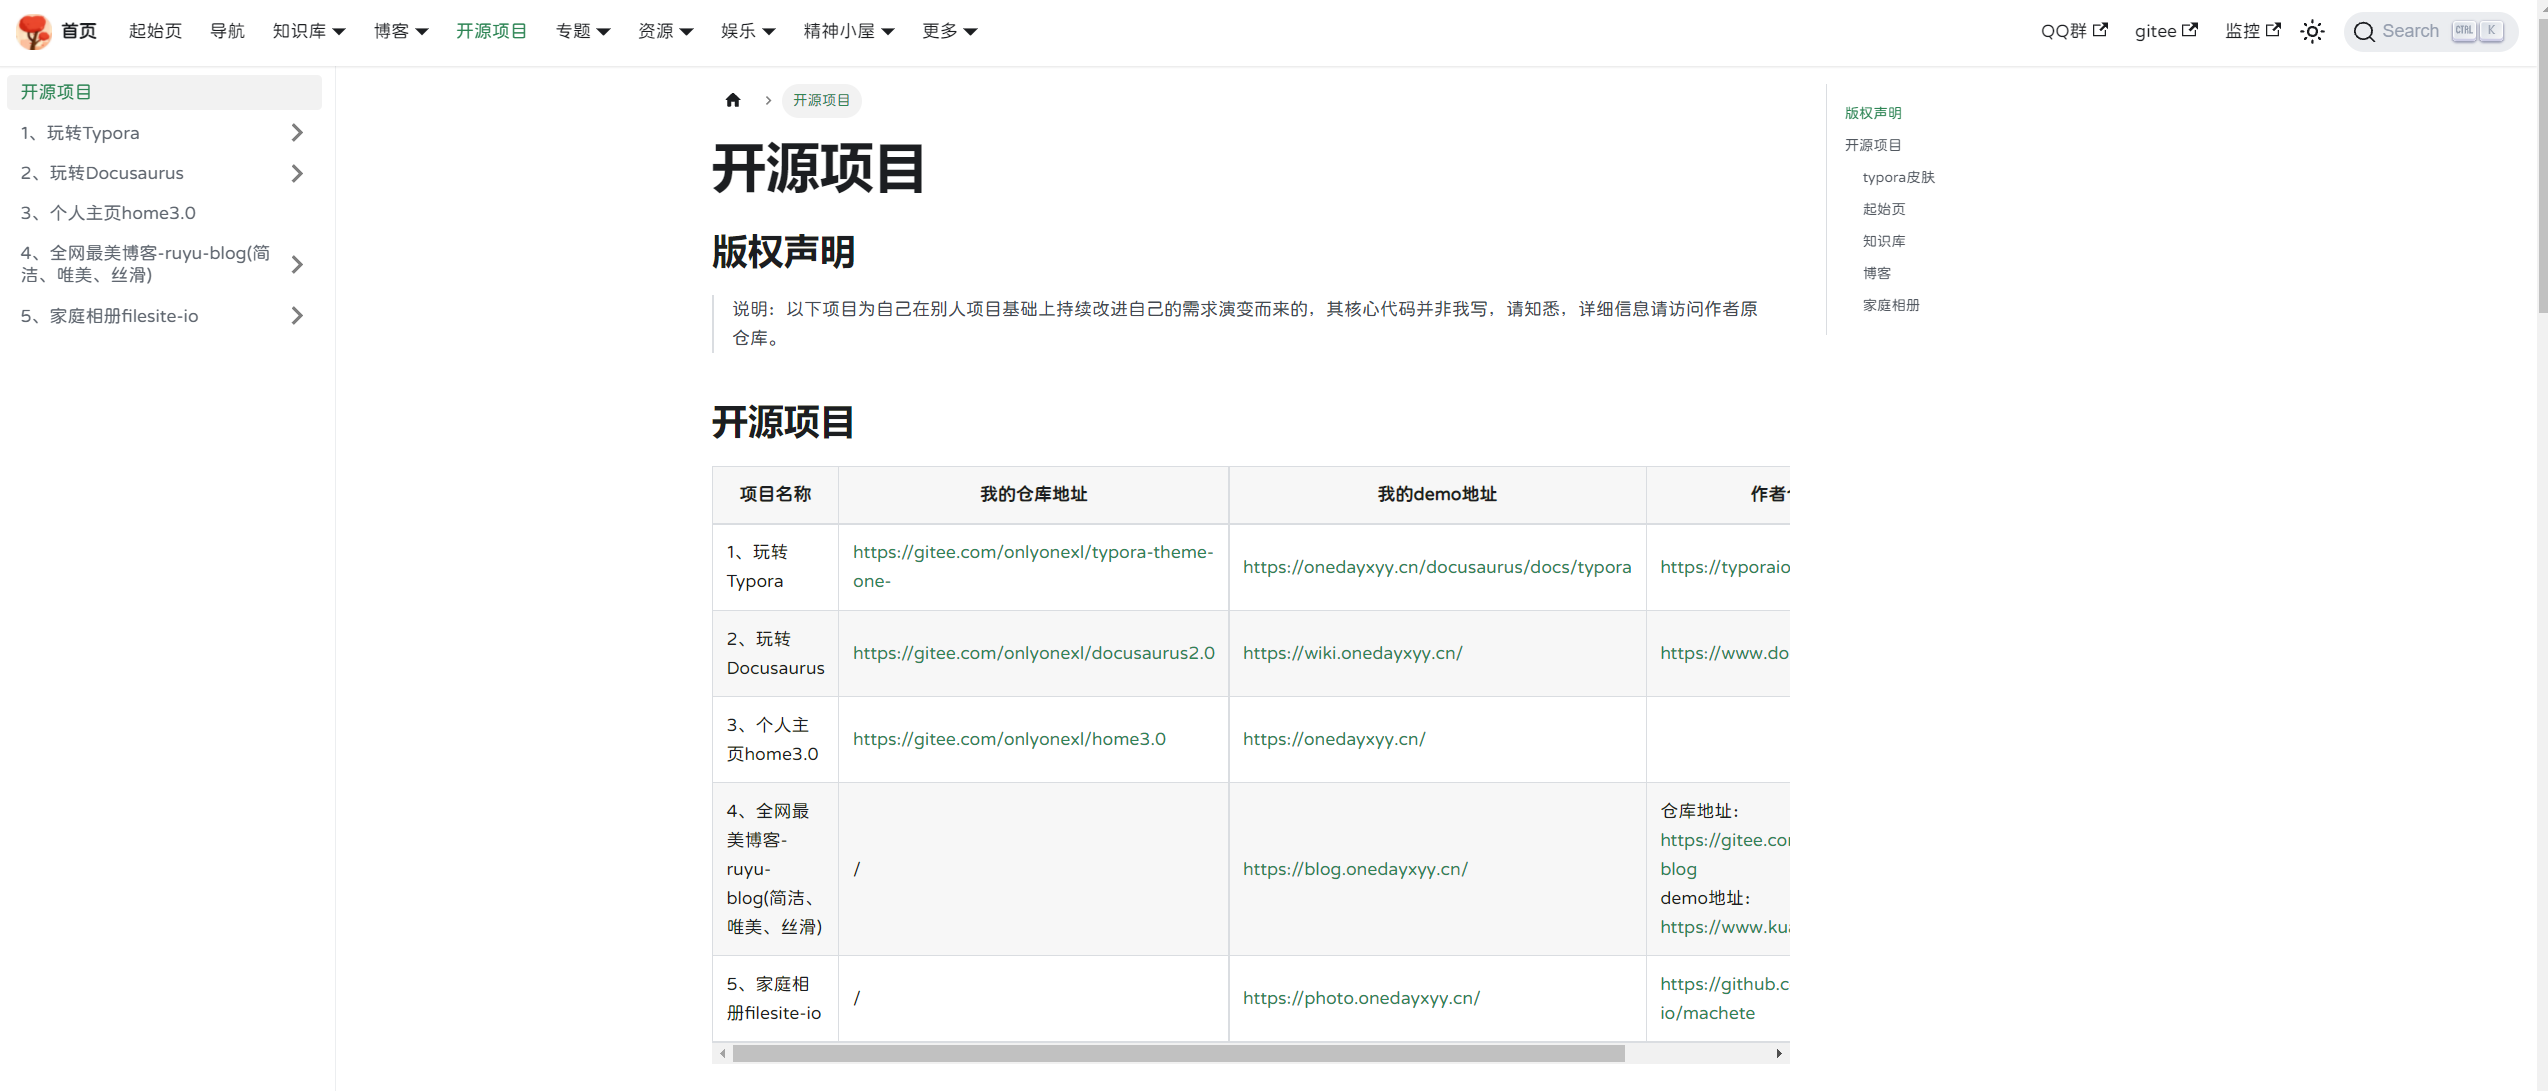
我的开源项目:
https://wiki.onedayxyy.cn/docs/OpenSource
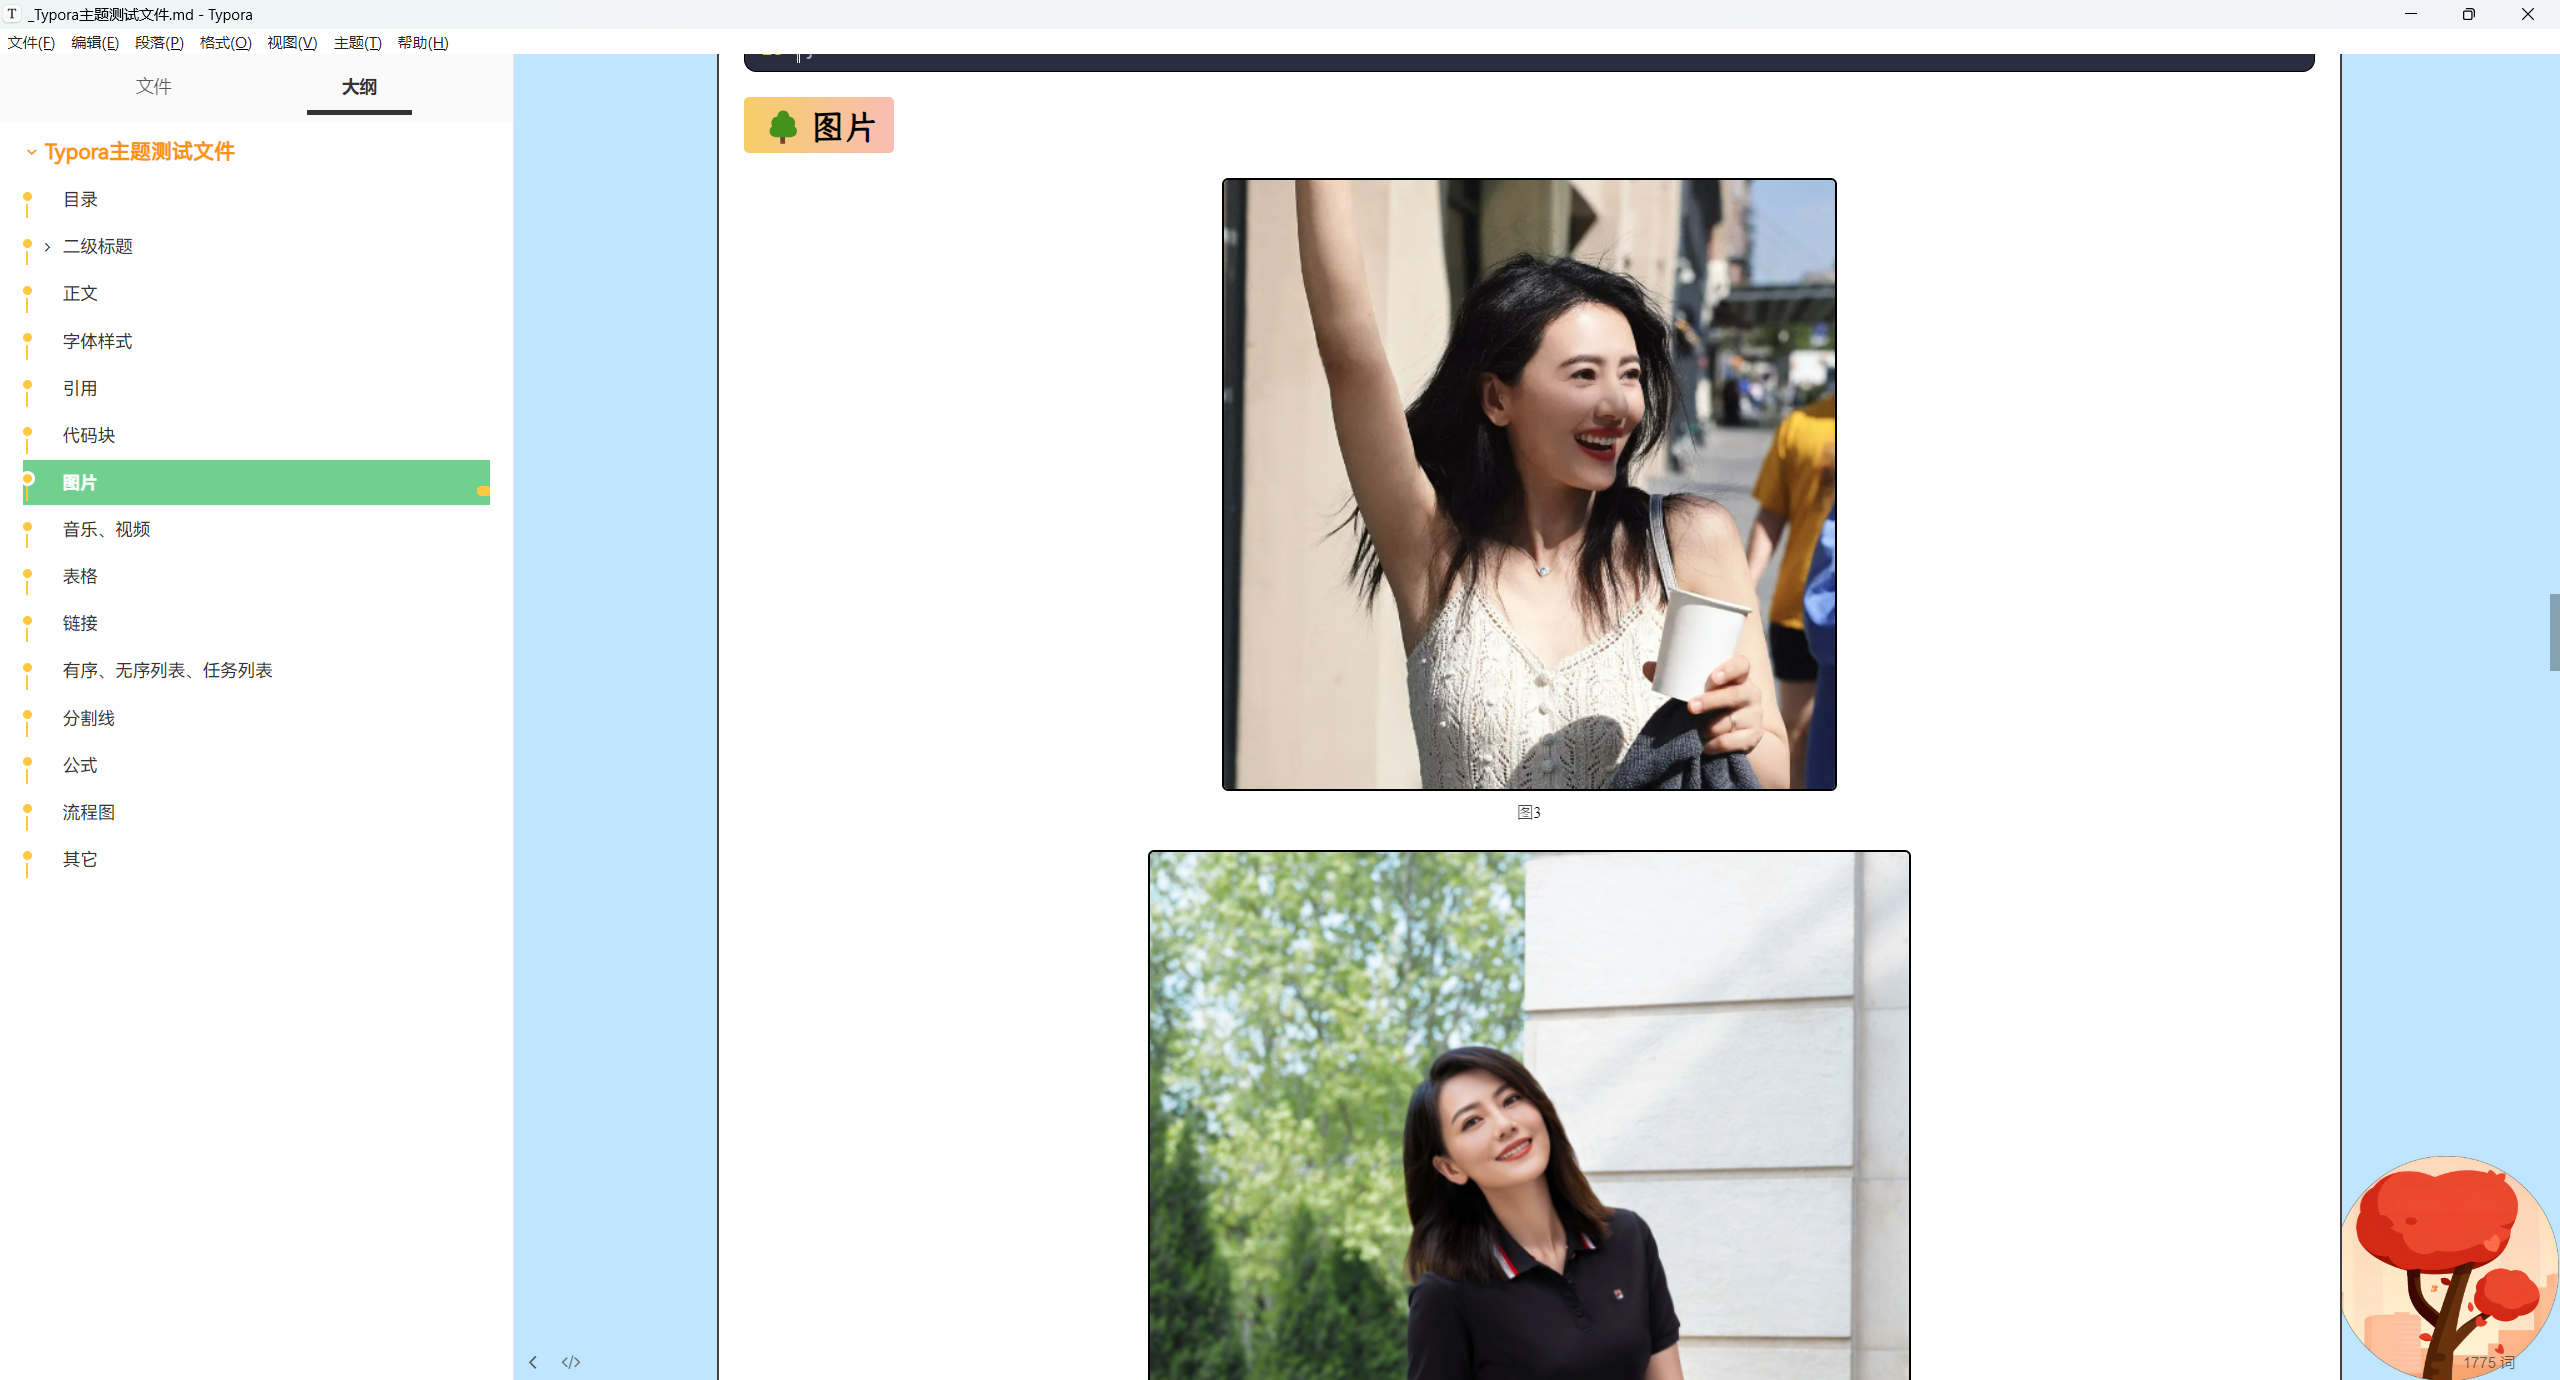
- typora皮肤
https://wiki.onedayxyy.cn/docs/typora
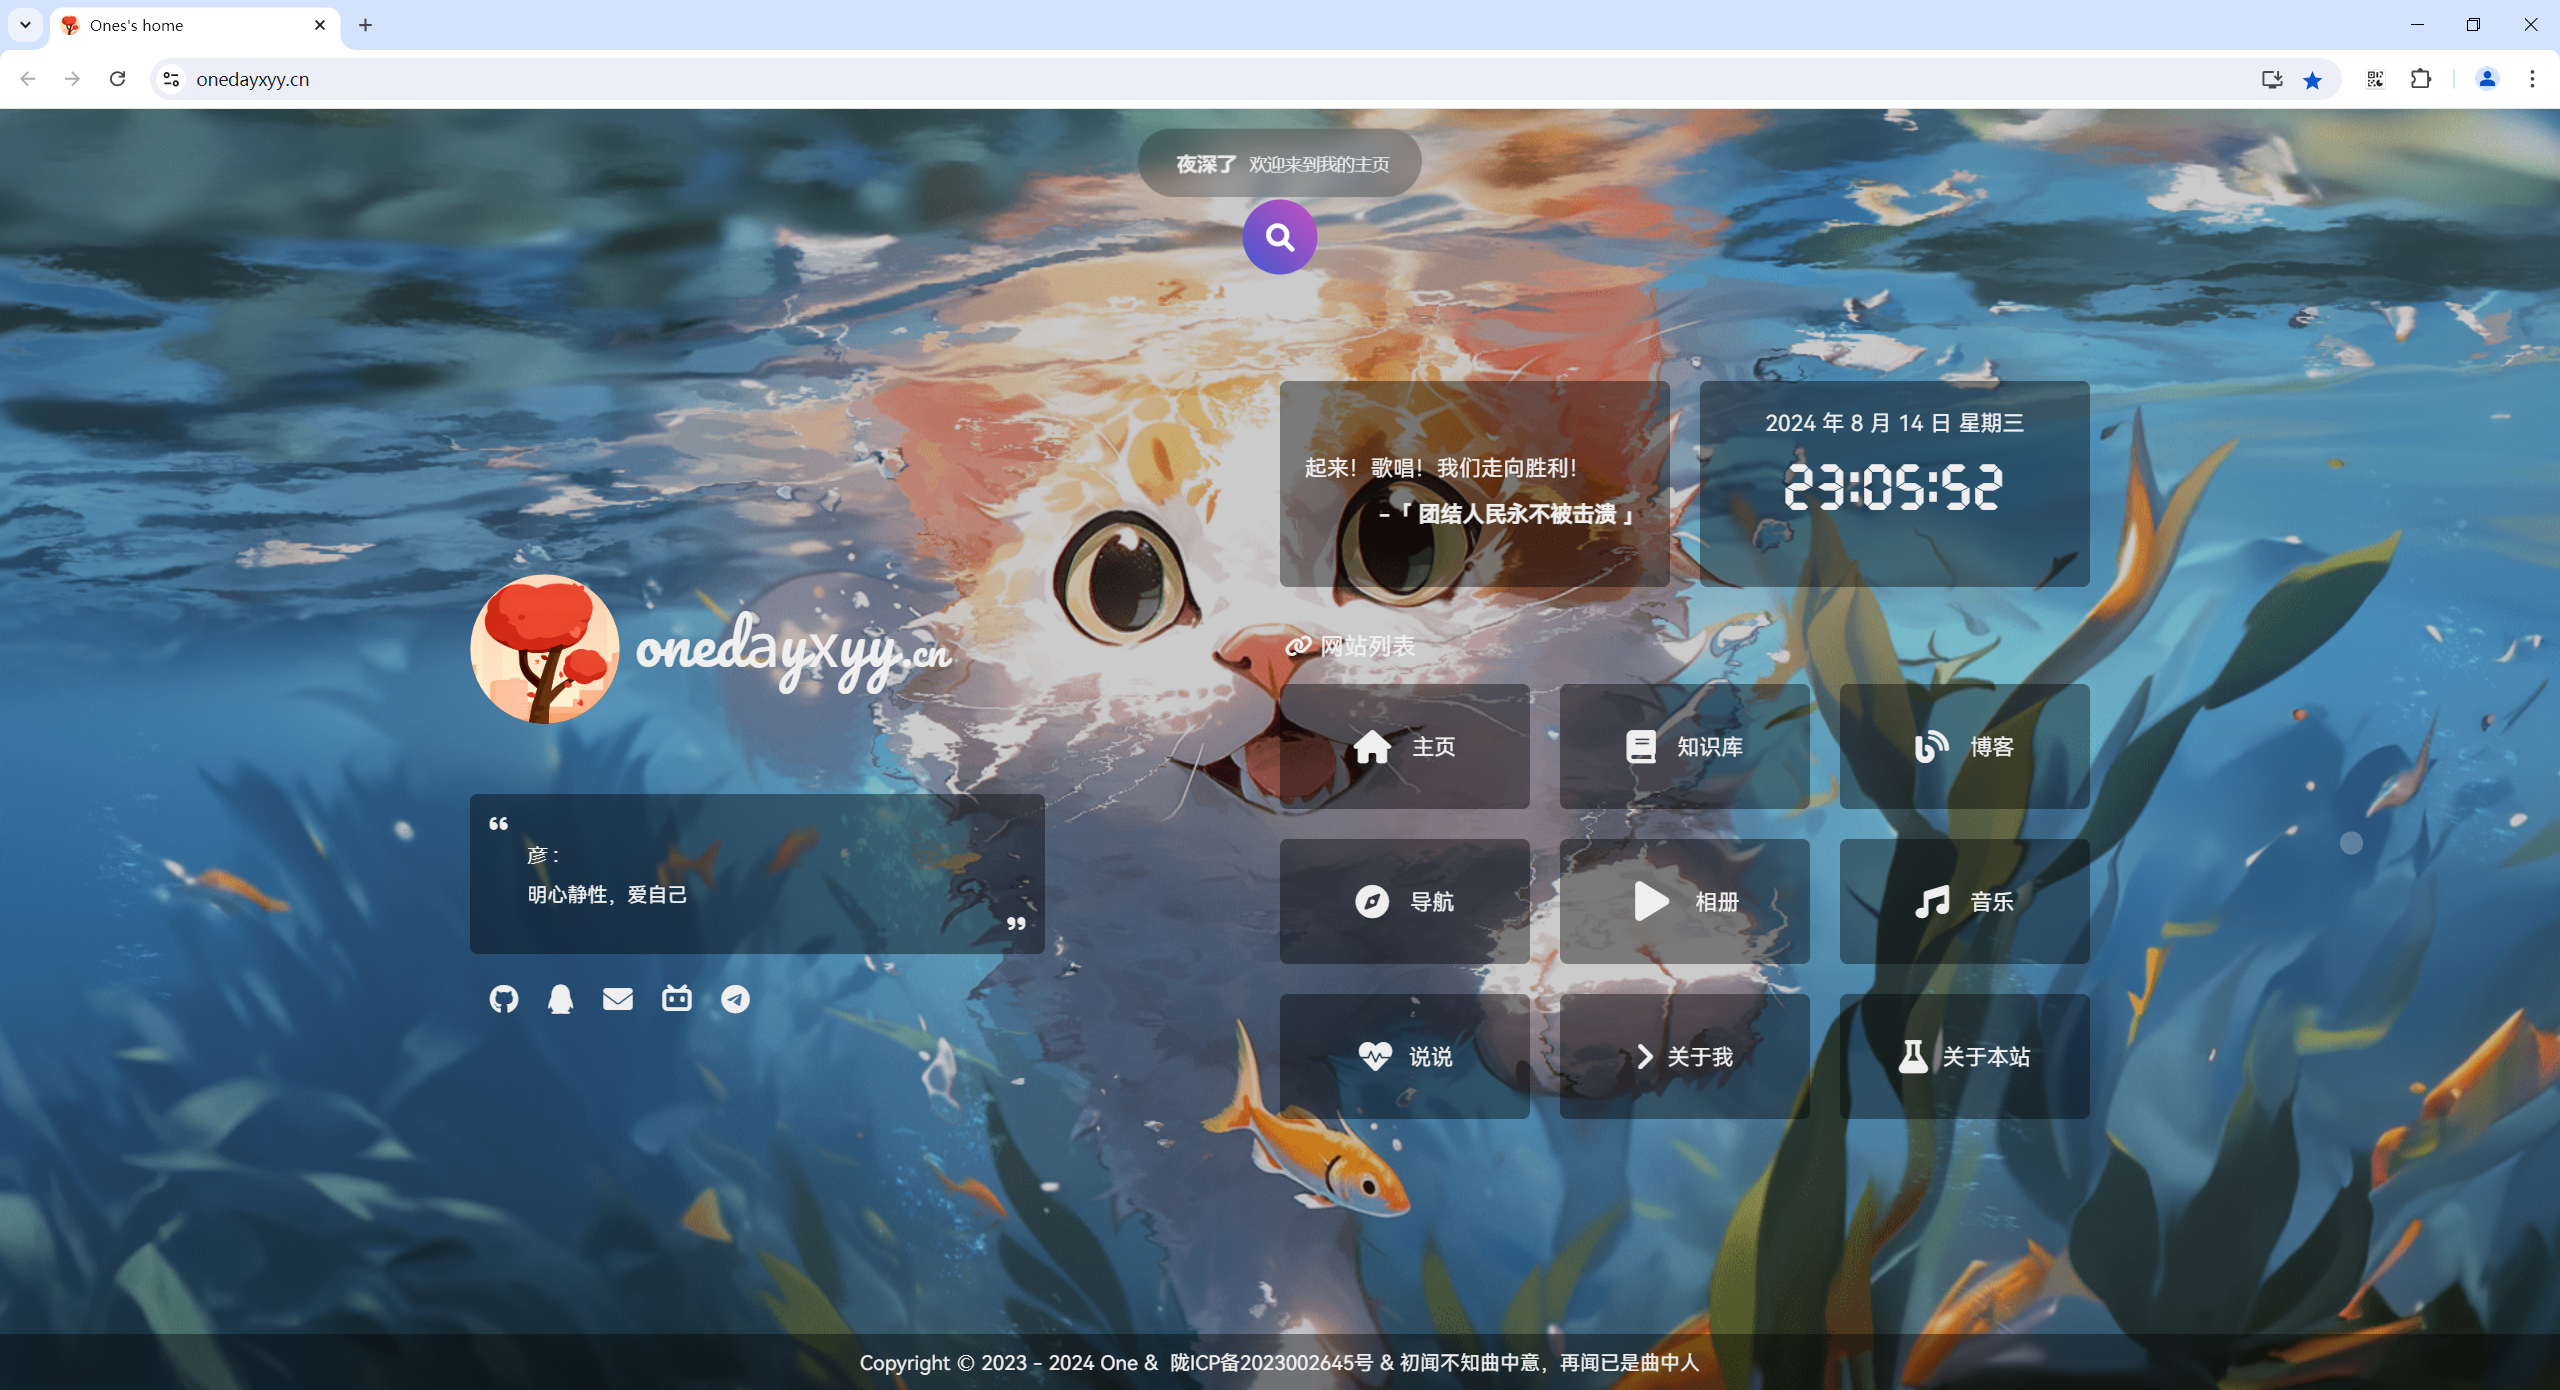
- 起始页
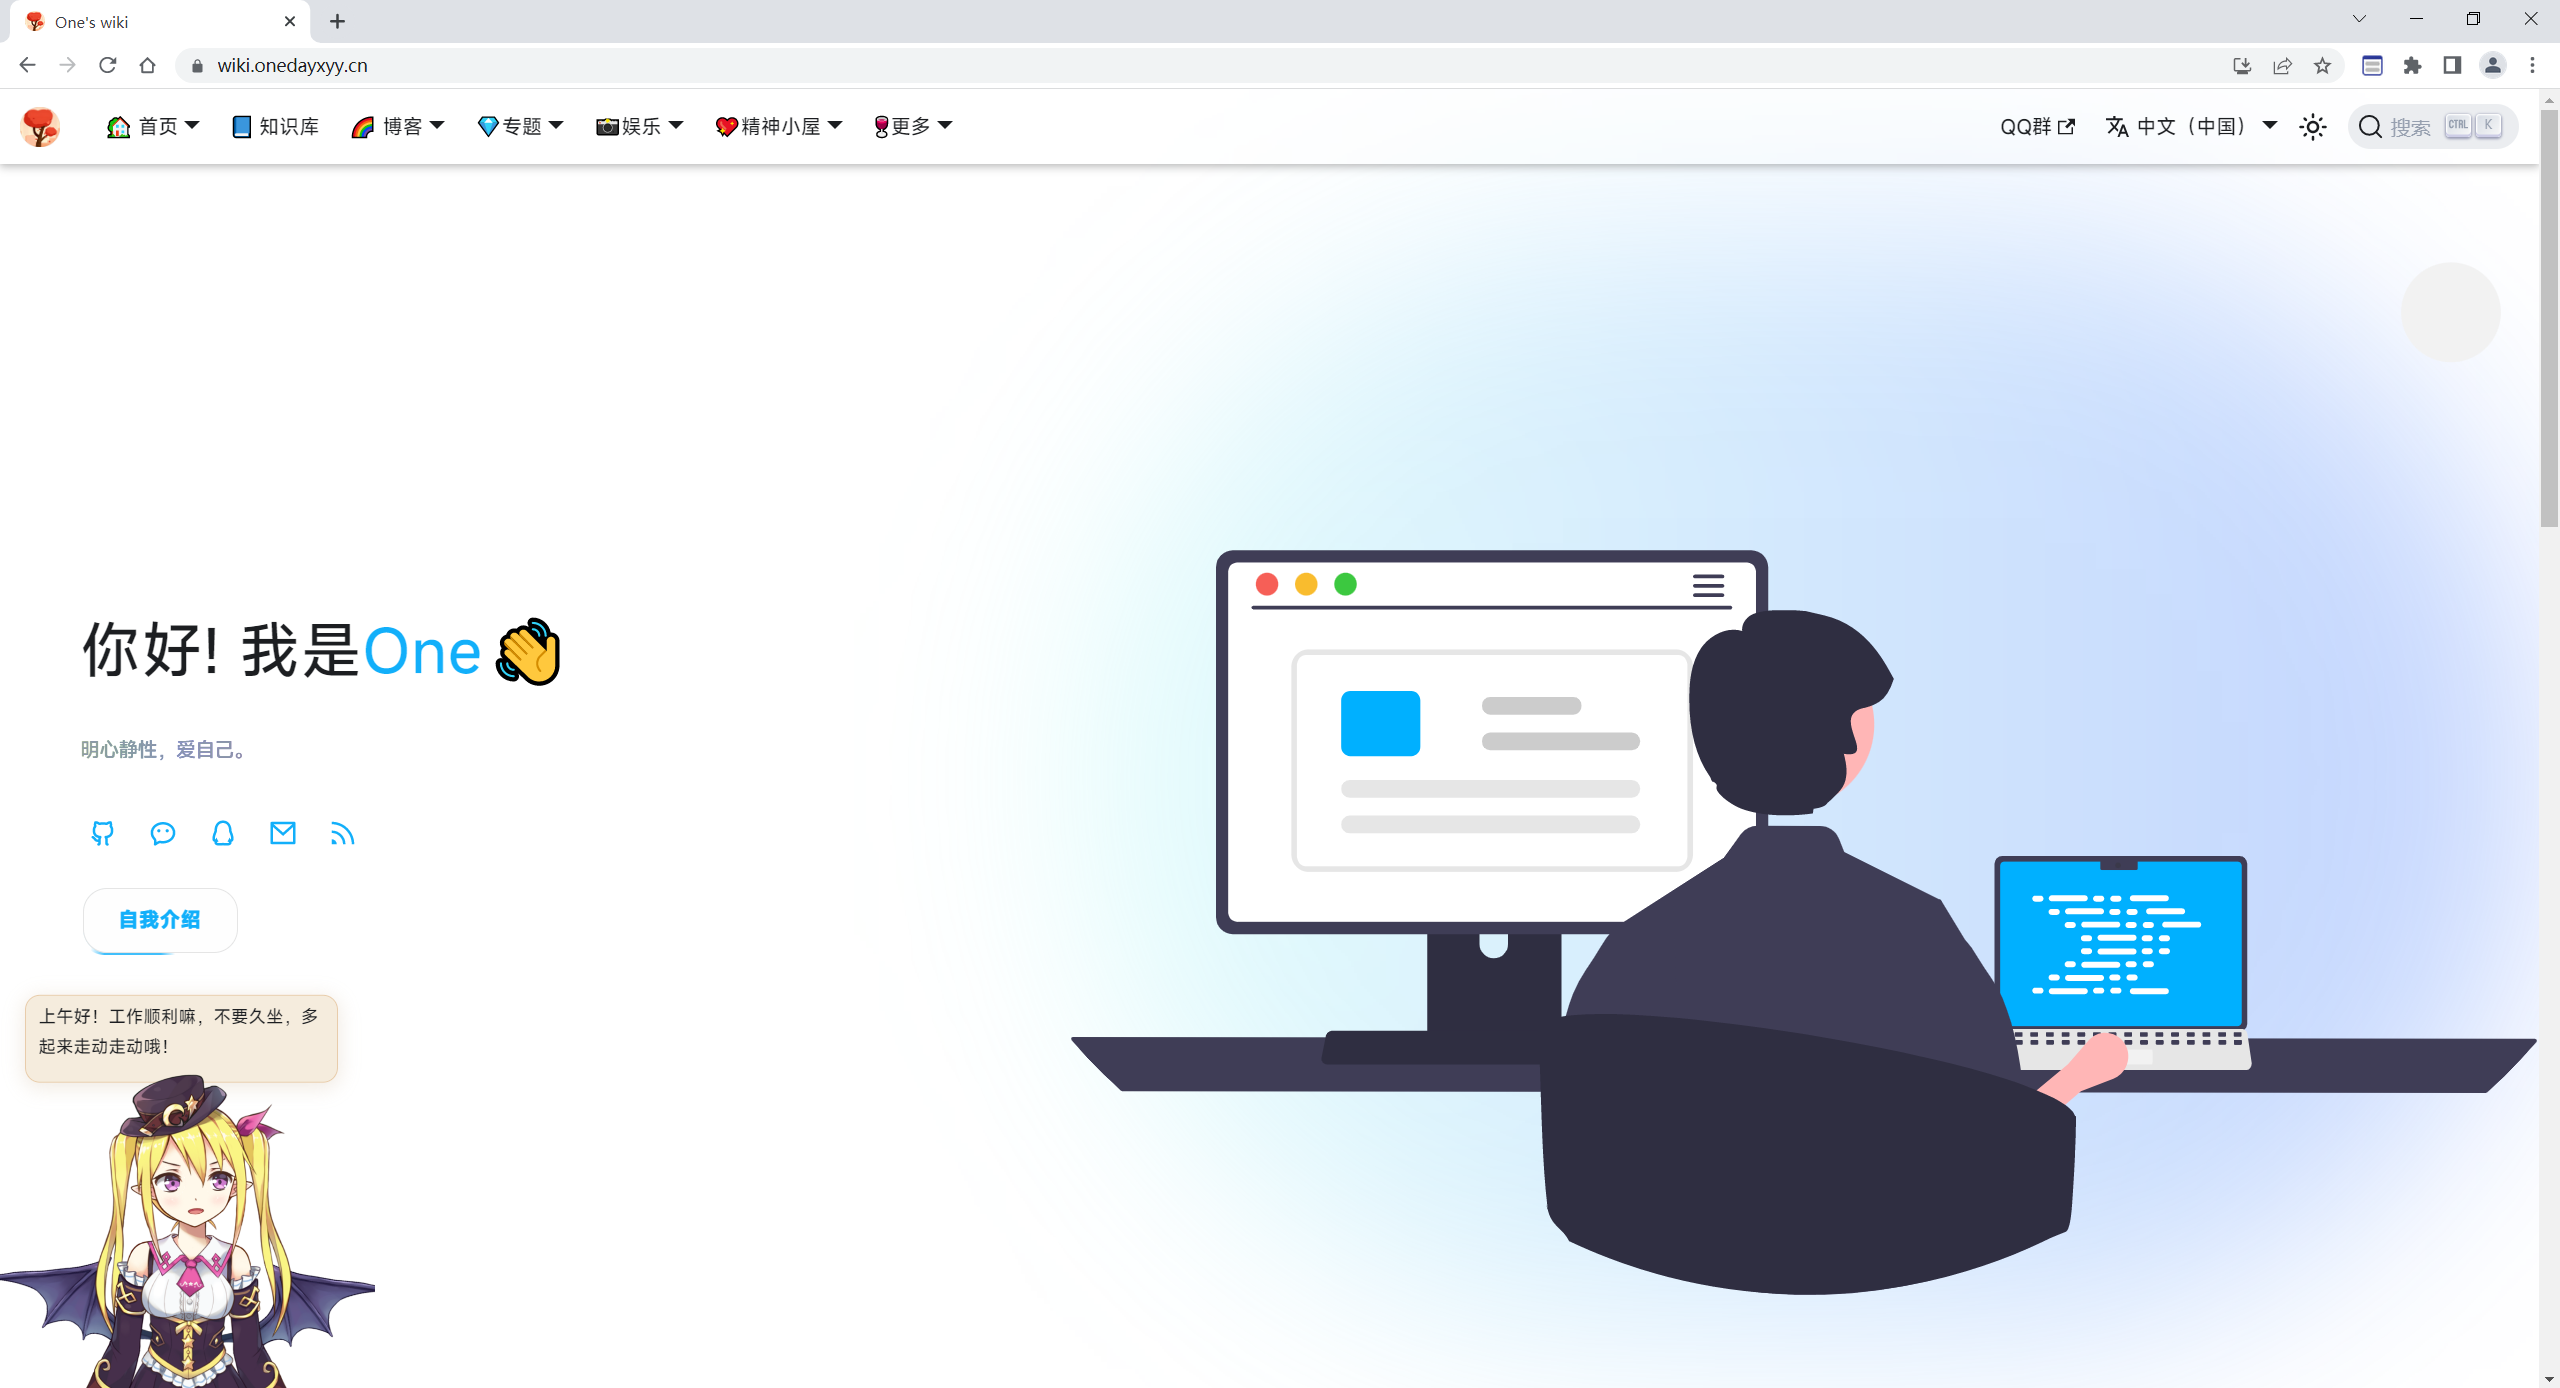
- 知识库
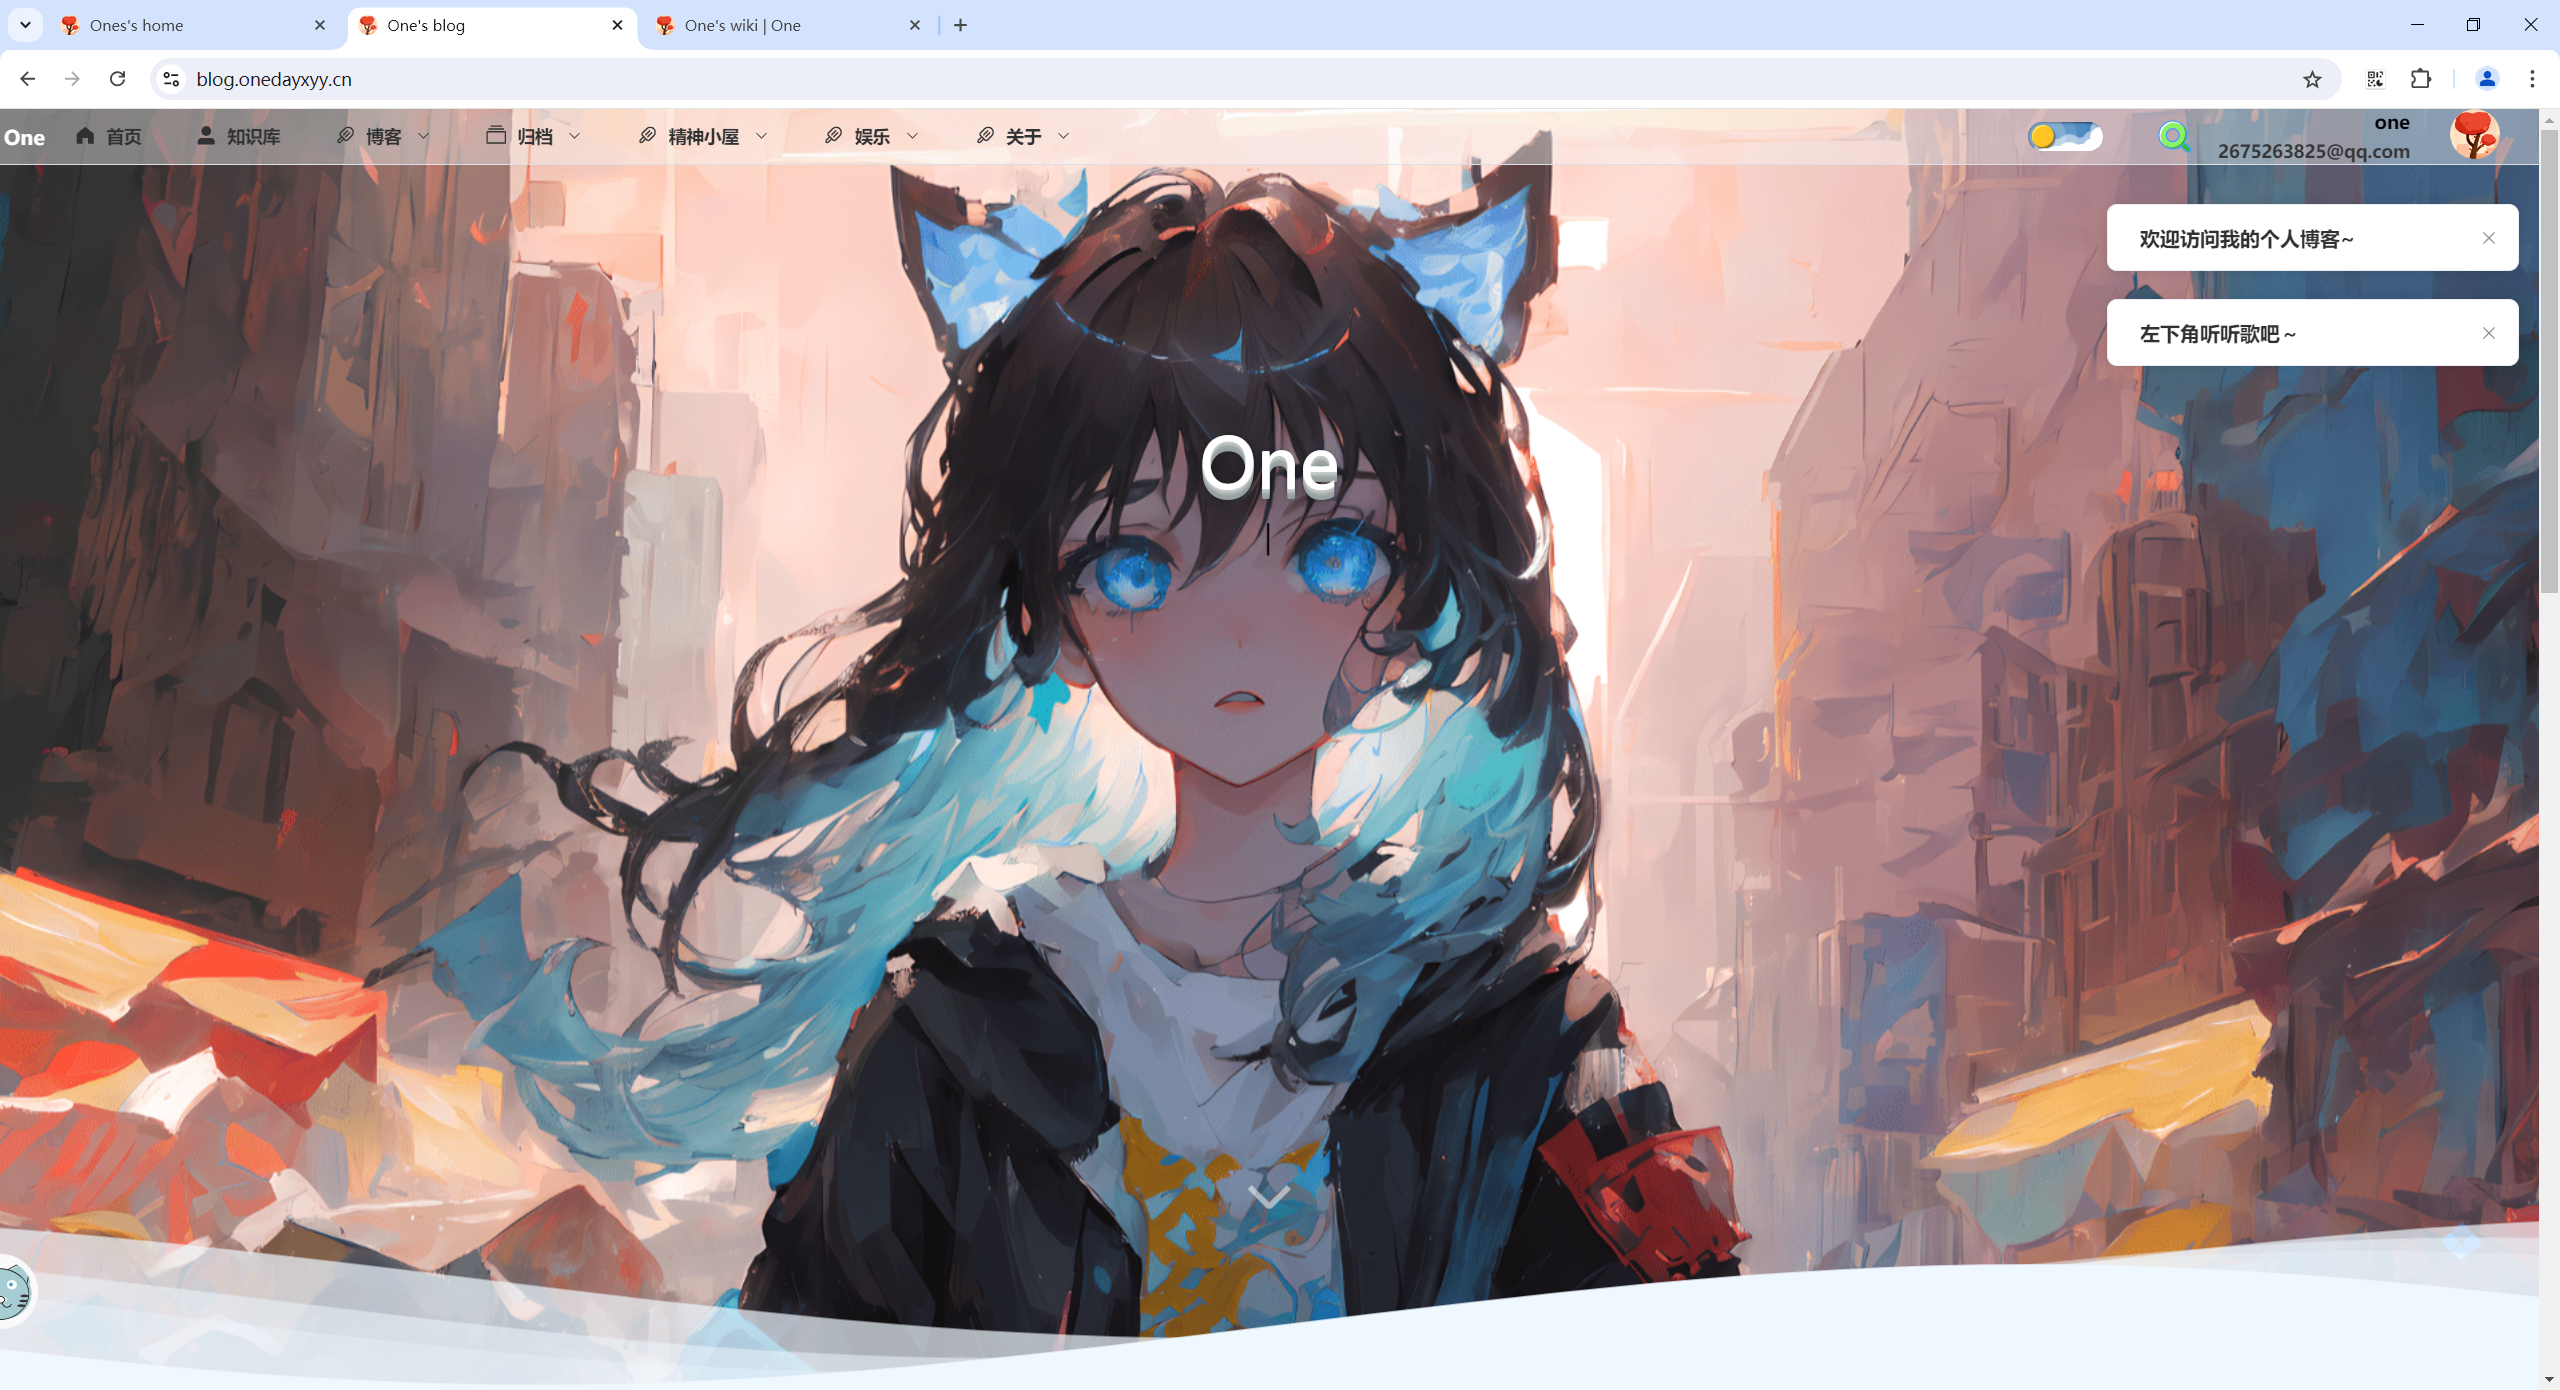
- 博客
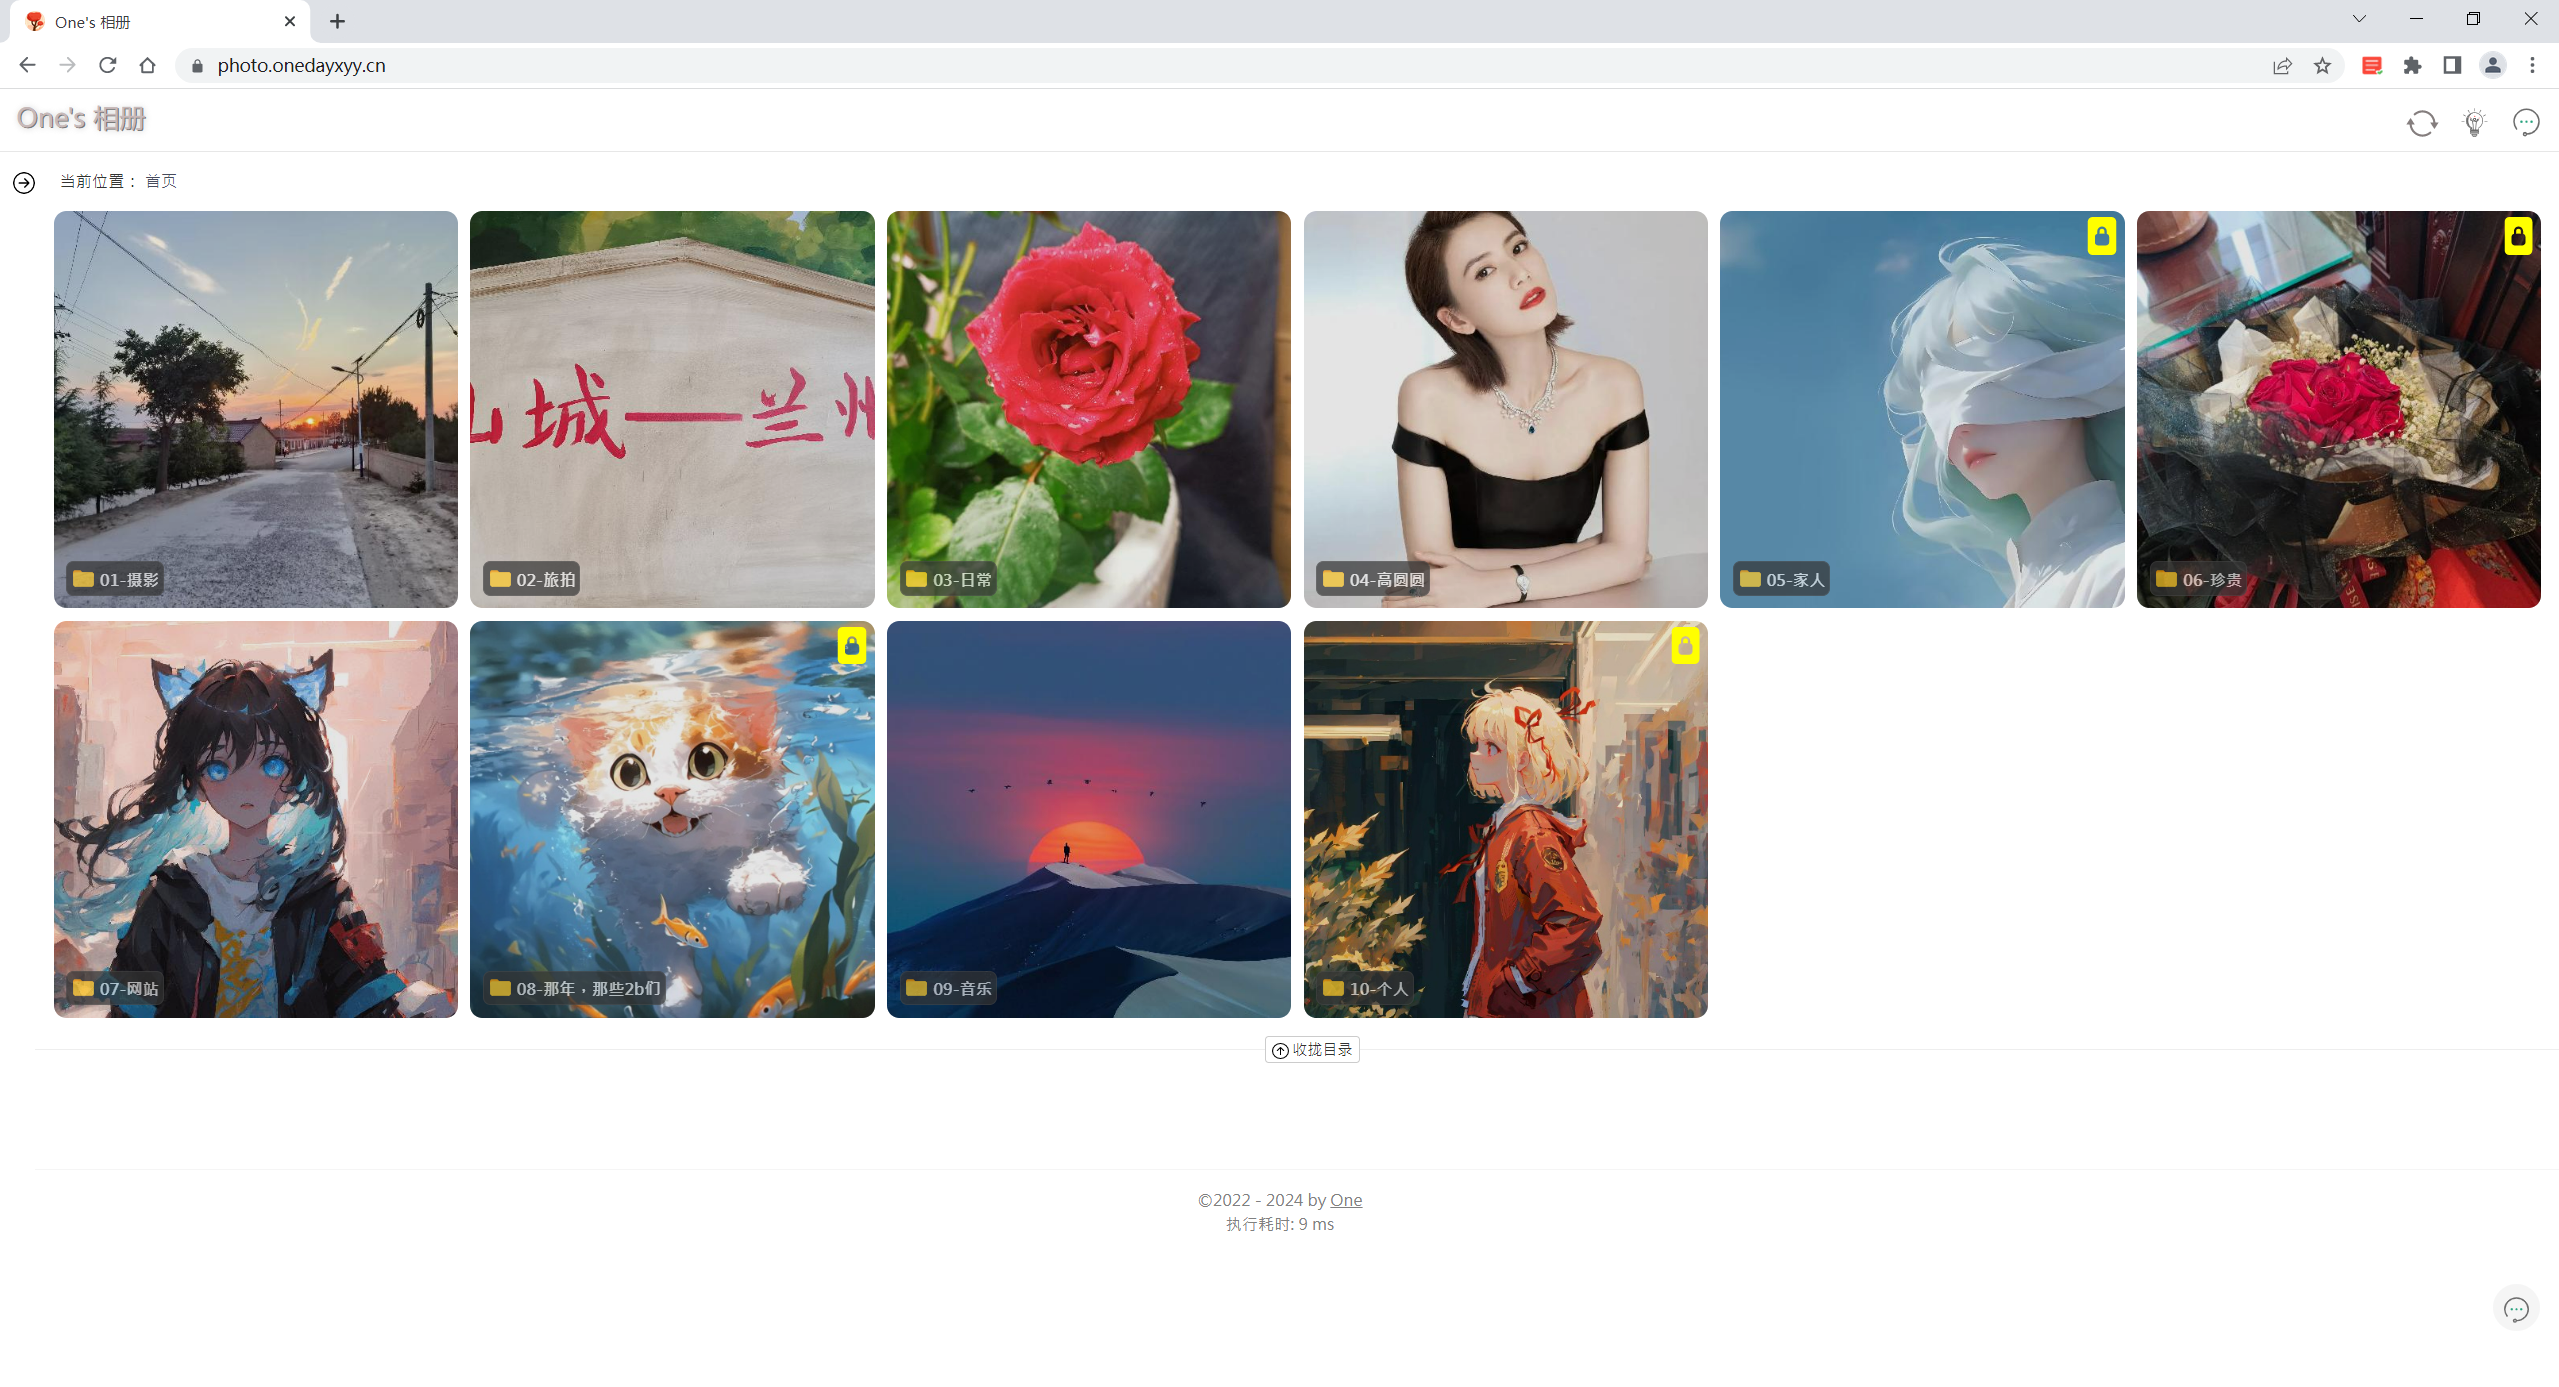
- 个人相册
最后
好了,关于本次就到这里了,感谢大家阅读,最后祝大家生活快乐,每天都过的有意义哦,我们下期见!
