一个优秀的自托管的监控工具-Uptime Kuma
目录
[toc]
版权
本文由 简悦 SimpRead 转码, 原文地址 https://mp.weixin.qq.com/s/4UUMRvXo3_uDvi4EH6B2iw
简介
Uptime Kuma 是什么
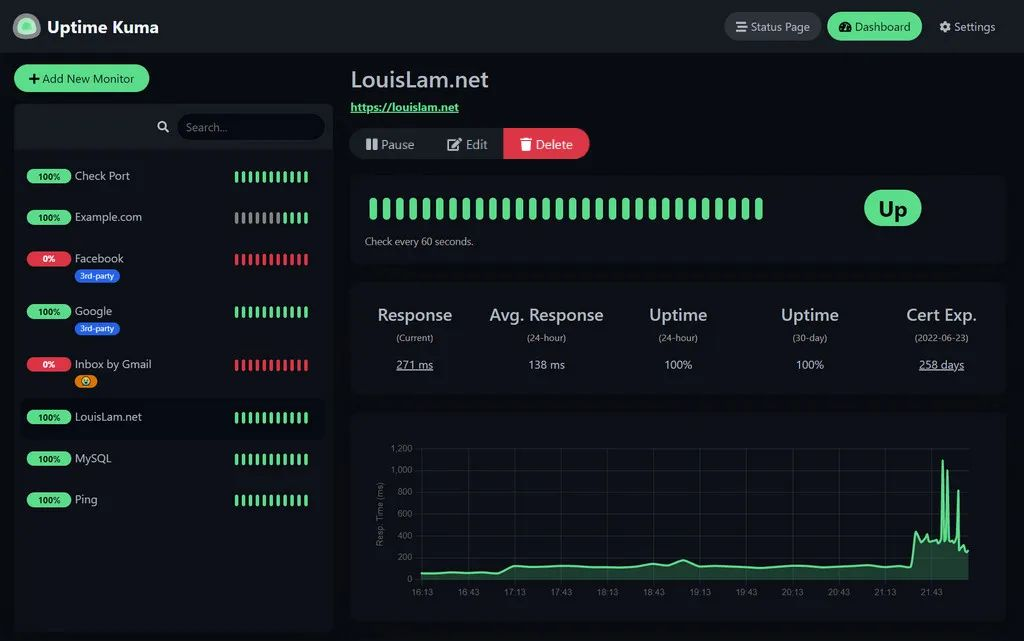
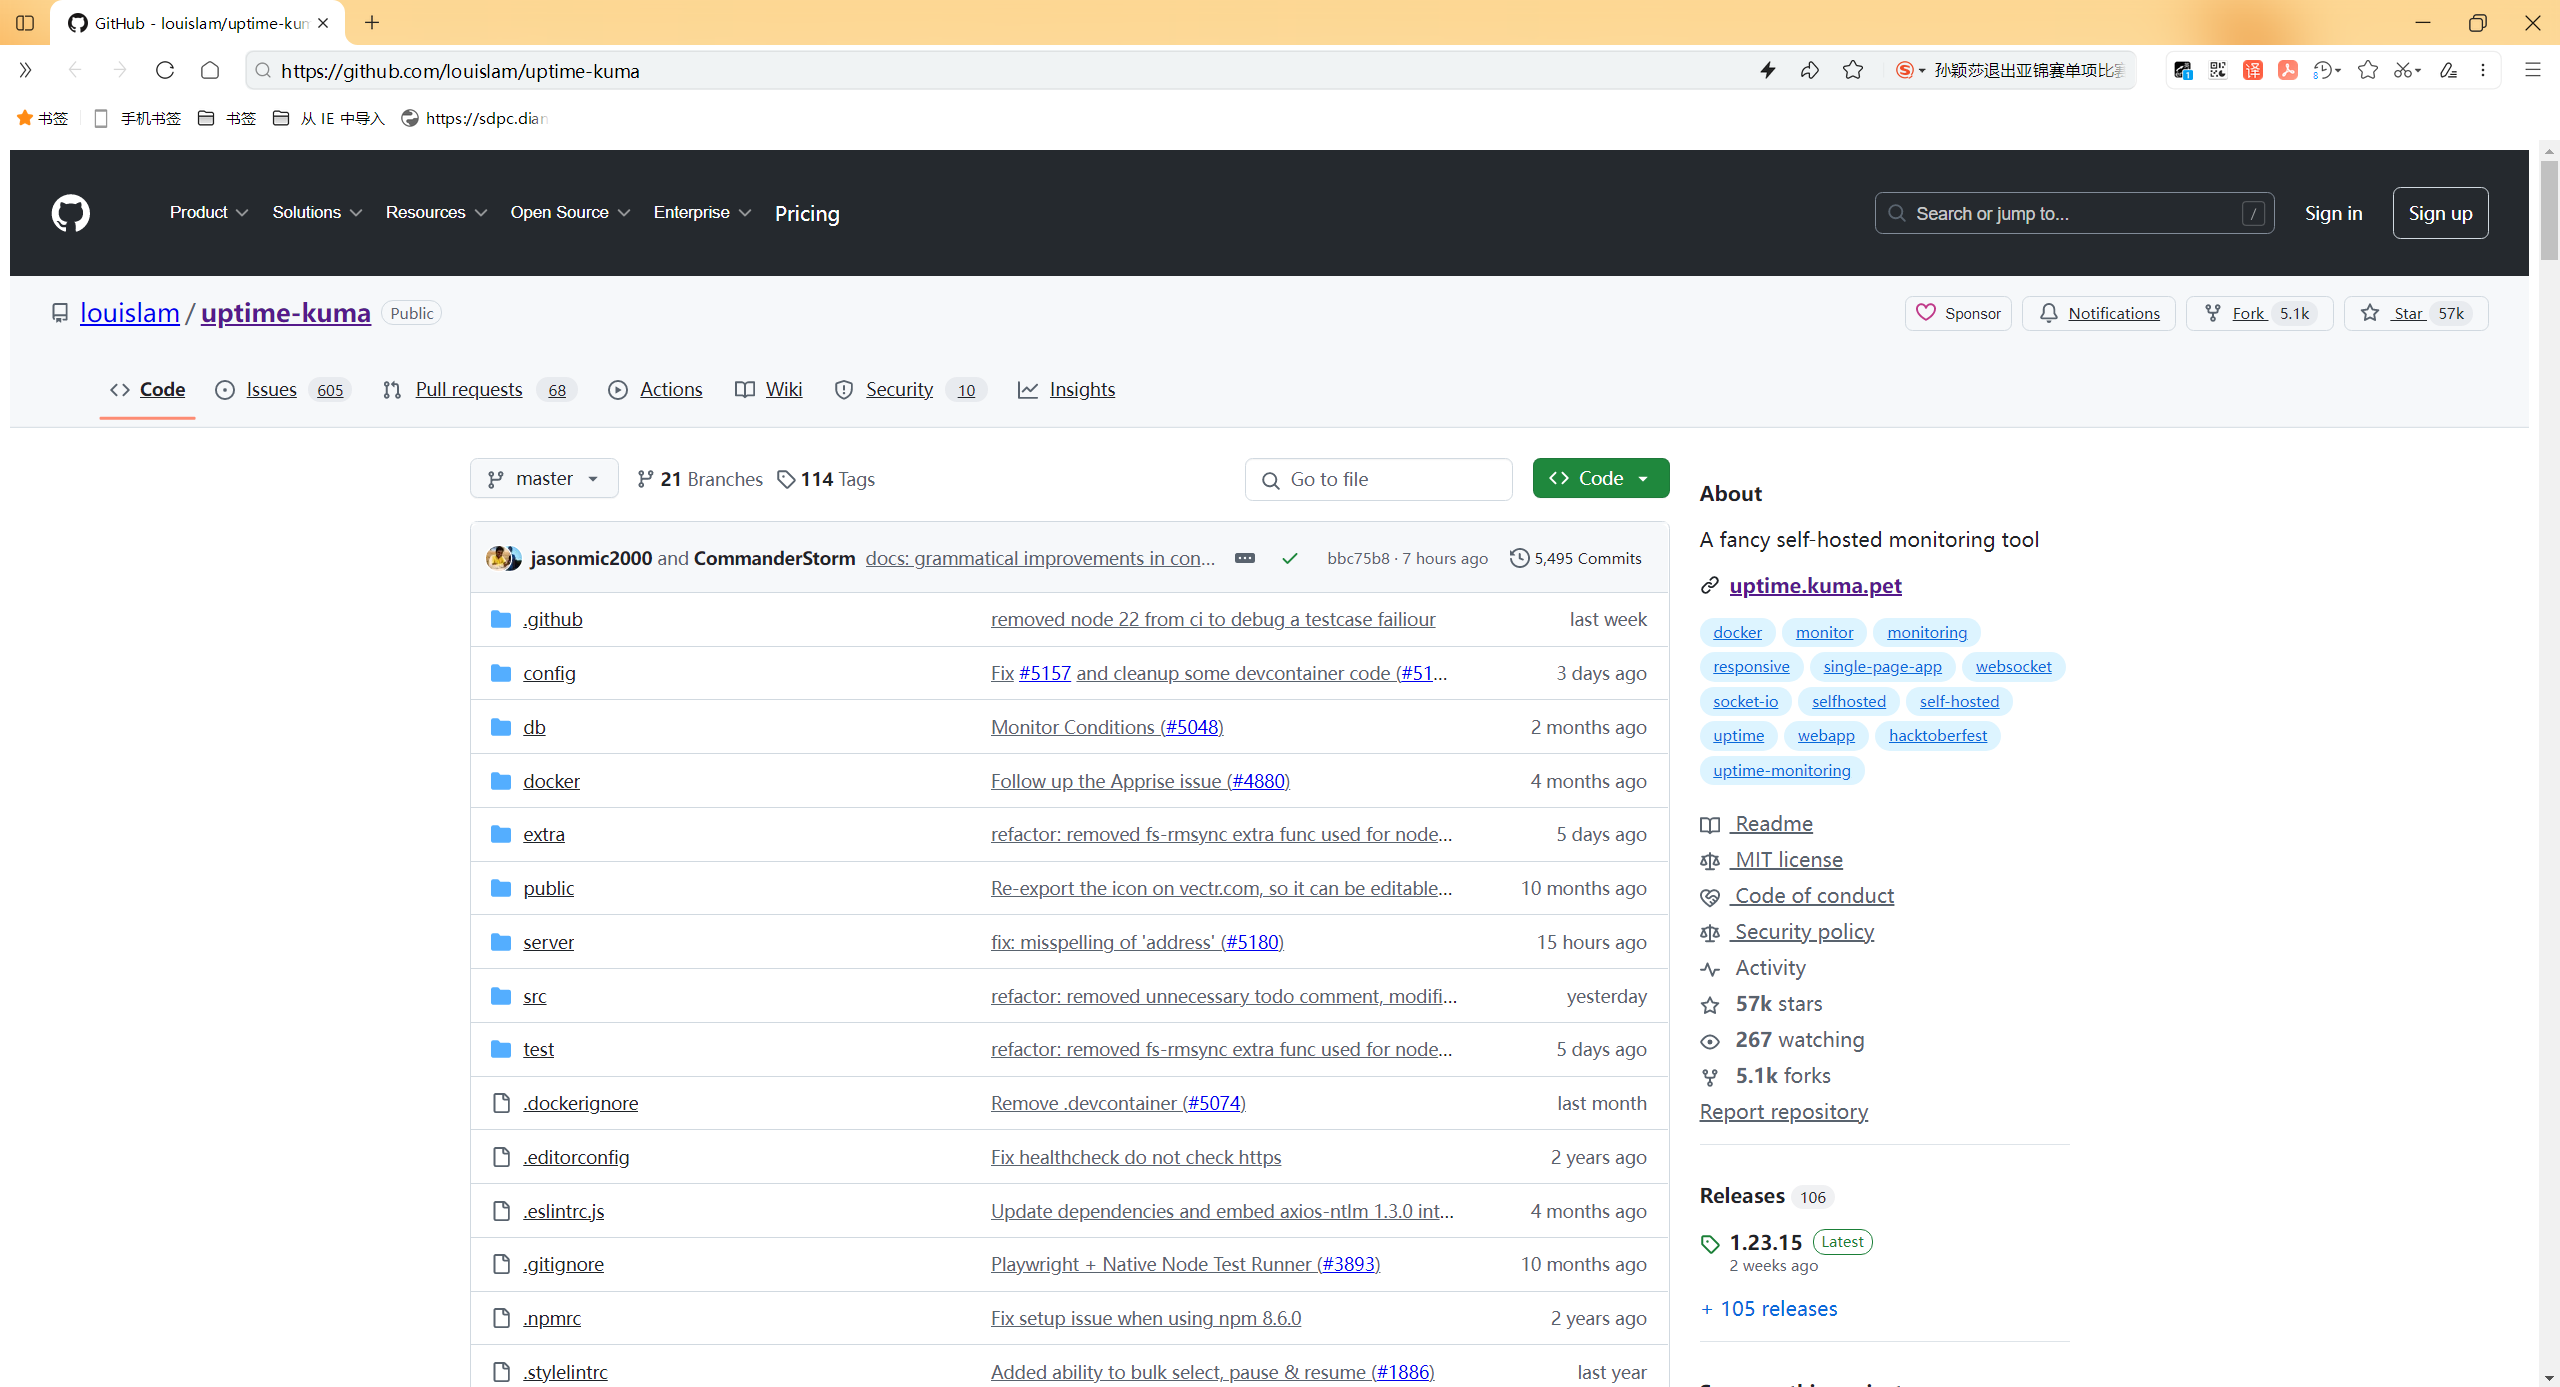
大家好,我是牛皮糖!最近看到一款简单又强大的工具来监控我的服务器状态。最近,我在 GitHub 上发现了一个宝藏项目——Uptime Kuma,它已经获得了超过 55k 的星标,可见其受欢迎程度。
Uptime Kuma 是一个自托管的监控工具,它允许你轻松地监控你的服务器、网站、网络服务等。它简单易用,界面友好,而且完全开源,你可以自由地部署在自己的服务器上。
-
监控 HTTP(s) / TCP / HTTP(s) 关键字 / HTTP(s) Json 查询 / Ping / DNS 记录 / 推送 / Steam 游戏服务器 / Docker 容器的正常运行时间
-
精美、反应灵敏、快速的 UI/UX
-
通过 Telegram、Discord、Gotify、Slack、Pushover、电子邮件 (SMTP) 和 90 多种通知服务发送通知
-
20 秒间隔
-
多语言
-
多个状态页面
-
将状态页面映射到特定域
-
Ping 图表
-
证书信息
-
代理支持
-
2FA 支持
1. 简单易用:Uptime Kuma 提供了直观的界面,即使是没有技术背景的用户也能轻松上手。
2. 功能强大:它支持多种监控类型,包括 HTTP/HTTPS、TCP、Ping、Port 等,几乎涵盖了所有常见的监控需求。
3. 自托管:你可以将 Uptime Kuma 部署在自己的服务器上,完全控制你的数据。
4. 开源:作为一个开源项目,Uptime Kuma 拥有活跃的社区支持,你可以参与到项目的开发中,或者根据需要进行定制。
项目地址
https://github.com/louislam/uptime-kuma
部署
- docker部署
docker run -d --restart=always -p 3001:3001 -v uptime-kuma:/app/data --name uptime-kuma louislam/uptime-kuma:1

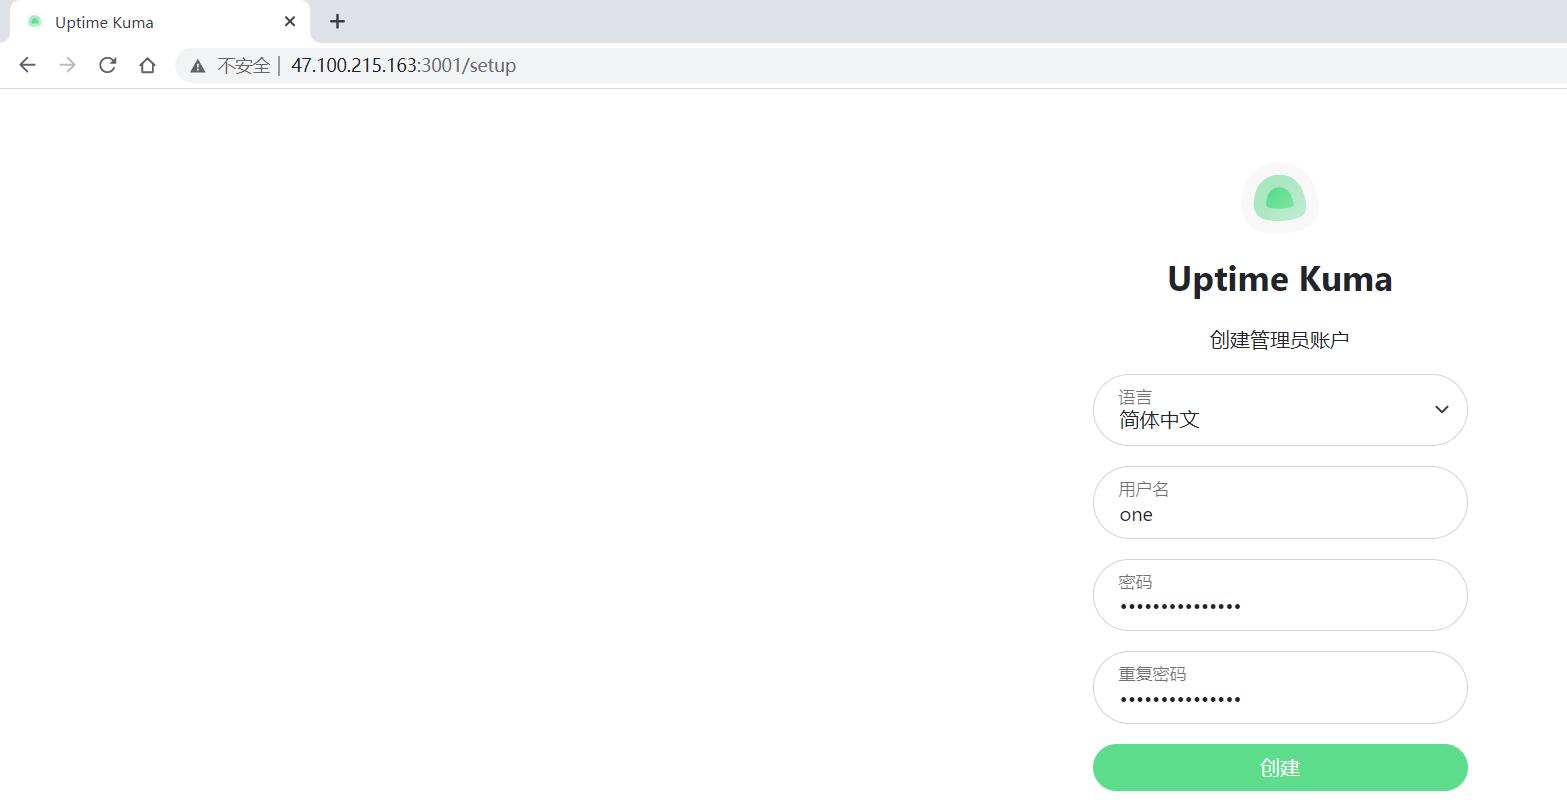
- 登录服务,创建账户及密码
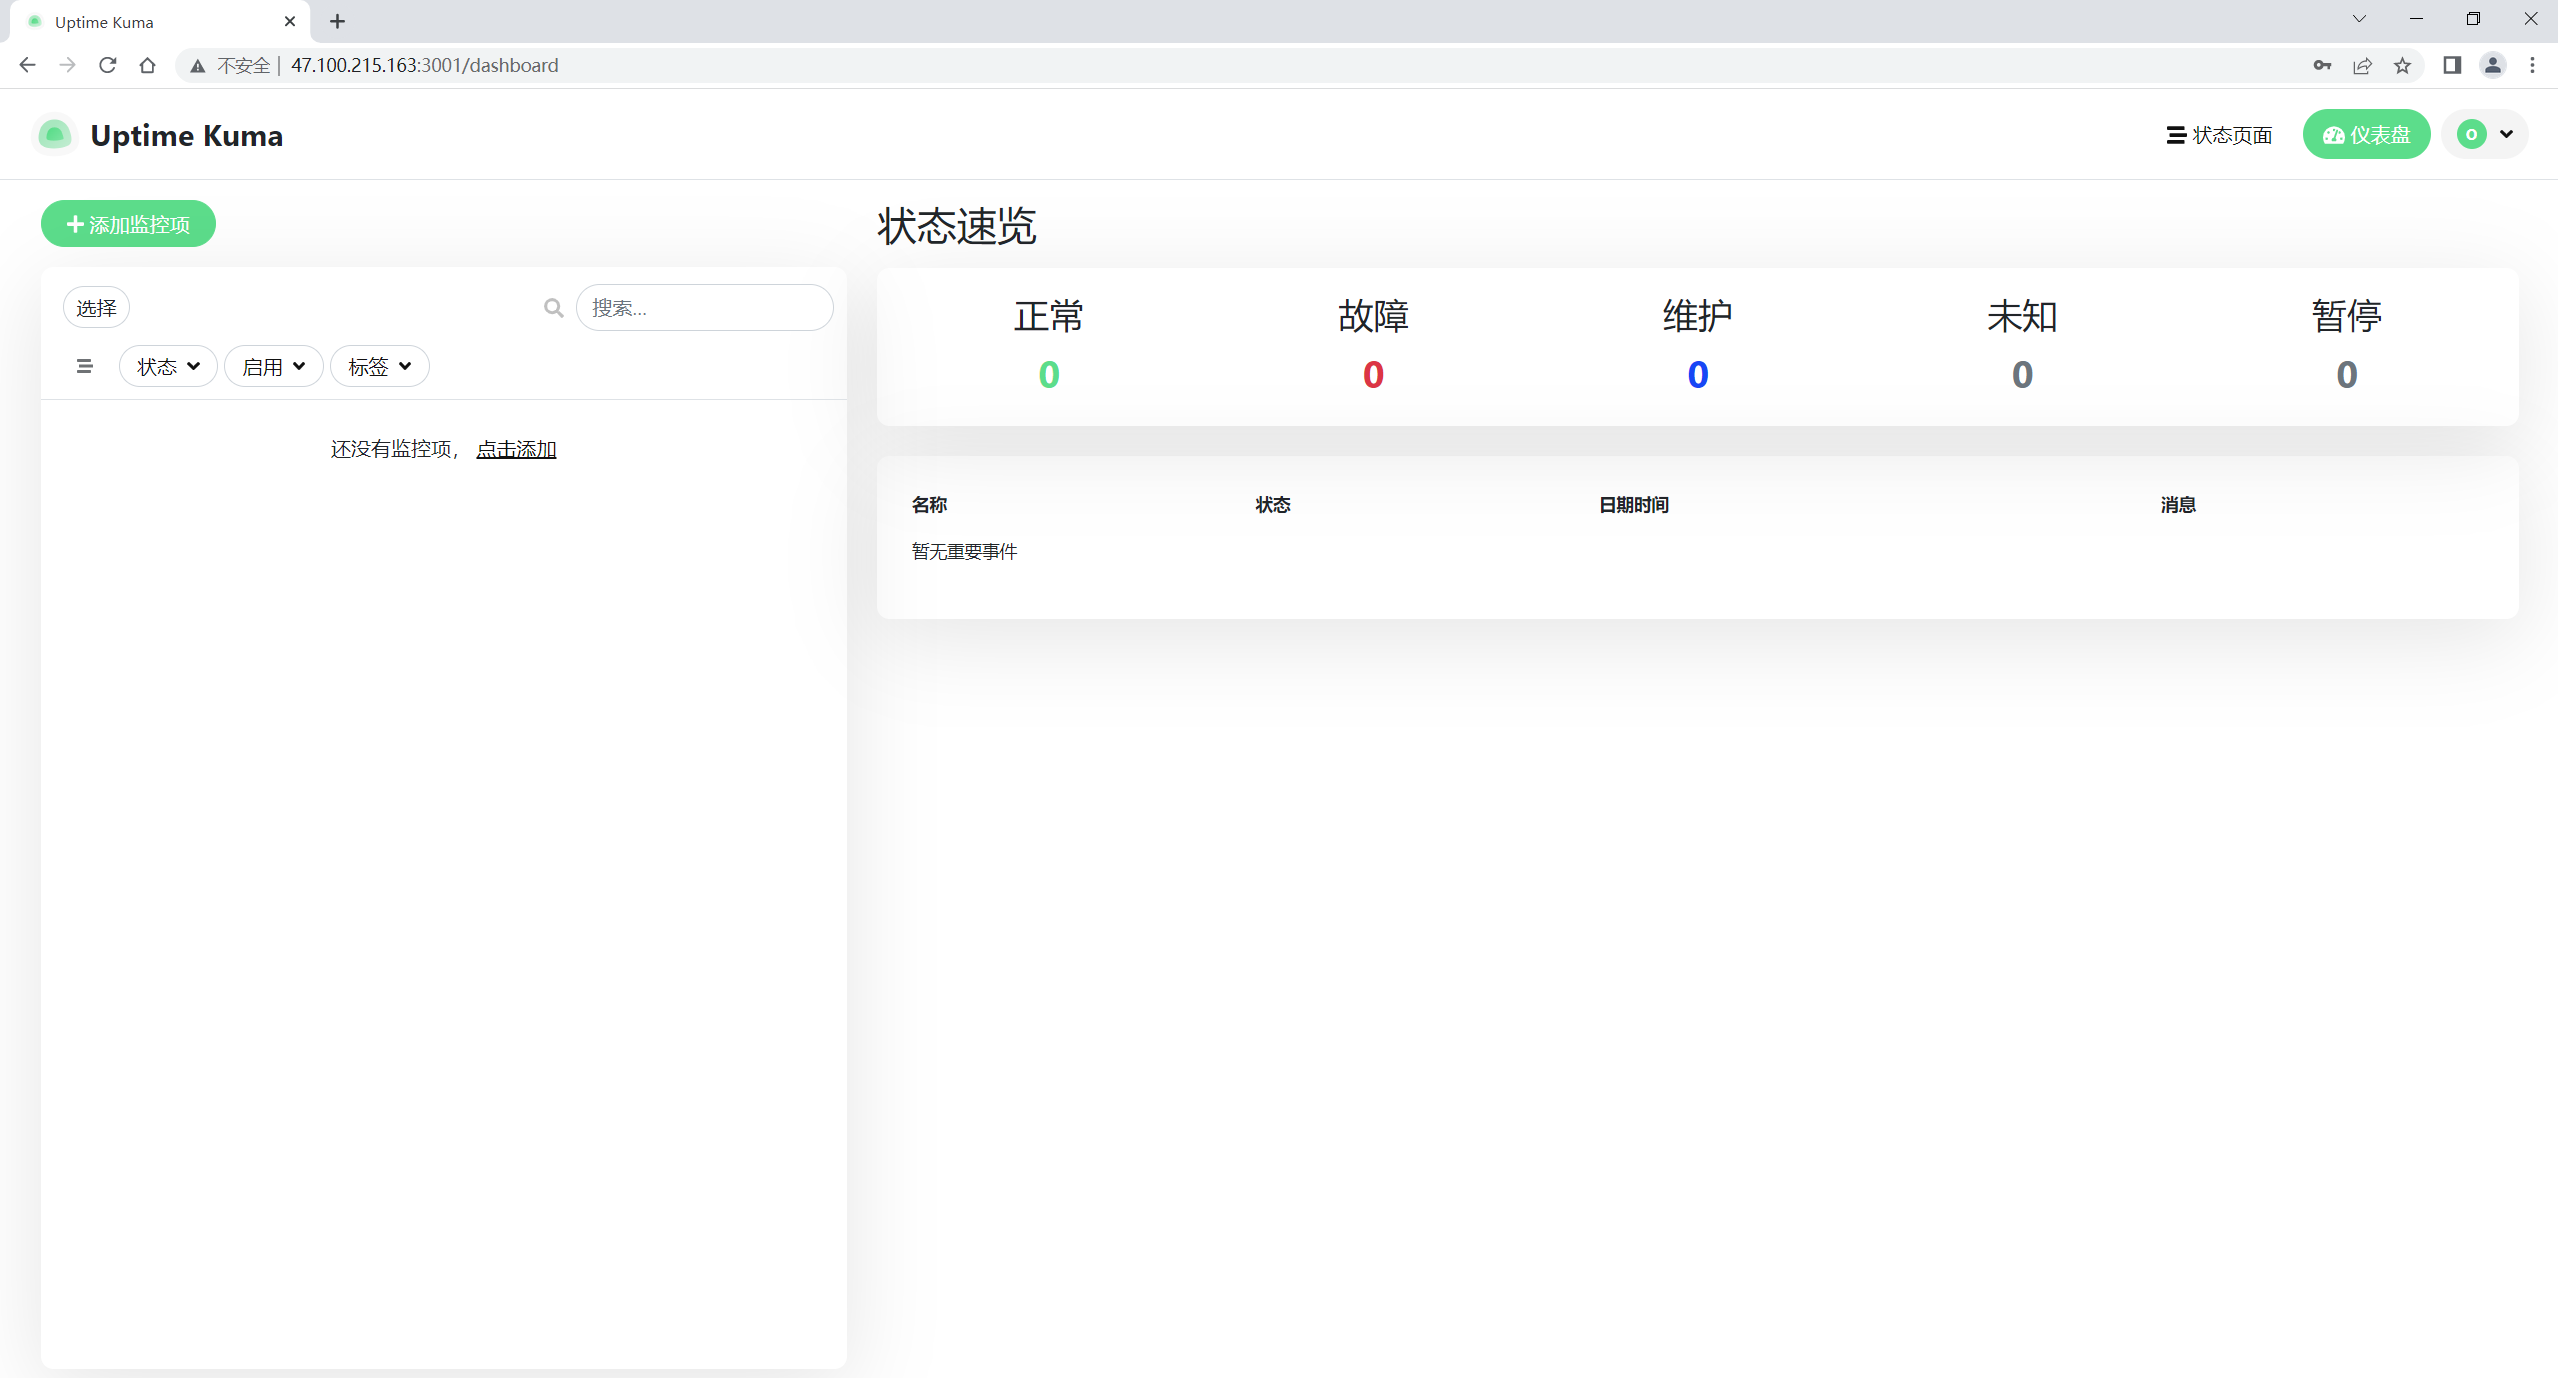
警告
不支持NFS(网络文件系统)等文件系统。请映射到本地目录或卷。
如果您想要限制对本地主机的暴露(而不向其他用户公开端口或使用反向代理),您可以像这样公开端口:
docker run -d --restart=always -p 127.0.0.1:3001:3001 -v uptime-kuma:/app/data --name uptime-kuma louislam/uptime-kuma:1
使用
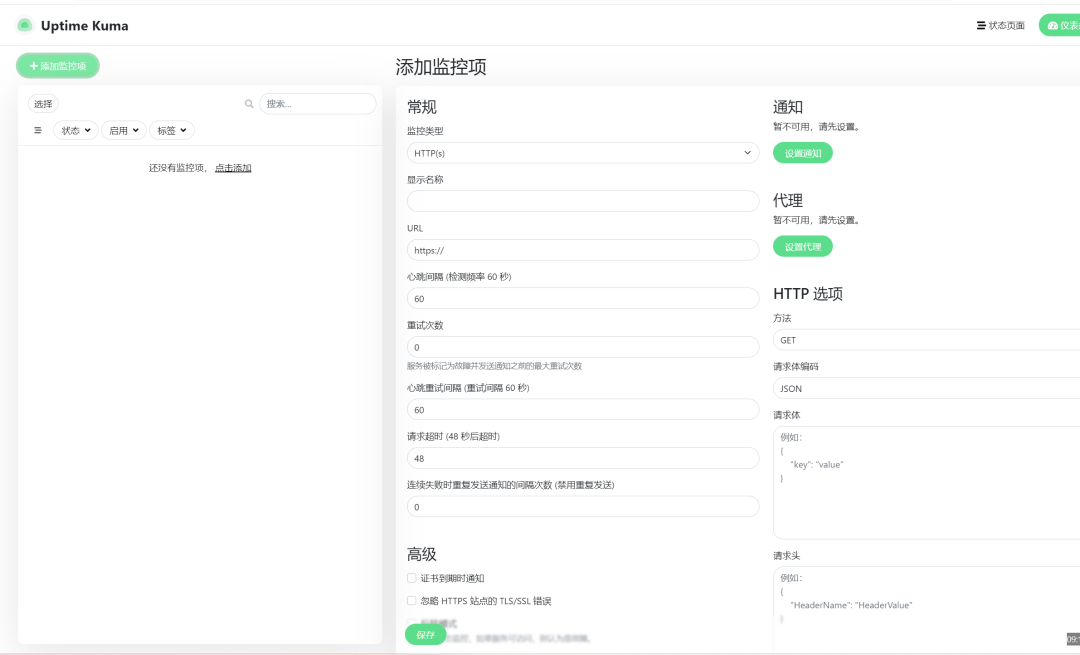
添加监控项
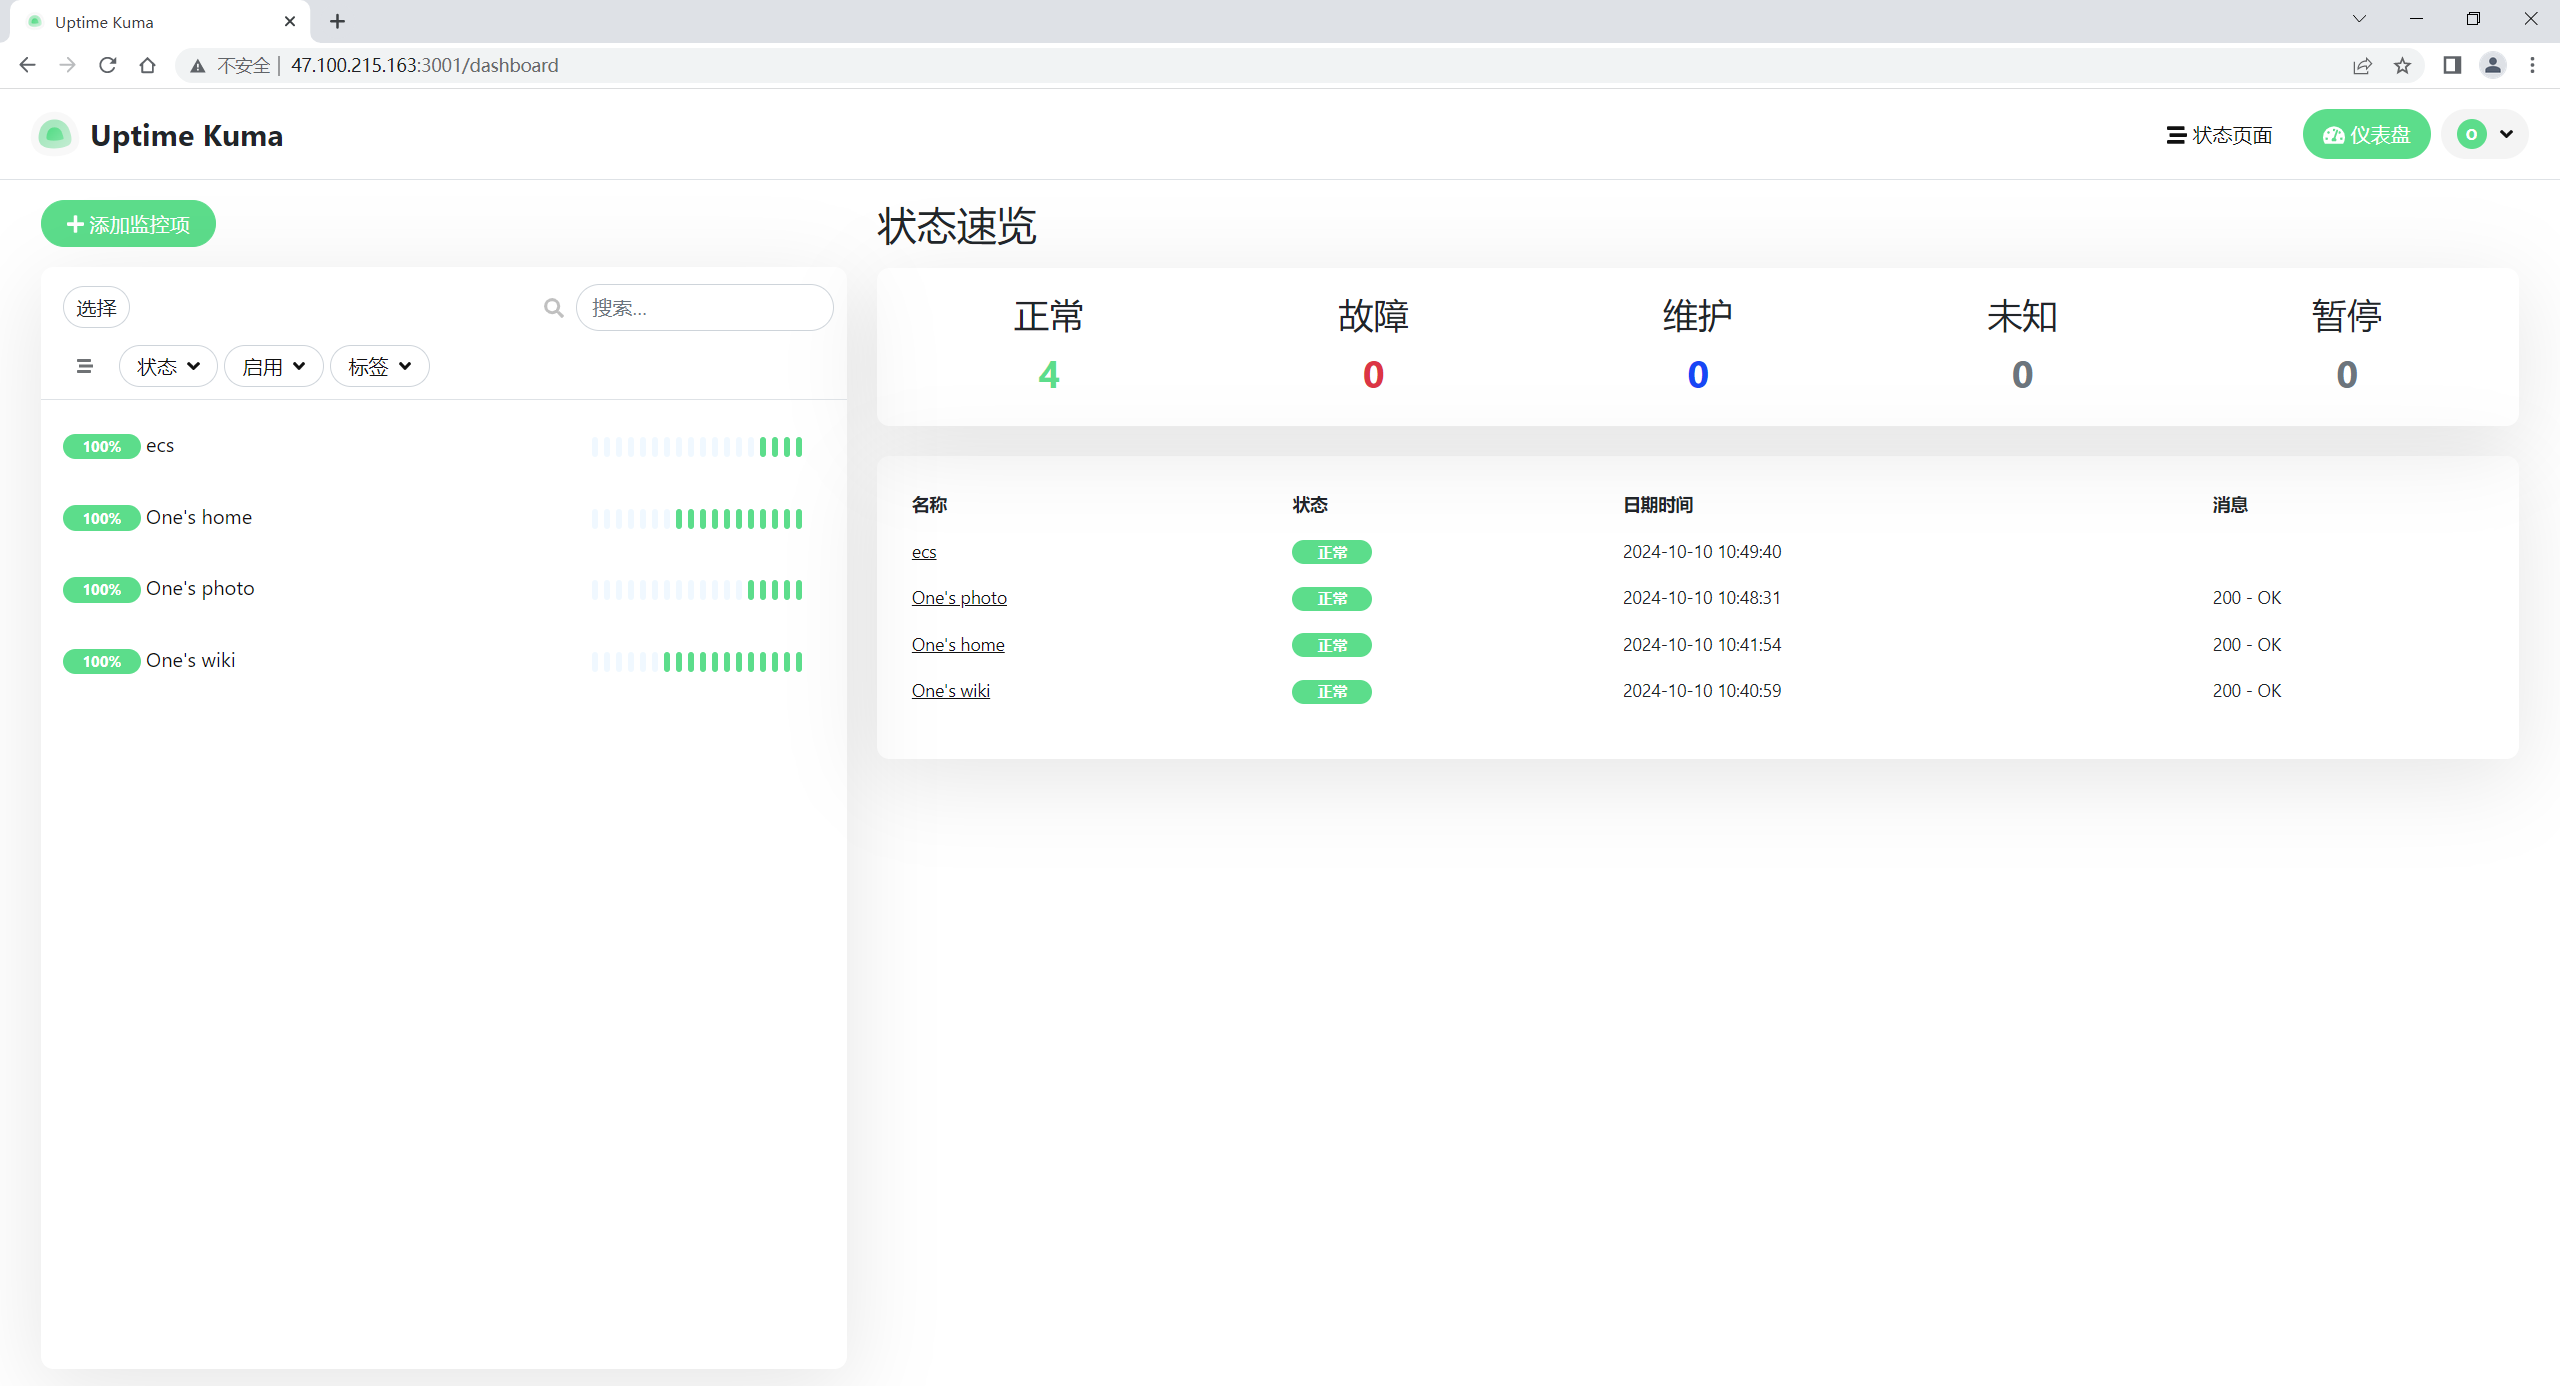
反向代理
官方内容
https://github.com/louislam/uptime-kuma/wiki/Reverse-Proxy
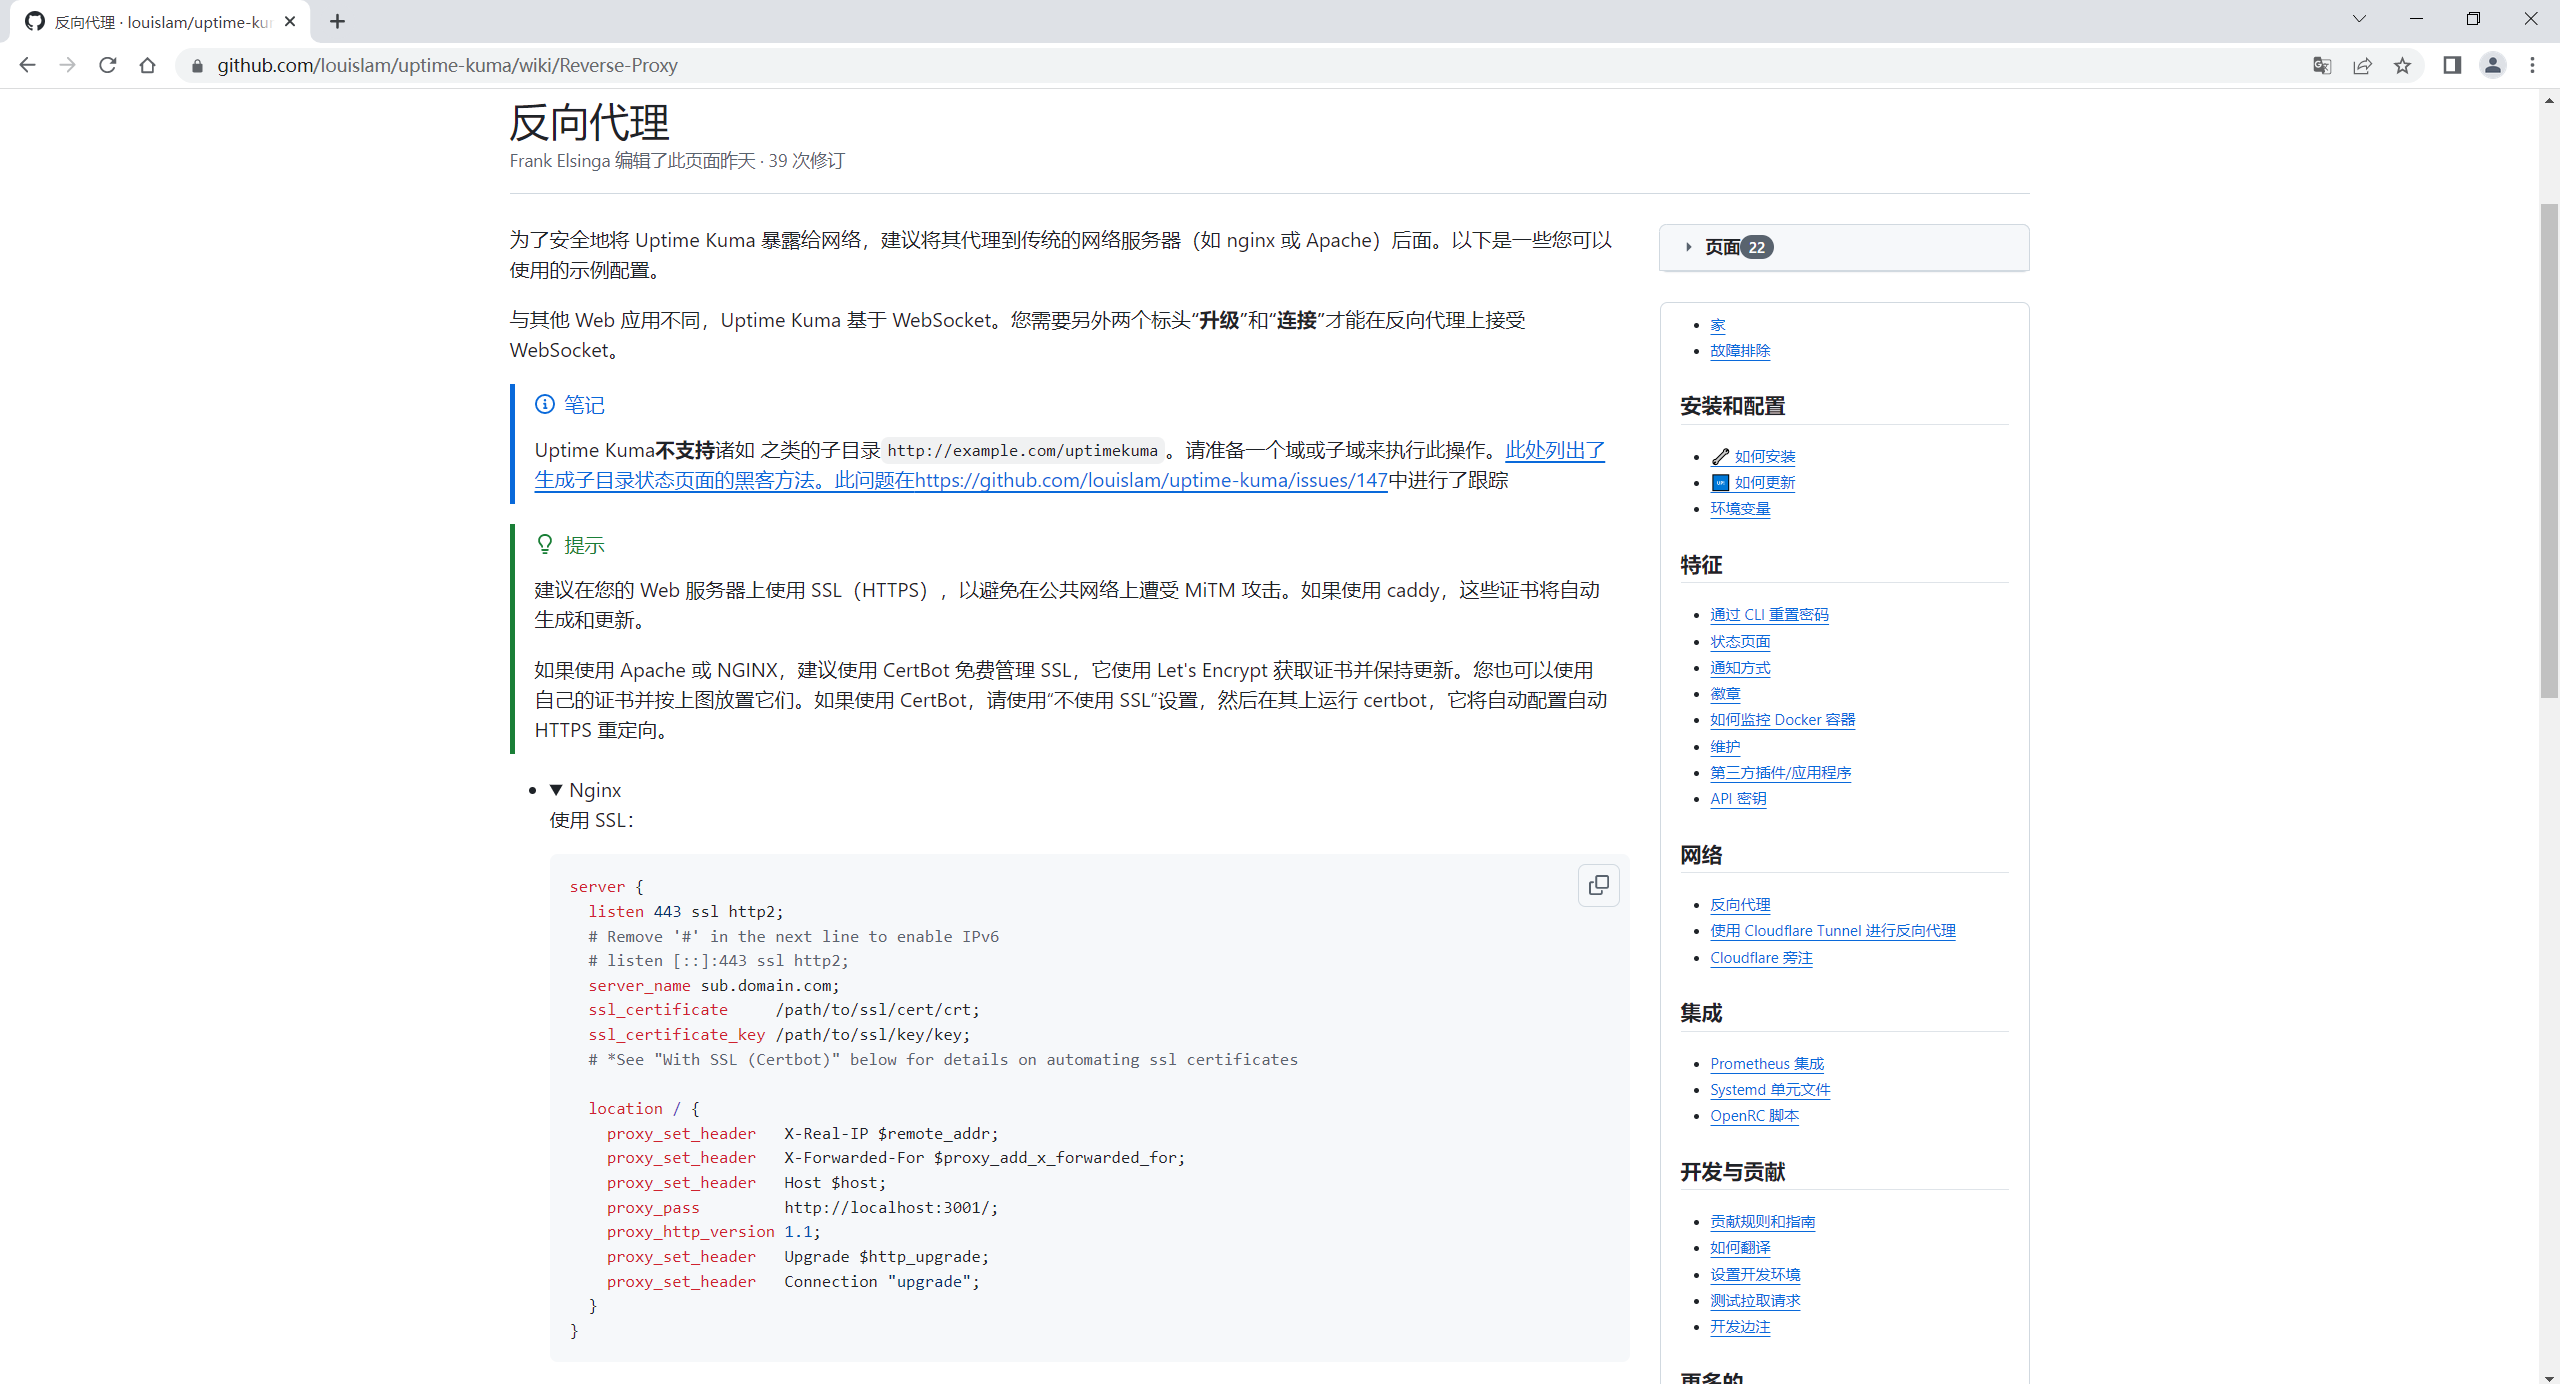
为了安全地将 Uptime Kuma 暴露给网络,建议将其代理到传统的网络服务器(如 nginx 或 Apache)后面。以下是一些您可以使用的示例配置。
与其他 Web 应用不同,Uptime Kuma 基于 WebSocket。您需要另外两个标头**“升级”和“连接”**才能在反向代理上接受 WebSocket。
笔记
Uptime Kuma不支持诸如 之类的子目录
http://example.com/uptimekuma。请准备一个域或子域来执行此操作。此处列出了生成子目录状态页面的黑客方法。此问题在https://github.com/louislam/uptime-kuma/issues/147中进行了跟踪
提示
建议在您的 Web 服务器上使用 SSL(HTTPS),以避免在公共网络上遭受 MiTM 攻击。如果使用 caddy,这些证书将自动生成和更新。
如果使用 Apache 或 NGINX,建议使用 CertBot 免费管理 SSL,它使用 Let's Encrypt 获取证书并保持更新。您也可以使用自己的证书并按上图放置它们。如果使用 CertBot,请使用“不使用 SSL”设置,然后在其上运行 certbot,它将自动配置自动 HTTPS 重定向。
Nginx:
使用 SSL:
server {
  listen 443 ssl http2;
  # Remove '#' in the next line to enable IPv6
  # listen [::]:443 ssl http2;
  server_name sub.domain.com;
  ssl_certificate     /path/to/ssl/cert/crt;
  ssl_certificate_key /path/to/ssl/key/key;
  # *See "With SSL (Certbot)" below for details on automating ssl certificates

  location / {
    proxy_set_header   X-Real-IP $remote_addr;
    proxy_set_header   X-Forwarded-For $proxy_add_x_forwarded_for;
    proxy_set_header   Host $host;
    proxy_pass         http://localhost:3001/;
    proxy_http_version 1.1;
    proxy_set_header   Upgrade $http_upgrade;
    proxy_set_header   Connection "upgrade";
  }
}
不使用 SSL:
server  {
    listen 80;
    # Remove '#' in the next line to enable IPv6
    # listen [::]:80;
    server_name    sub.domain.com;
    location / {
        proxy_pass         http://localhost:3001;
        proxy_http_version 1.1;
        proxy_set_header   Upgrade $http_upgrade;
        proxy_set_header   Connection "upgrade";
        proxy_set_header   Host $host;
    }
}
使用 SSL (Certbot):
server {
  # If you don't have one yet, you can set up a subdomain with your domain registrar (e.g. Namecheap)
  # Just create a new host record with type='A Record', host='<subdomain>', value='<ip_address>'.

  server_name your_subdomain.your_domain.your_tld;

  location / {
    proxy_set_header   X-Real-IP $remote_addr;
    proxy_set_header   X-Forwarded-For $proxy_add_x_forwarded_for;
    proxy_set_header   Host $host;
    proxy_pass         http://localhost:3001/;
    proxy_http_version 1.1;
    proxy_set_header   Upgrade $http_upgrade;
    proxy_set_header   Connection "upgrade";
  }
}

# Once that's completed, you can run
# sudo apt install python3-certbot-nginx
# sudo certbot --nginx -d your_domain -d your_subdomain.your_domain -d www.your_domain
# And Certbot will auto-populate this nginx .conf file for you, while also renewing your certificates automatically in the future.
自己配置
- 配置dns解析

- nginx配置
vim /etc/nginx/conf.d/monitor.conf
server {
  listen 443 ssl http2;
  # Remove '#' in the next line to enable IPv6
  # listen [::]:443 ssl http2;
  server_name monitor.onedayxyy.cn;
  ssl_certificate "cert/fullchain1.pem";
  ssl_certificate_key "cert/privkey1.pem";
  # *See "With SSL (Certbot)" below for details on automating ssl certificates

  location / {
    proxy_set_header   X-Real-IP $remote_addr;
    proxy_set_header   X-Forwarded-For $proxy_add_x_forwarded_for;
    proxy_set_header   Host $host;
    proxy_pass         http://localhost:3001/;
    proxy_http_version 1.1;
    proxy_set_header   Upgrade $http_upgrade;
    proxy_set_header   Connection "upgrade";
  }
}
重启nginx:
nginx -s reload
- 测试效果
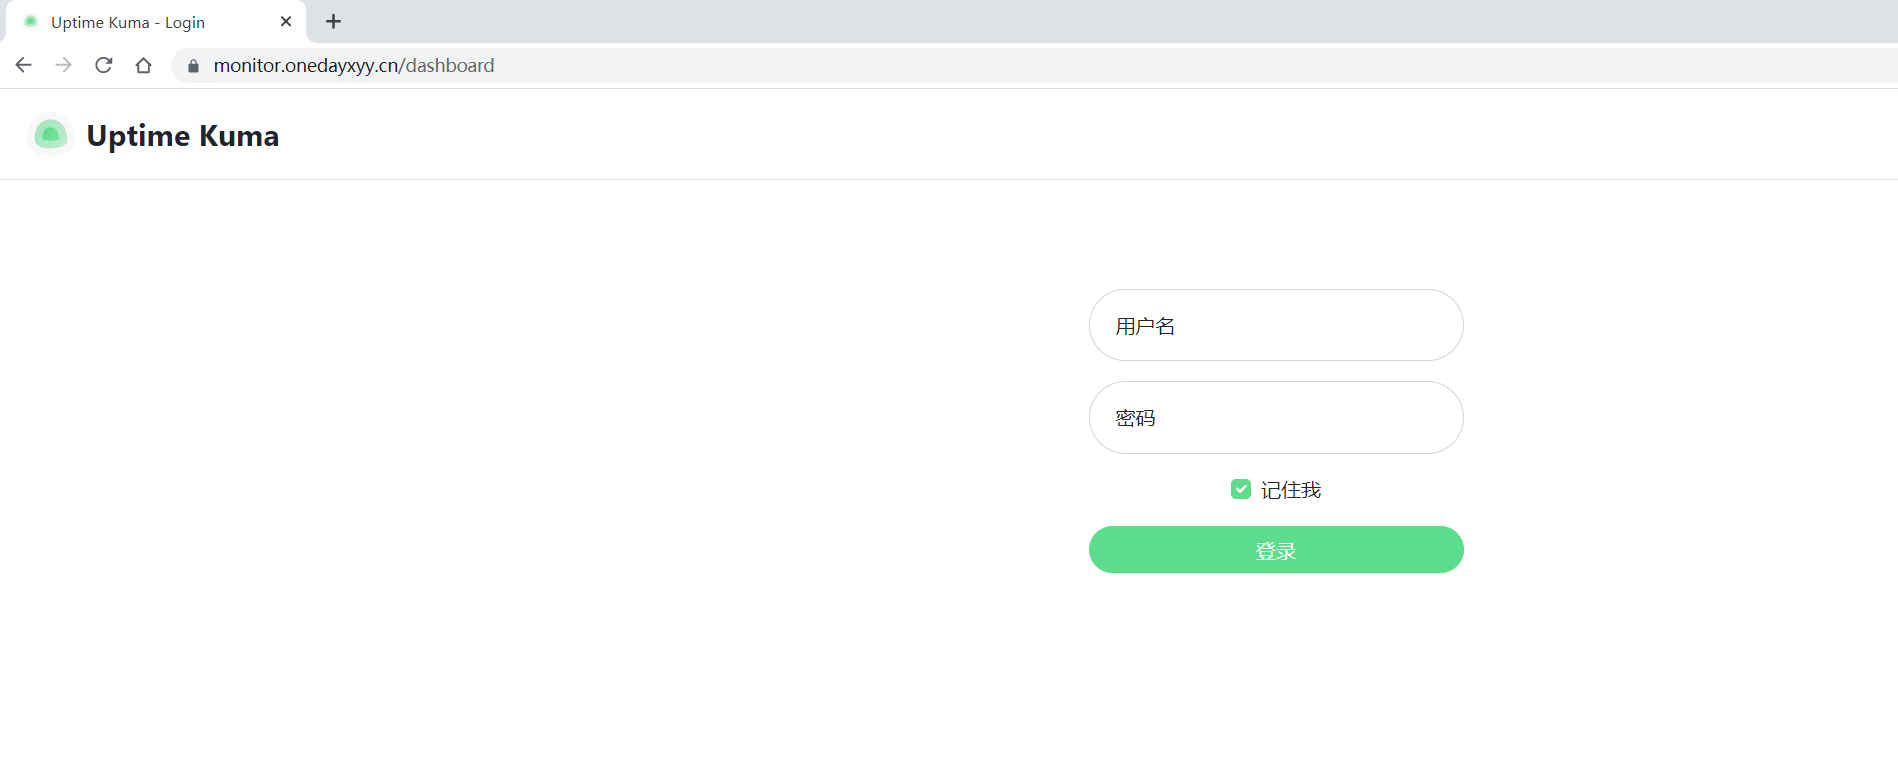
- 问题
uptime-kuma服务我已经部署起来了,但是如何把这个监控面板集成到自己网站,其他任何用户直接使用一个链接就能查看,而不需要登录
创建新的状态页面:
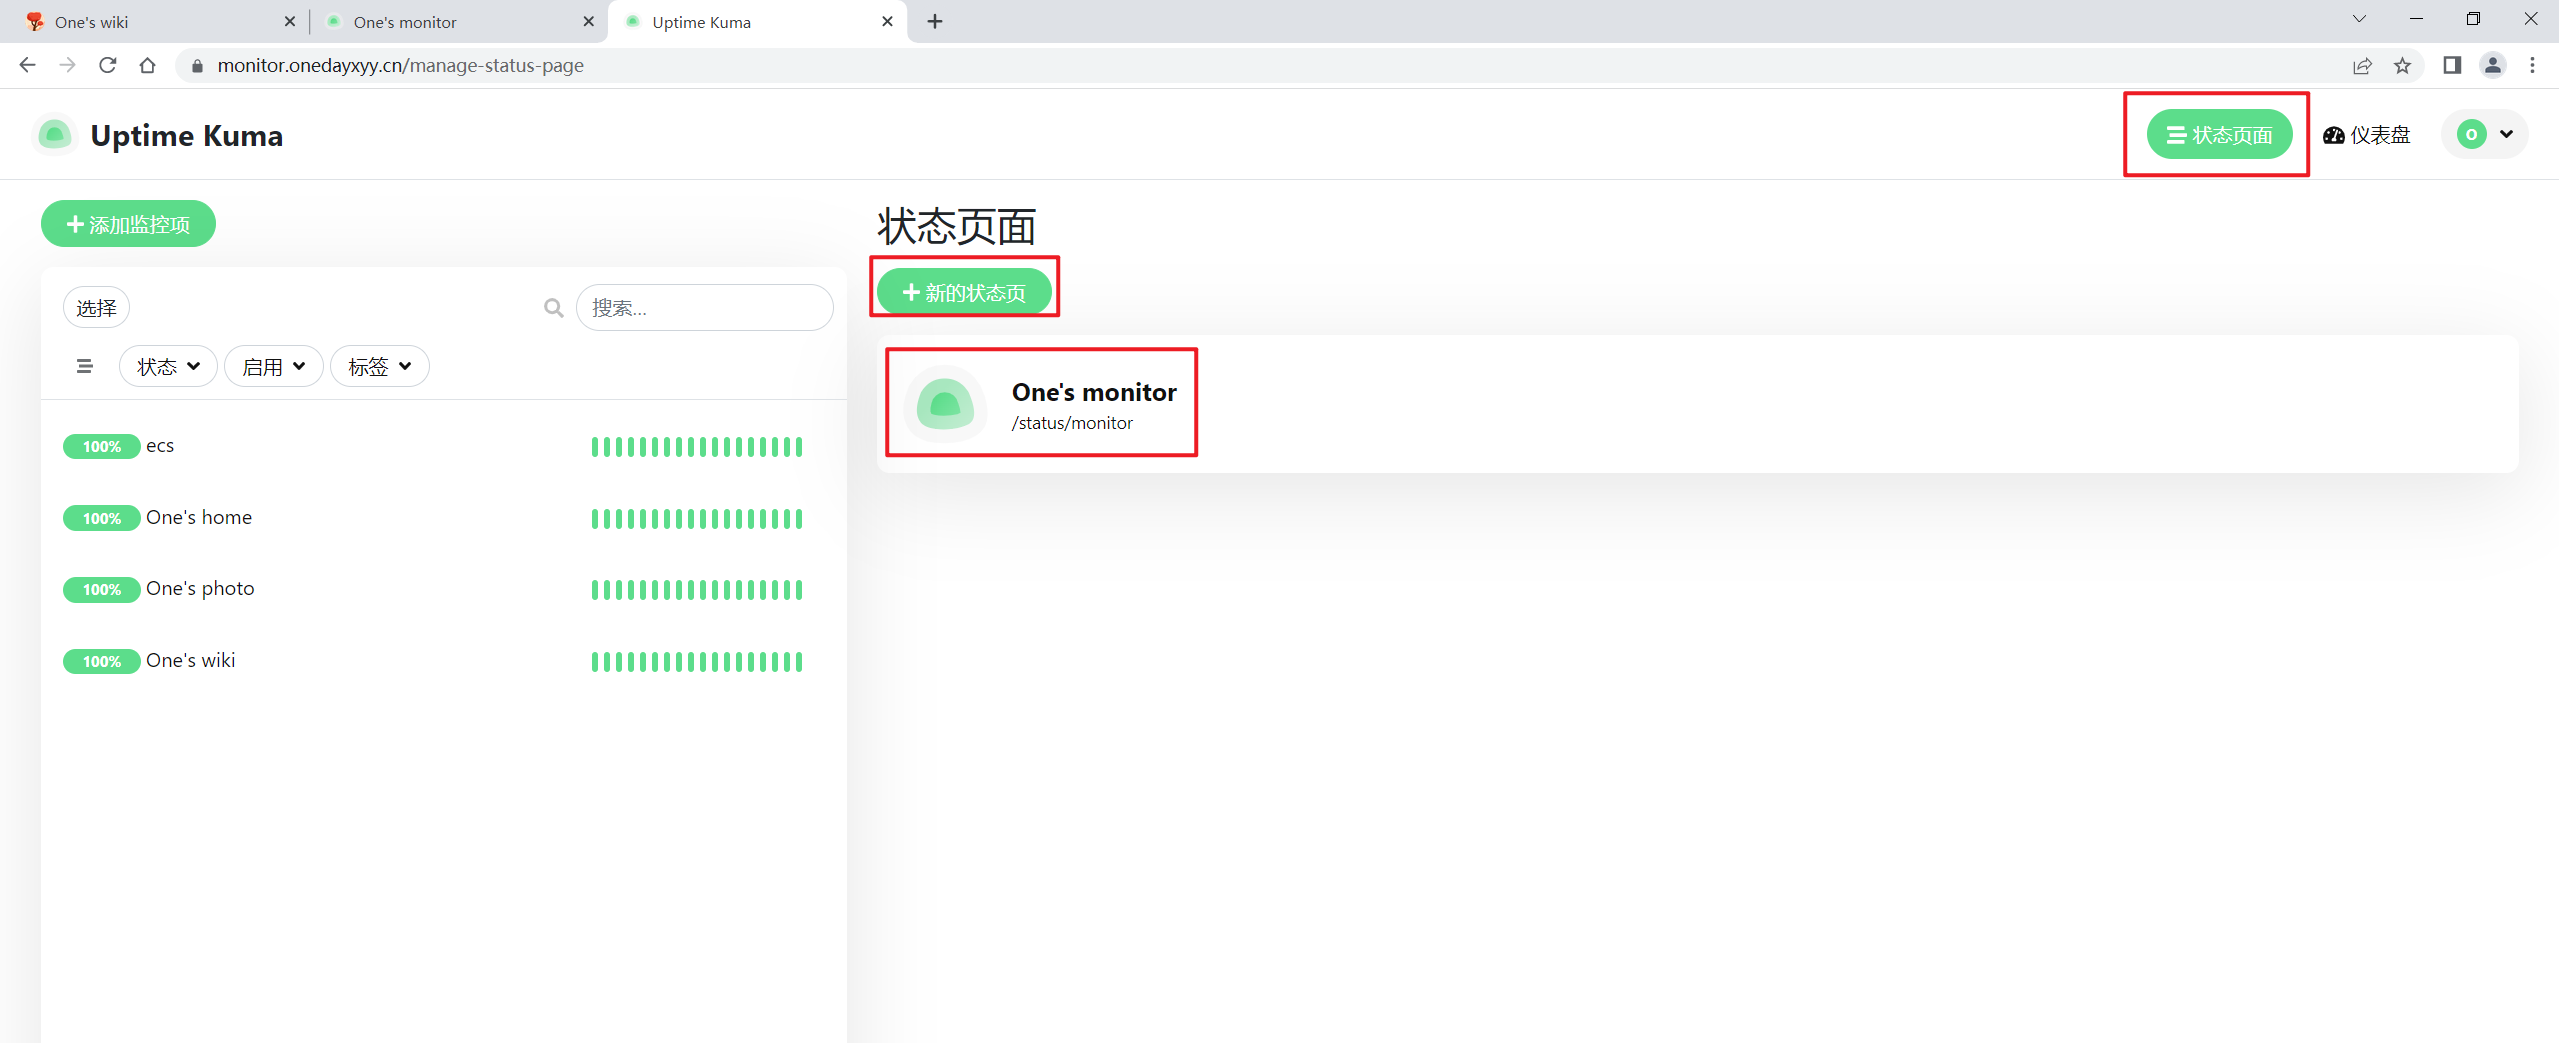
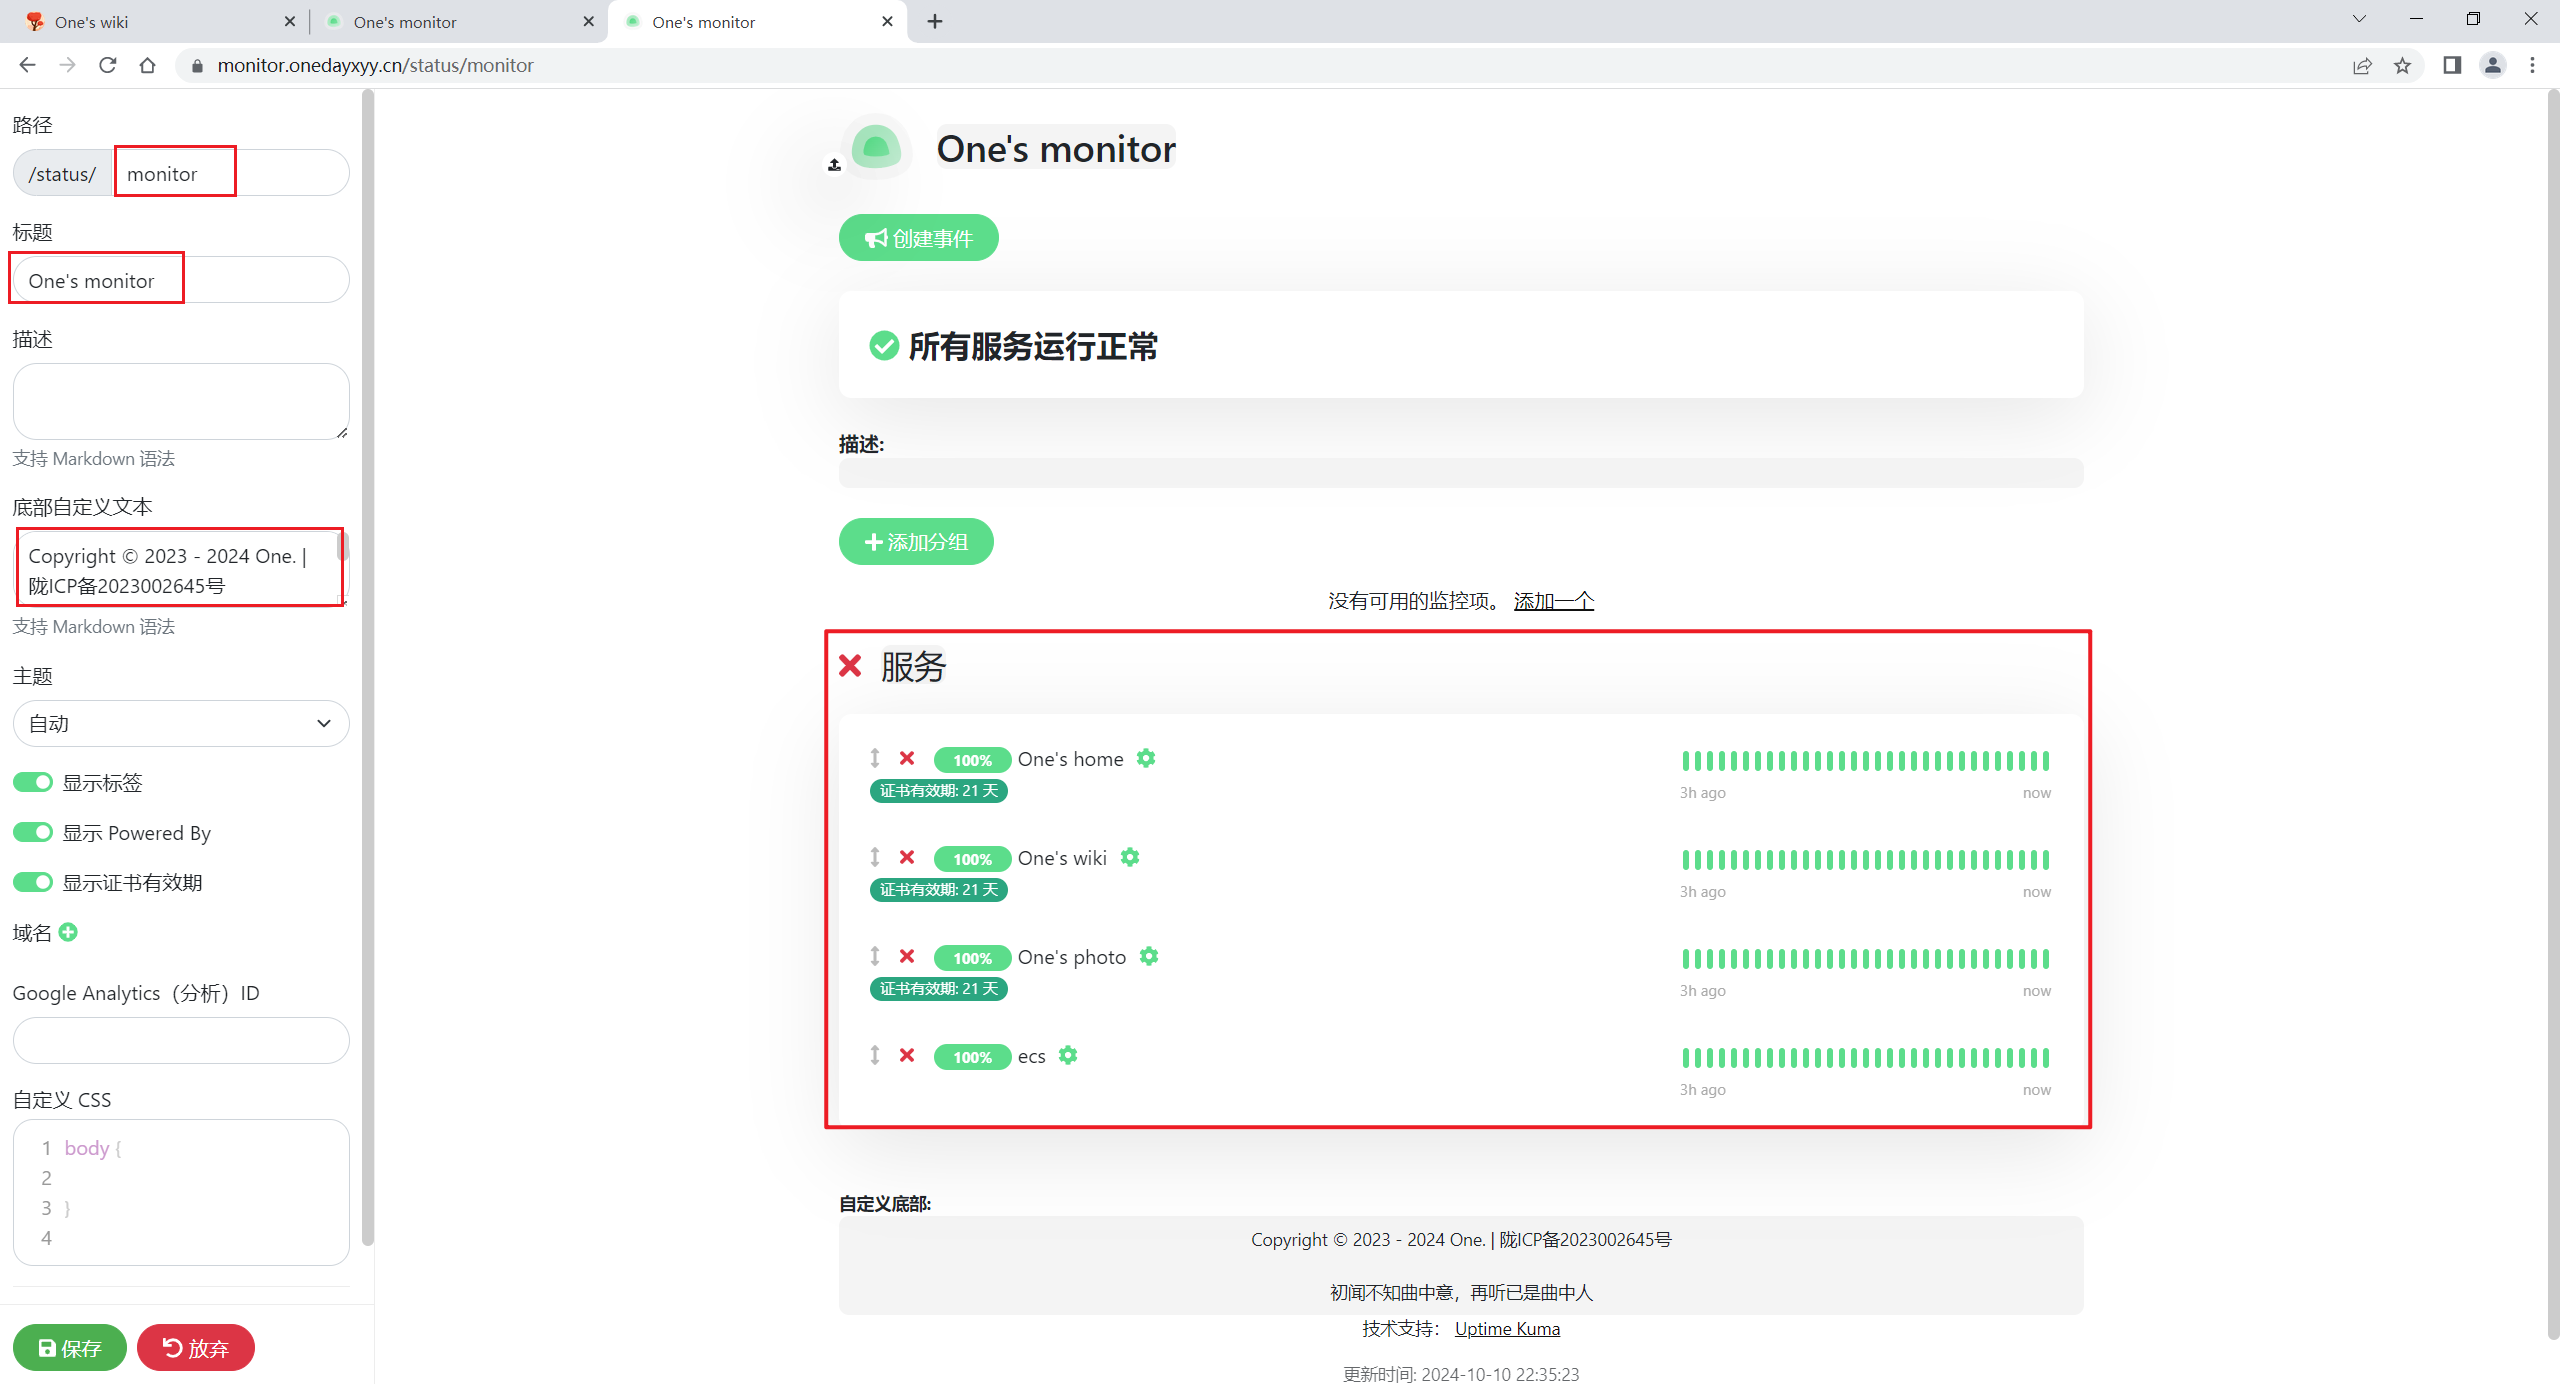
然后使用次链接打开即可使用监控服务了:
https://monitor.onedayxyy.cn/status/monitor
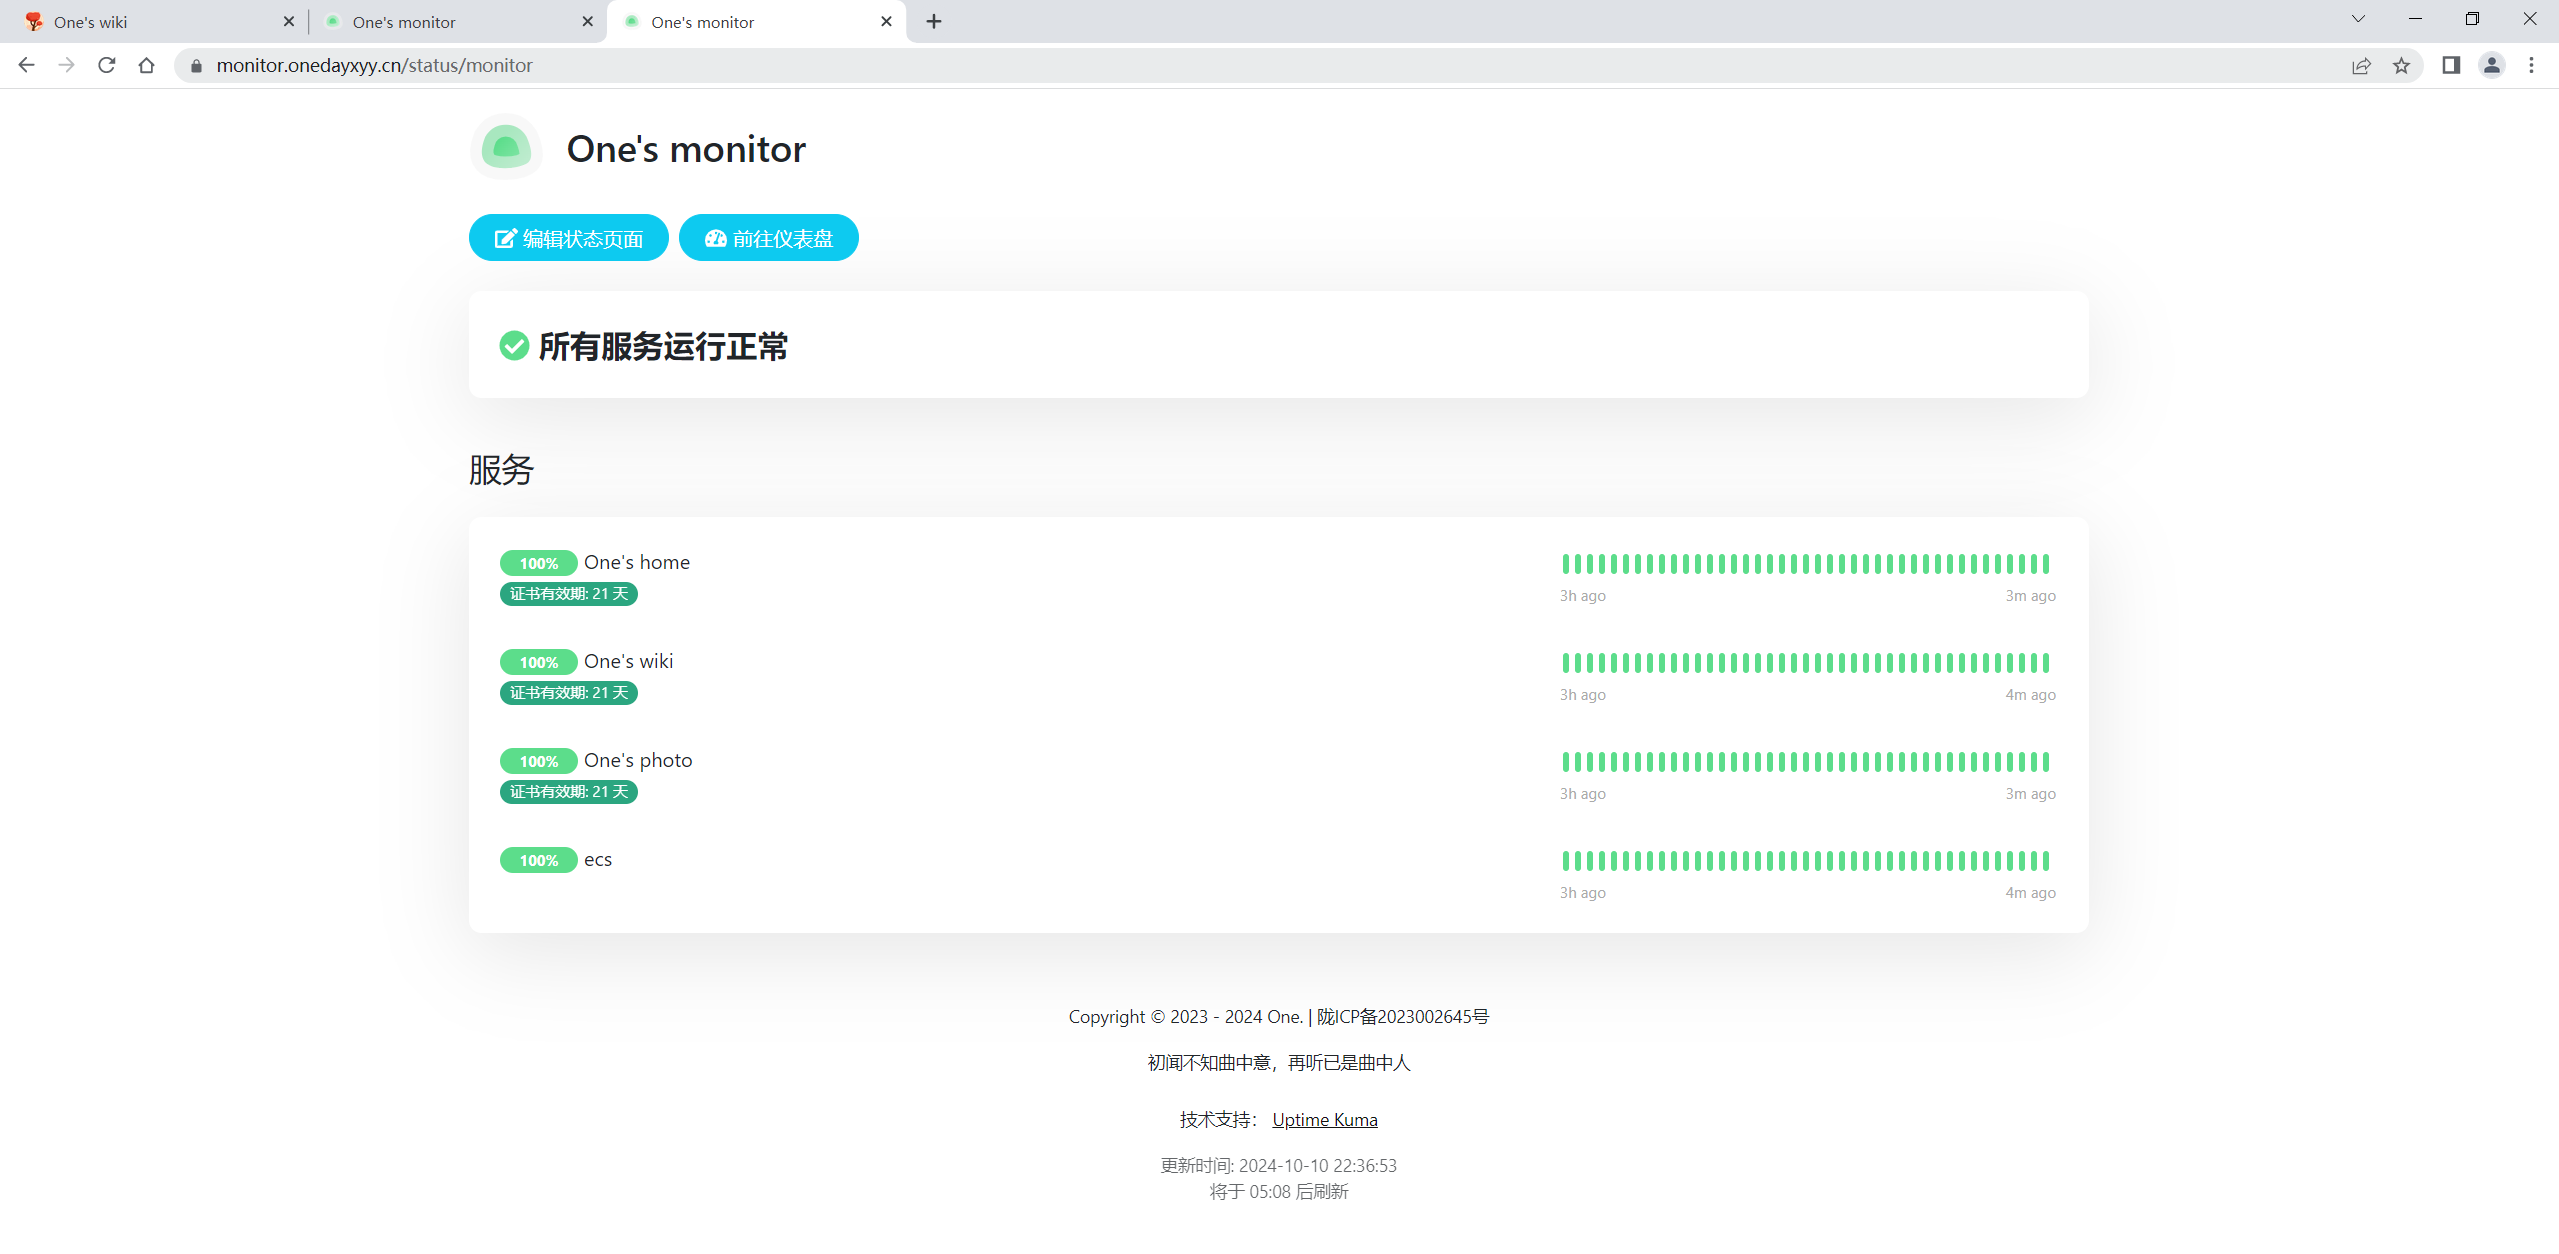
完美。
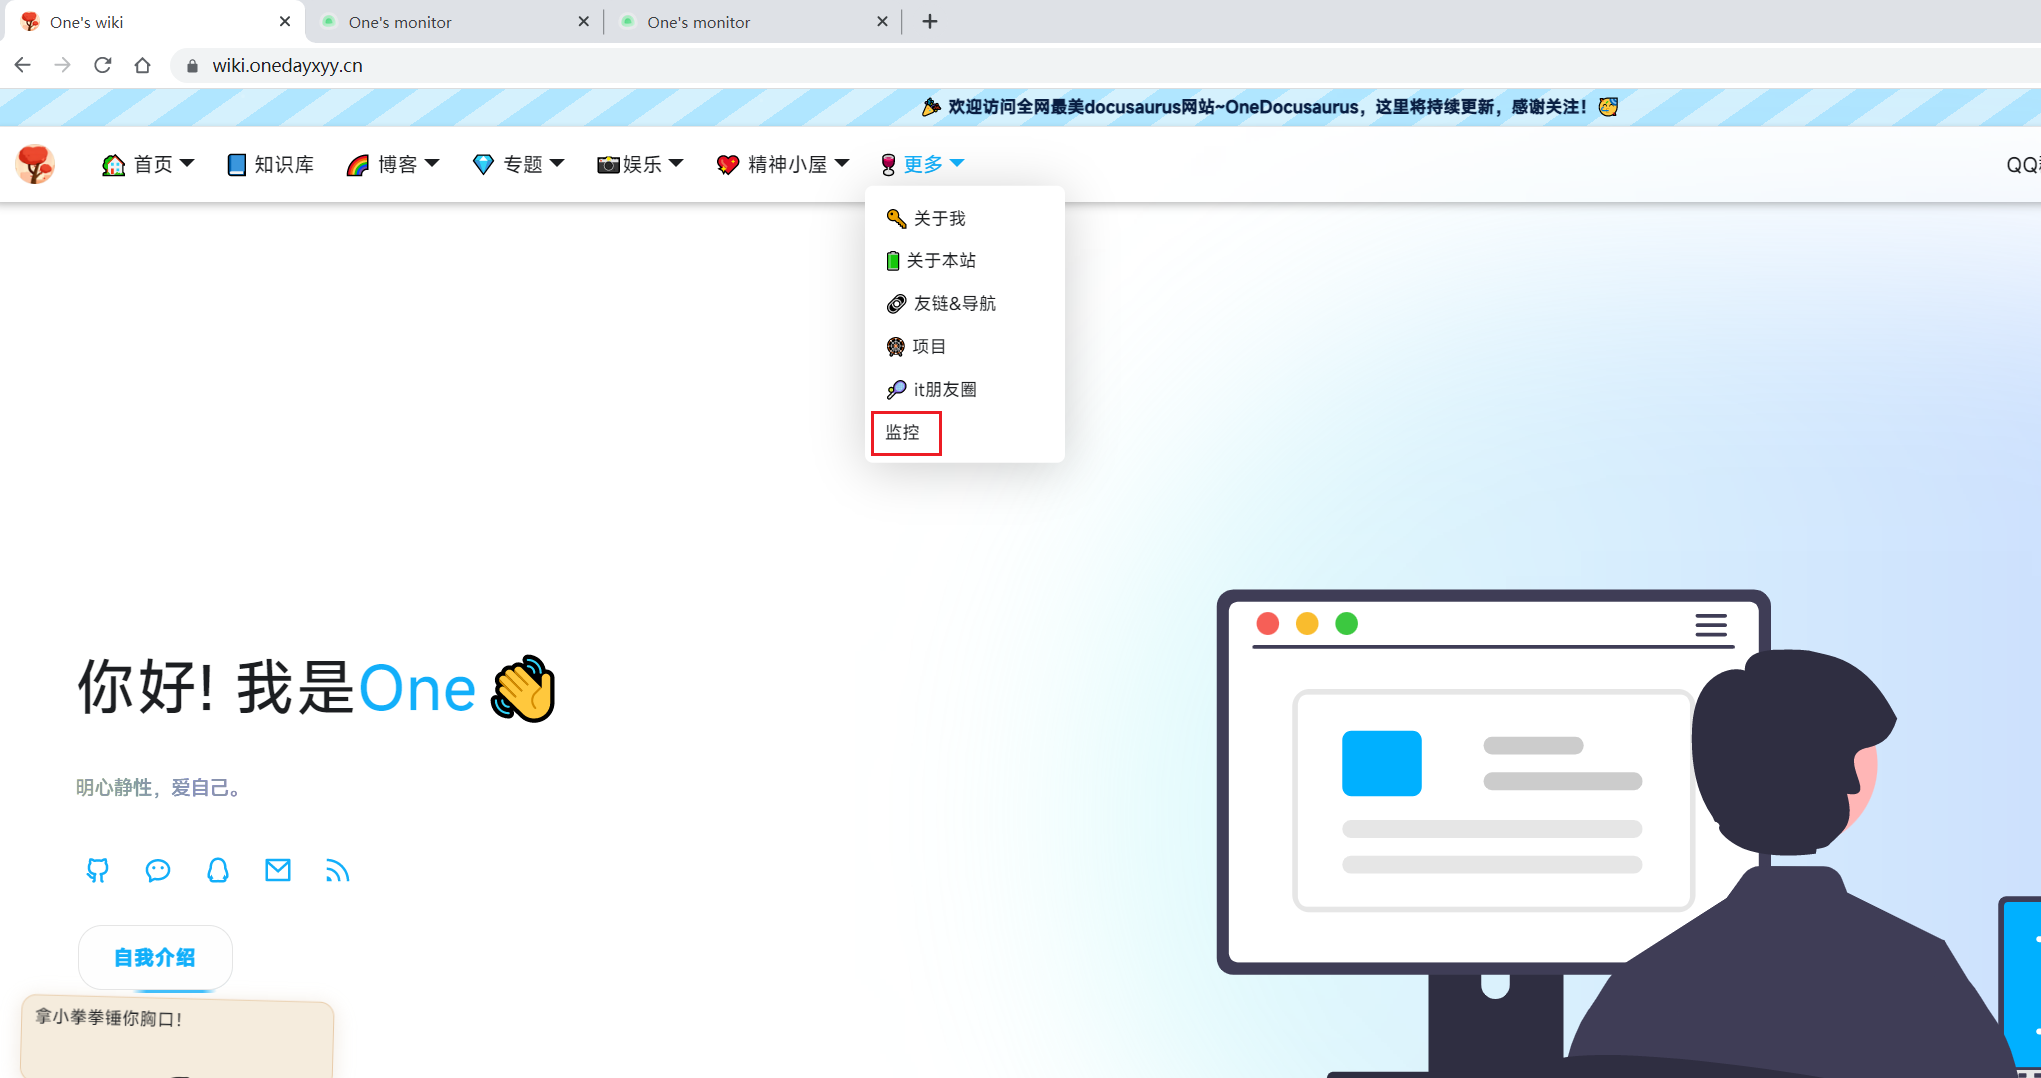
将次链接集成到自己网站即可。
关于我
我的博客主旨:
- 排版美观,语言精炼;
- 文档即手册,步骤明细,拒绝埋坑,提供源码;
- 本人实战文档都是亲测成功的,各位小伙伴在实际操作过程中如有什么疑问,可随时联系本人帮您解决问题,让我们一起进步!
🍀 微信二维码
x2675263825 (舍得), qq:2675263825。

🍀 微信公众号
《云原生架构师实战》

🍀 csdn
https://blog.csdn.net/weixin_39246554?spm=1010.2135.3001.5421

🍀 知乎
https://www.zhihu.com/people/foryouone

往期推荐
QQ群
《玩转Typora+Docusuaurus+起始页》交流群:(欢迎小伙伴一起探讨有趣的IT技术,来完成一些漂亮的项目)

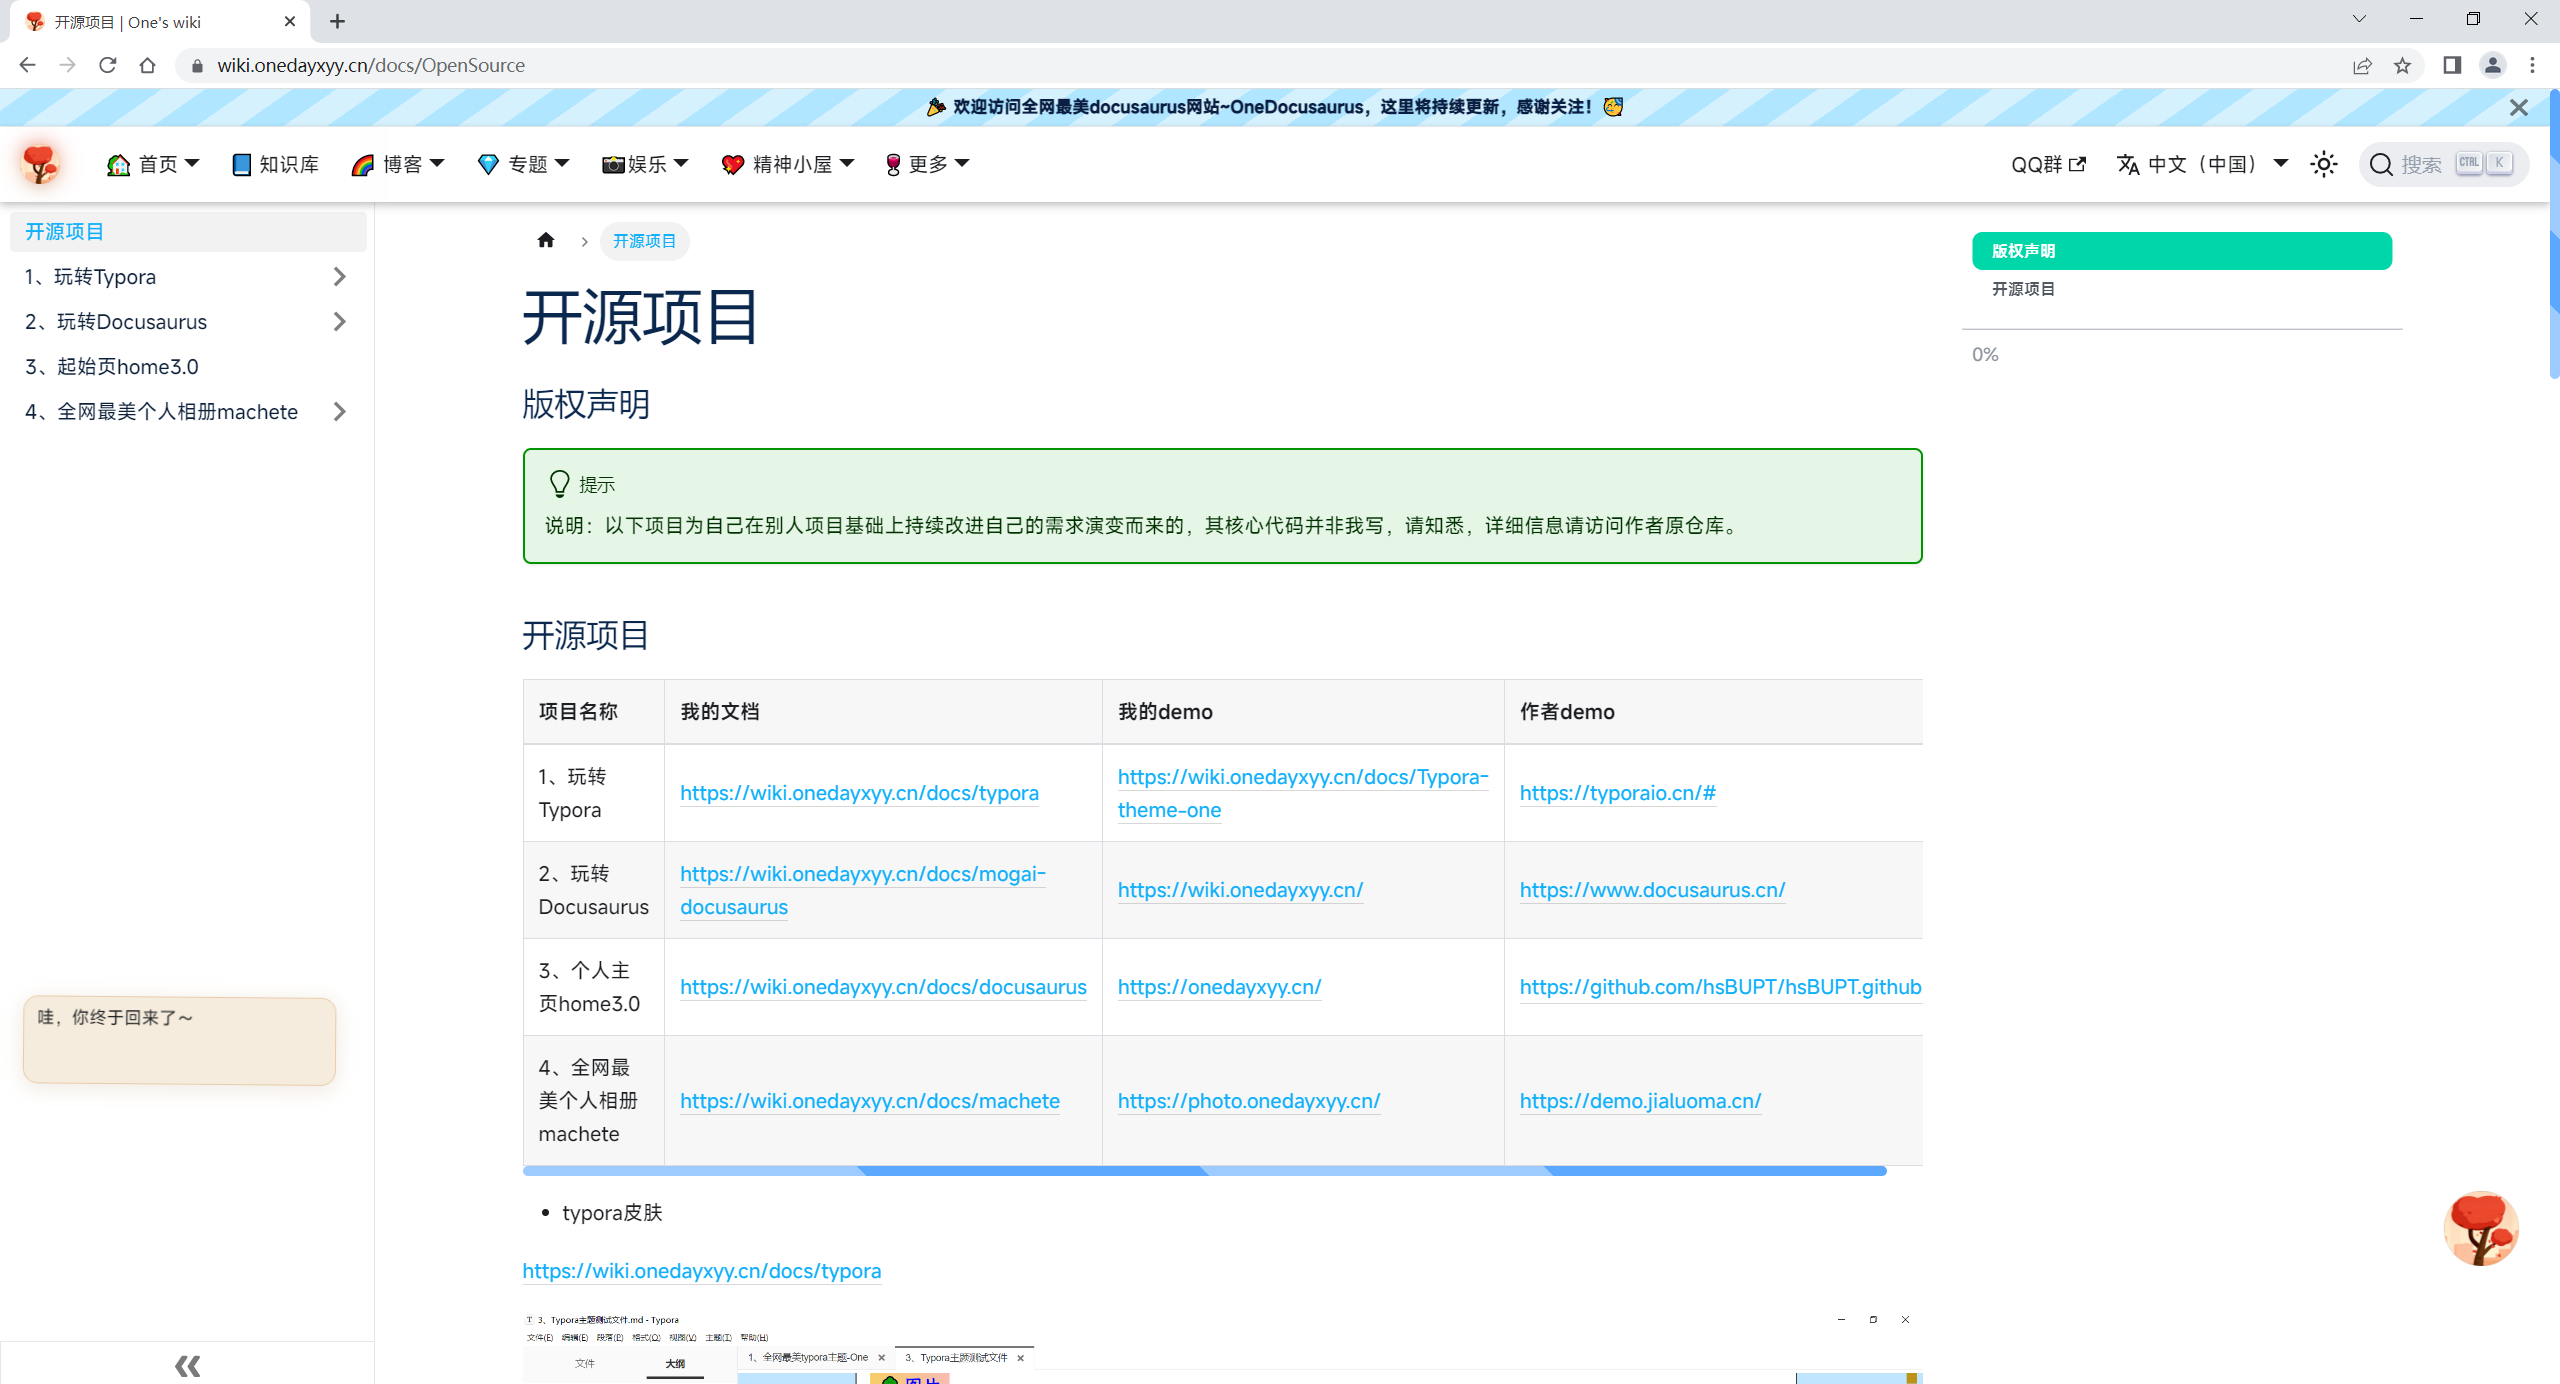
开源项目:
https://wiki.onedayxyy.cn/docs/OpenSource
- typora皮肤
https://wiki.onedayxyy.cn/docs/typora

- 起始页

- 知识库/博客
- 个人相册

最后
好了,关于本次就到这里了,感谢大家阅读,最后祝大家生活快乐,每天都过�的有意义哦,我们下期见!
