实战-Terraform部署GitLab-泽阳-博客分享-成功测试-2022.5.7
实战:Terraform 部署GitLab(泽阳-博客分享-成功测试)-2022.5.7

目录
[TOC]
实验环境
win10笔记本
2台centos7.6虚机(1台用作部署gitlab server(需要具有docker/terraform环境),一台用作跑gitlab runner)
Terraform版本: v1.1.8
docker版本: v20.10.11
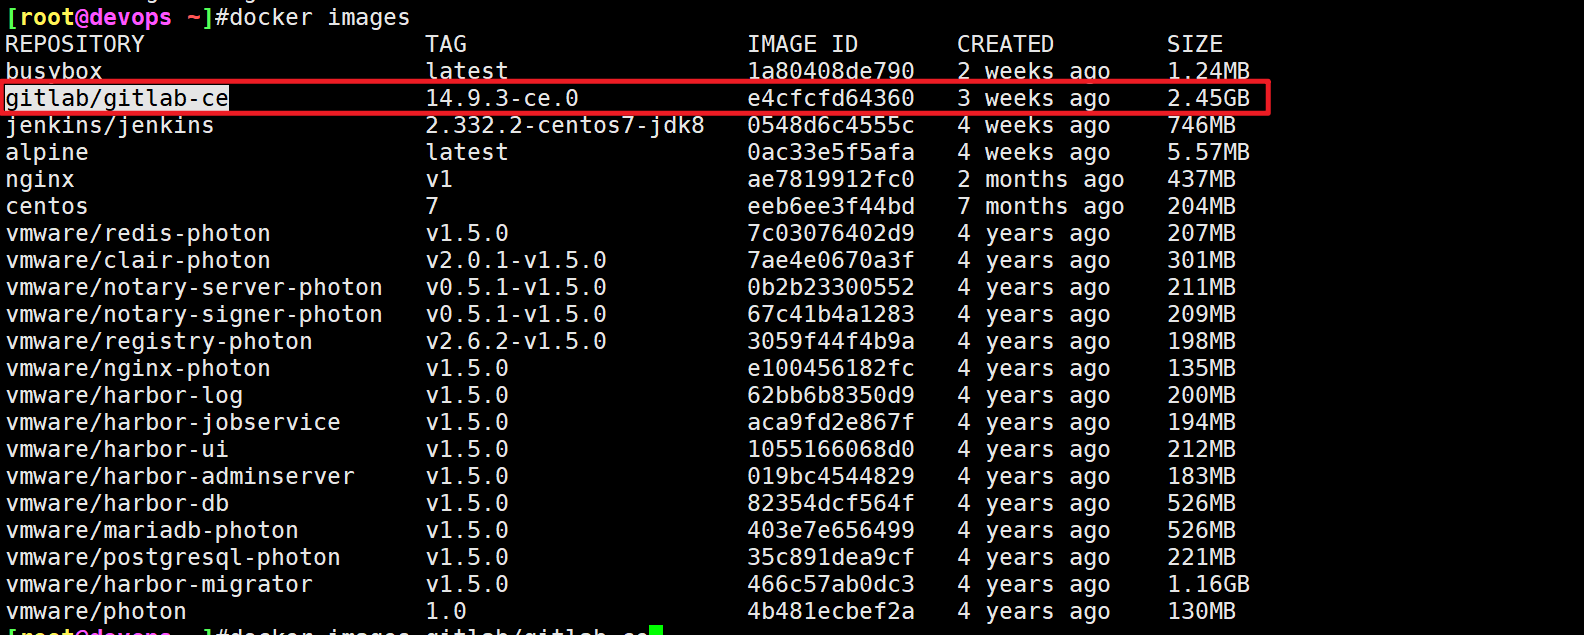
gitlab版本:gitlab/gitlab-ce:14.9.3-ce.0
gitlab-ruuner版本:gitlab-runner-14.9.1-1.x86_64.rpm
实验软件
链接:https://pan.baidu.com/s/1vGpLqcTR-6Db0OaUr9LH8Q?pwd=puoj
提取码:puoj
2022.5.7-Terraform 部署GitLab-code
前置条件
- centos7机器需要提前安装好terraform环境、docker环境;
1、部署gitlab server
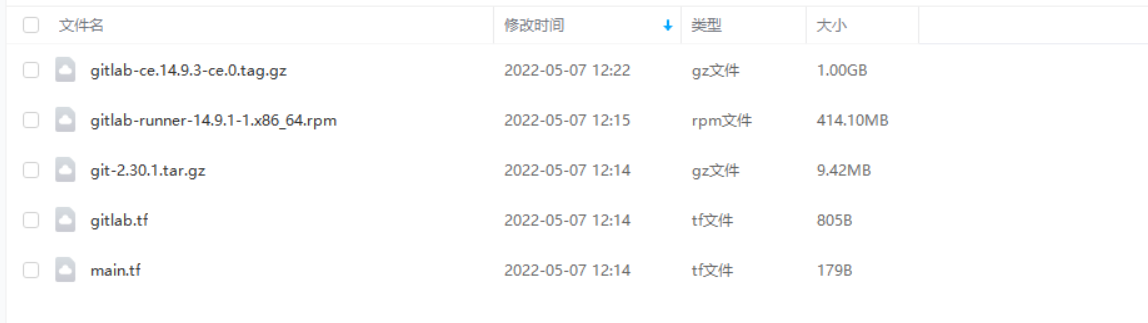
1.创建本地持久化目录
- 本次测试目录:
[root@devops remote-vscode]#pwd
/root/remote-vscode
[root@devops remote-vscode]#ls
gitlab.tf
- 创建本地目录:
[root@devops remote-vscode]#mkdir -p /data/devops4/gitlab/logs
[root@devops remote-vscode]#mkdir -p /data/devops4/gitlab/data
[root@devops remote-vscode]#mkdir -p /data/devops4/gitlab/config

- 先确认本地主机端口是否被占用
[root@devops remote-vscode]#netstat -antlp|grep 80
[root@devops remote-vscode]#netstat -antlp|grep 443
[root@devops remote-vscode]#netstat -antlp|grep 2222

2.使用terraform部署gitlab
- 准备好terraform需要用到的配置文件
cat main.tf :
# 定义provider(main.tf)
terraform {
  required_providers {
    docker = {
      source = "kreuzwerker/docker"
      version = "~> 2.13.0"
      }
  }
}
cat gitlab.tf:
resource "docker_image" "gitlab" {
  name         = "gitlab/gitlab-ce:14.9.3-ce.0"
  keep_locally = true  //销毁时不删除本地镜像
}

resource "docker_container" "gitlab" {
  image = docker_image.gitlab.name
  name  = "devops_tutorial_gitlab"
  ports { #本次课程目前只用到80端口
    internal = 80
    external = 80
  }
  ports {
    internal = 443
    external = 443
  }
  ports {
      internal = 22
      external = 2222
  }
  volumes{
      container_path = "/etc/gitlab" #gitlab配置文件
      host_path = "/data/devops4/gitlab/config"
  }
  volumes{
      container_path = "/var/log/gitlab" #gitlab日志文件
      host_path = "/data/devops4/gitlab/logs"
  }
  volumes{
      container_path = "/var/opt/gitlab" #gitlab数据
      host_path = "/data/devops4/gitlab/data"
  }
}
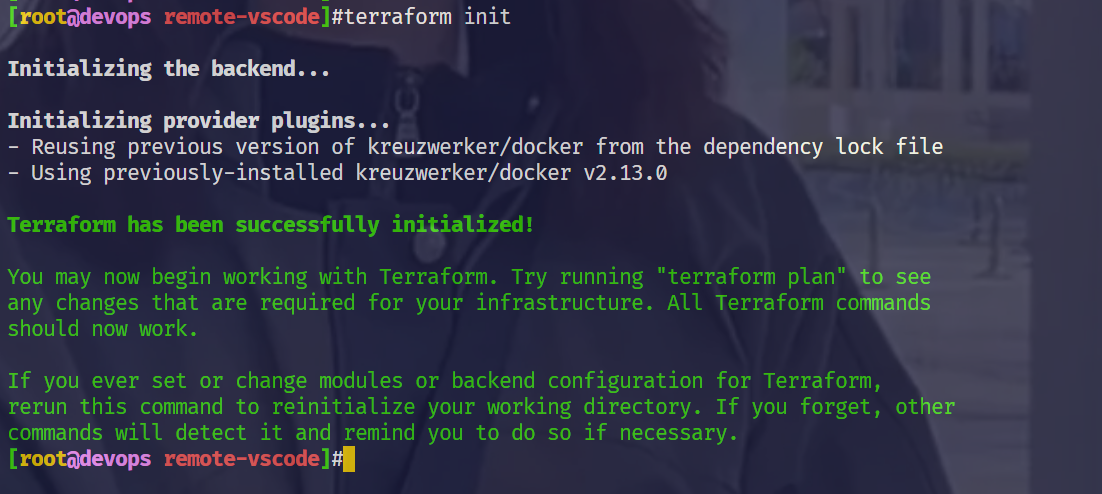
- terraform init
[root@devops remote-vscode]#terraform init
- terraform plan
[root@devops remote-vscode]#terraform plan

- terraform apply
[root@devops remote-vscode]#terraform apply

⚠️ 注意:gitlab的镜像很大的,需要2.45GB,因此这里需要等好久,耐心等待即可!(如果实在不行,可先用docker把近线拉取下下来,再执行terraroem命令)

3.验证
- 查看容器状态
[root@devops remote-vscode]#docker ps

- 查看gitlab容器日志
[root@devops remote-vscode]#docker logs -f 790a4c992c45

- 网页验证
- 输入密码
默认密码: 进入容器:/etc/gitlab/initial_root_password #14版本以后发生了变化!
root 密码
新的密码:Devops123456
[root@devops remote-vscode]#docker ps
CONTAINER ID   IMAGE                          COMMAND             CREATED          STATUS                    PORTS
                               NAMES
790a4c992c45   gitlab/gitlab-ce:14.9.3-ce.0   "/assets/wrapper"   12 minutes ago   Up 12 minutes (healthy)   0.0.0.0:80->80/tcp, 0.0.0.0:443->443/tcp, 0.0.0.0:2222->22/tcp   devops_tutorial_gitlab
[root@devops remote-vscode]#docker exec devops_tutorial_gitlab cat /etc/gitlab/initial_root_password
# WARNING: This value is valid only in the following conditions
#          1. If provided manually (either via `GITLAB_ROOT_PASSWORD` environment variable or via `gitlab_rails['initial_root_password']` setting in `gitlab.rb`, it was provided before database was seeded for the first time (usually, the first reconfigure run).
#          2. Password hasn't been changed manually, either via UI or via command line.
#
#          If the password shown here doesn't work, you must reset the admin password following https://docs.gitlab.com/ee/security/reset_user_password.html#reset-your-root-password.

Password: cO/jgYrZ1JBxjHxVwCjXbh/a2HxTRMGpuLUfo9XYLJM=

# NOTE: This file will be automatically deleted in the first reconfigure run after 24 hours.
[root@devops remote-vscode]#
- 修改root密码:
点击头像-Preferences-Passsword,修改密码:
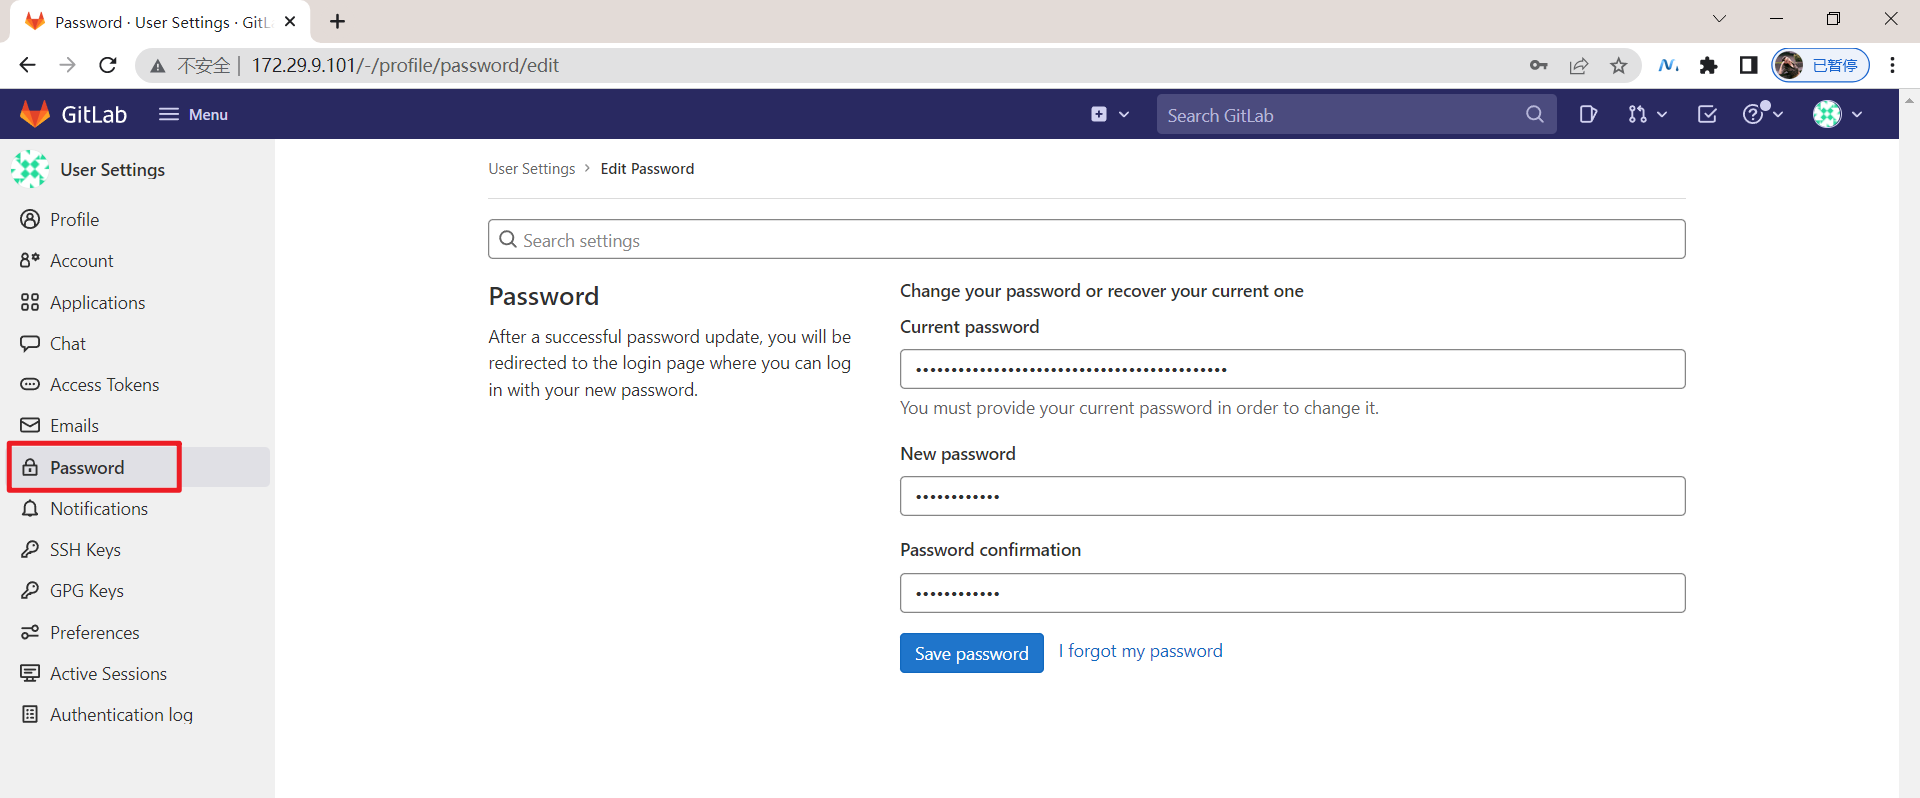
使用修改后的额密码登录gitlab:


结束。😘
注意事项
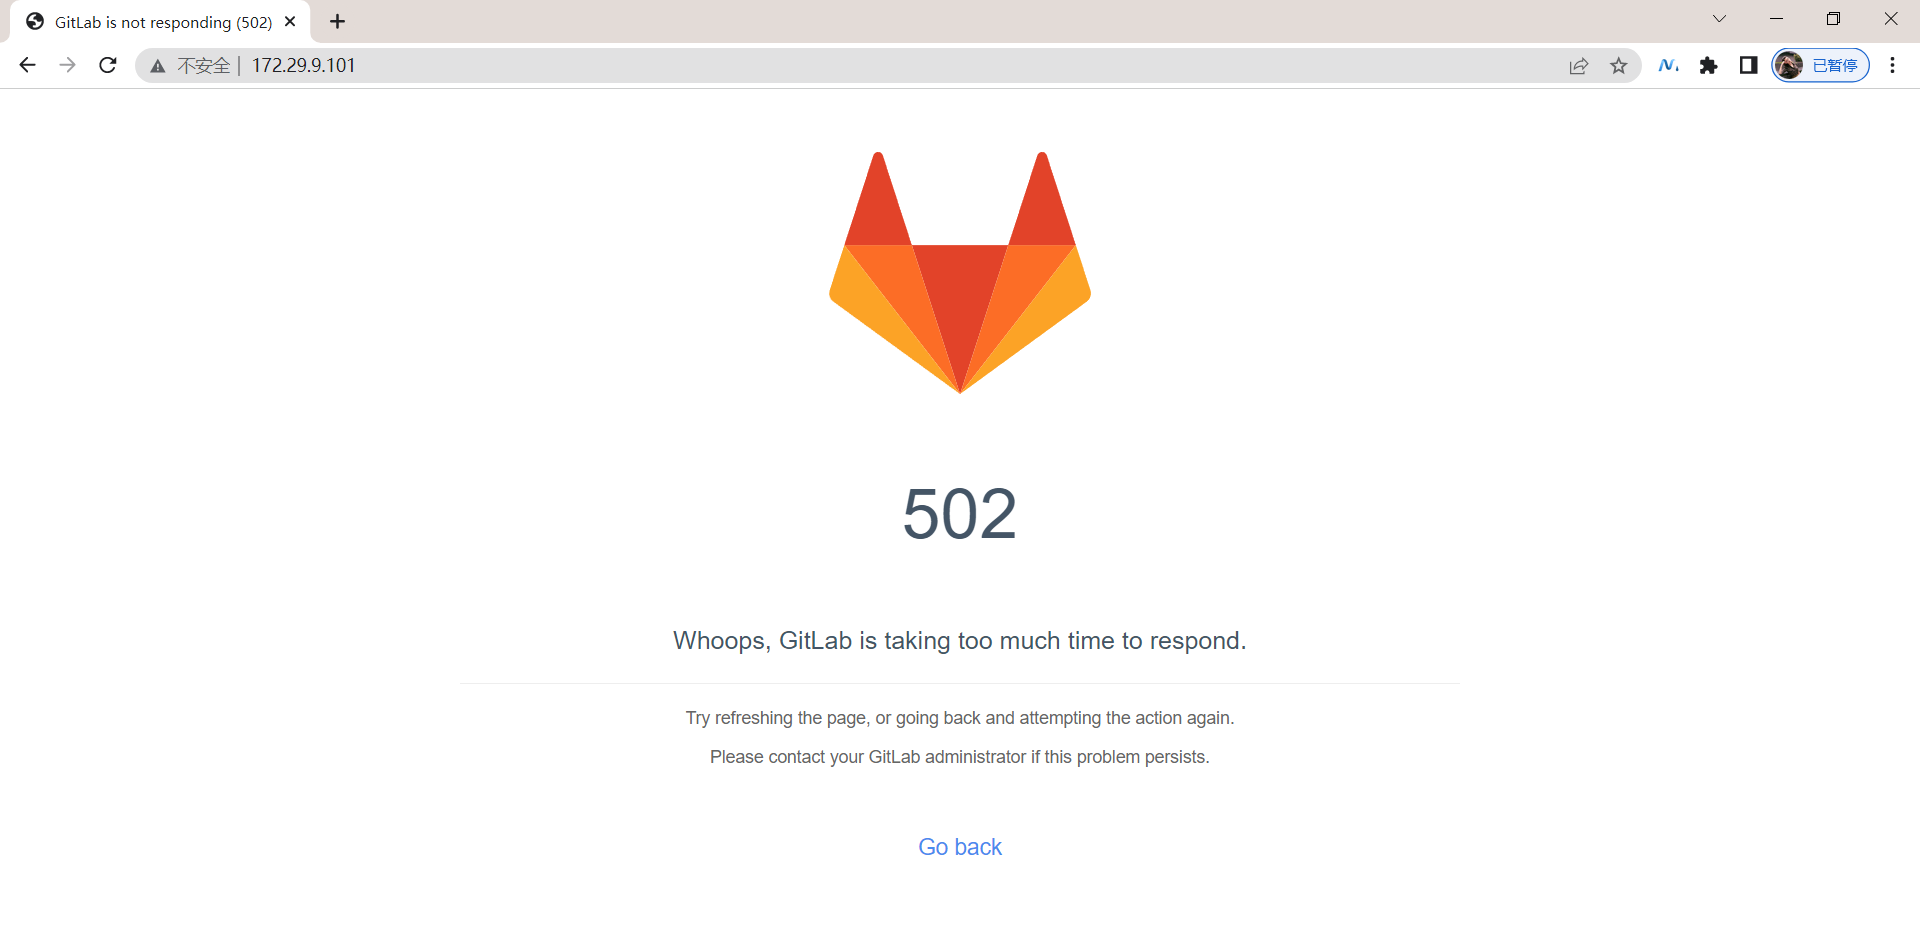
1.登录gitlab报502错误问题

2.解决容器名解析问题
这边打开后,会出现问题:

有几种解决办法:
1.修改容器里的配置
2.在自己笔记本的hosts里添加域名解析
方法1:修改容器里的配置
[root@devops remote-vscode]#docker ps
CONTAINER ID   IMAGE                          COMMAND             CREATED       STATUS                 PORTS
                         NAMES
790a4c992c45   gitlab/gitlab-ce:14.9.3-ce.0   "/assets/wrapper"   5 hours ago   Up 5 hours (healthy)   0.0.0.0:80->80/tcp, 0.0.0.0:443->443/tcp, 0.0.0.0:2222->22/tcp   devops_tutorial_gitlab
[root@devops remote-vscode]#docker exec -it devops_tutorial_gitlab bash
root@790a4c992c45:/# vim /etc/gitlab/gitlab.rb
取消注释这行,并将这里的`GENERATED_EXTERNAL_URL`替换为gitlab所在虚拟机的ip即可:


执行生效命令:
root@790a4c992c45:/# gitlab-ctl reconfigure
这里需要稍等一会儿:
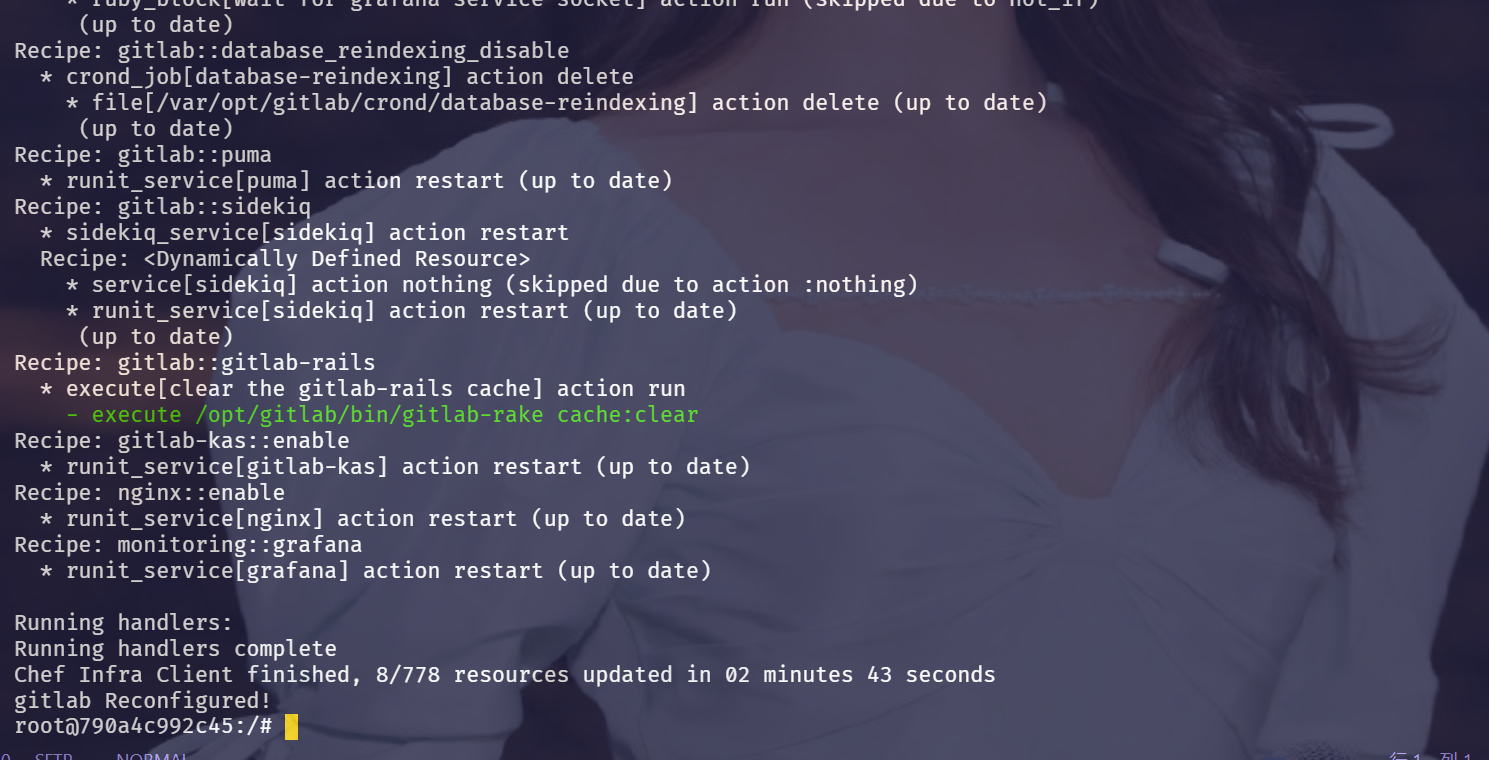
重新配置后,我们再次来验证下效果:

这边可以看到,以上那个问题被解决了。😘
方法2:在自己笔记本的hosts里添加域名解析
#C:\WINDOWS\System32\drivers\etc
172.29.9.101  790a4c992c45
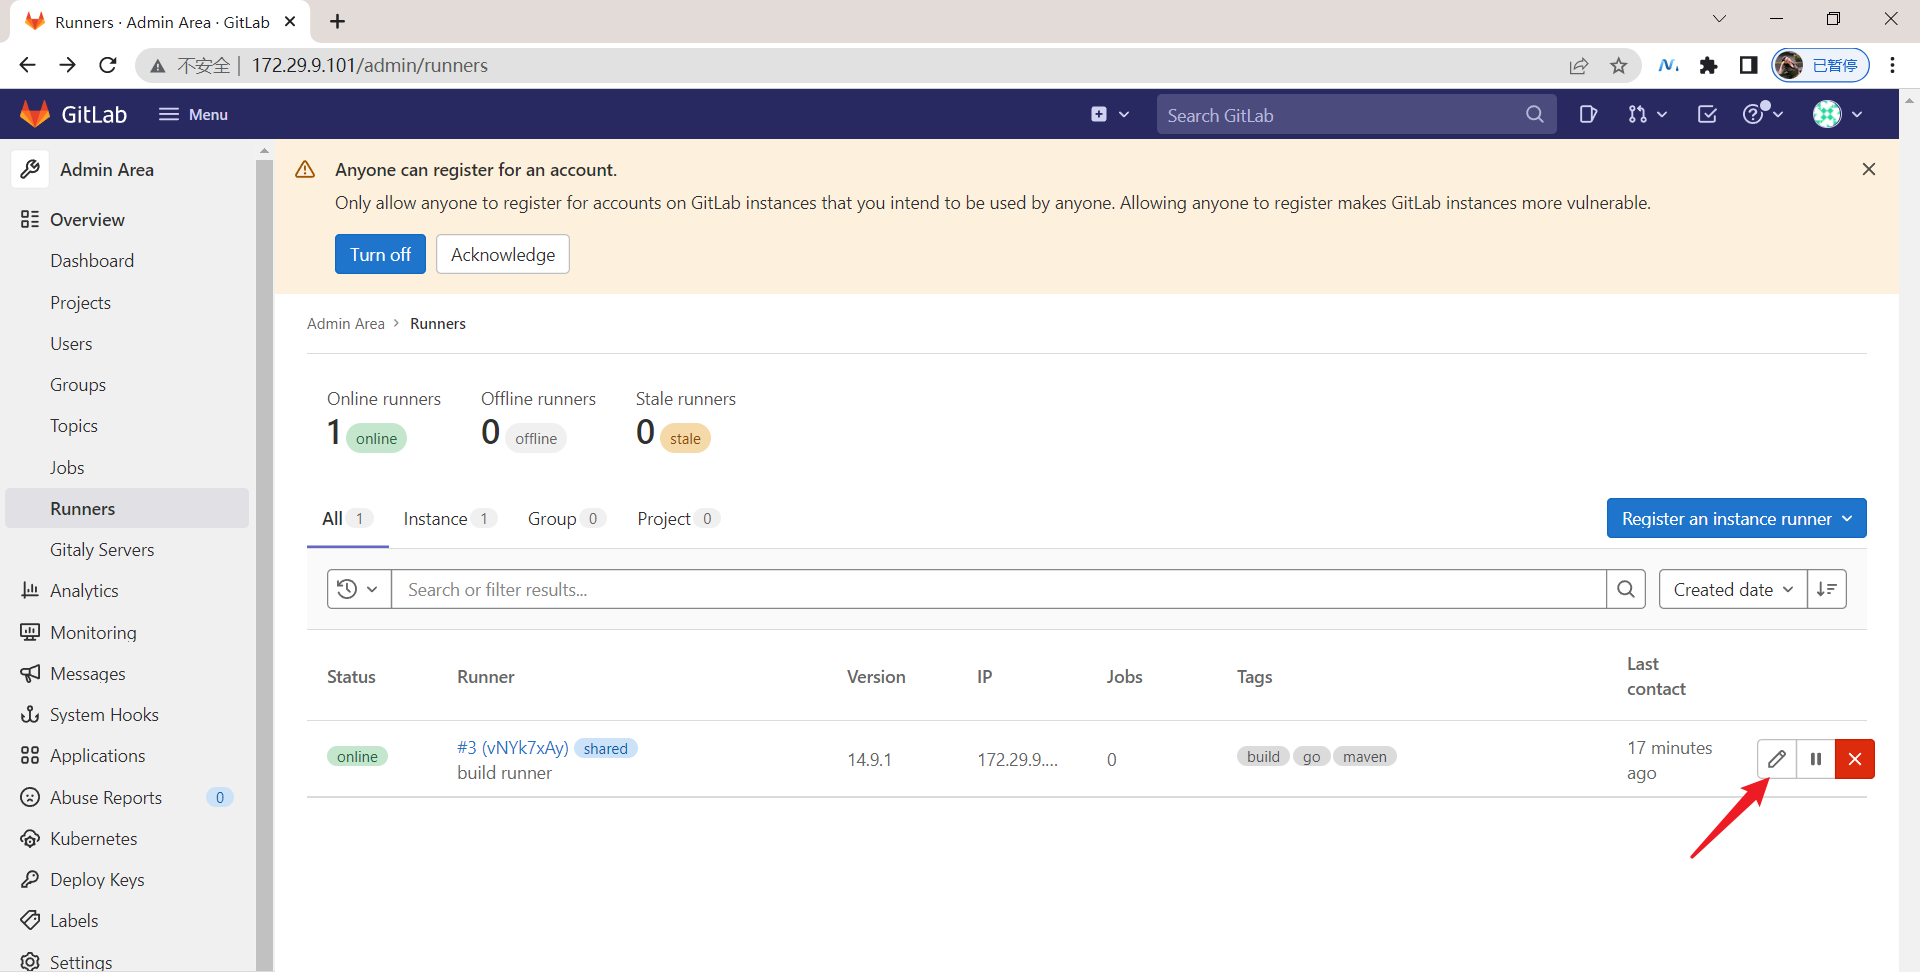
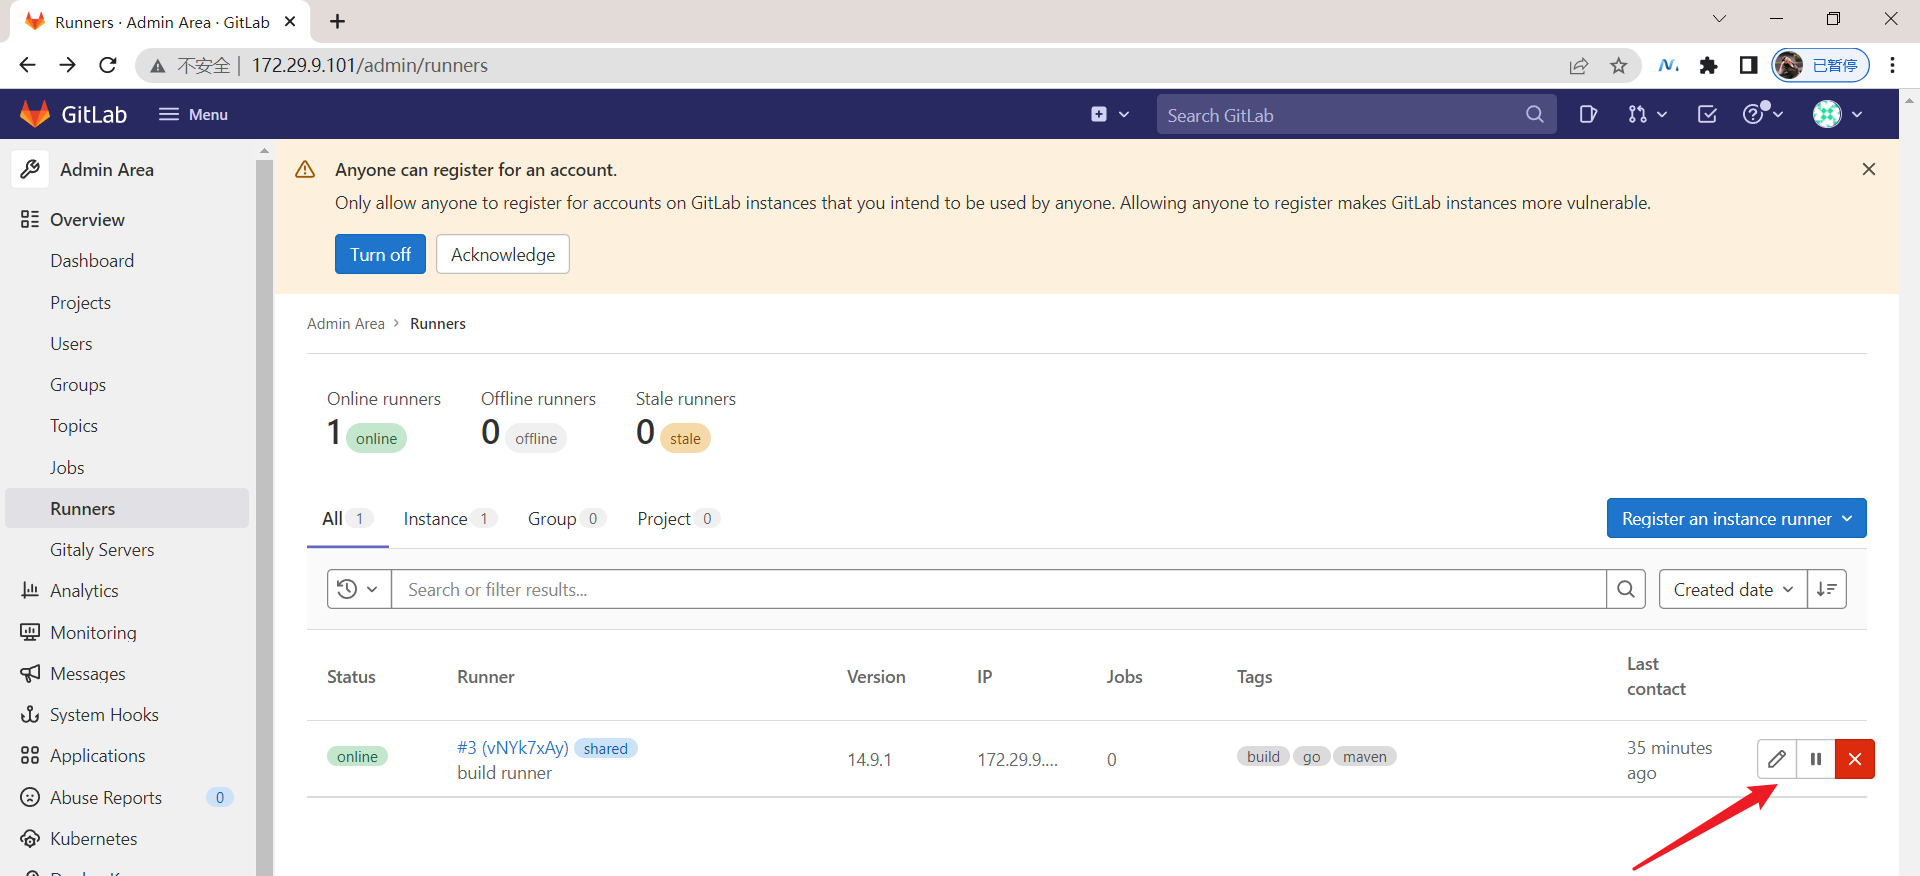
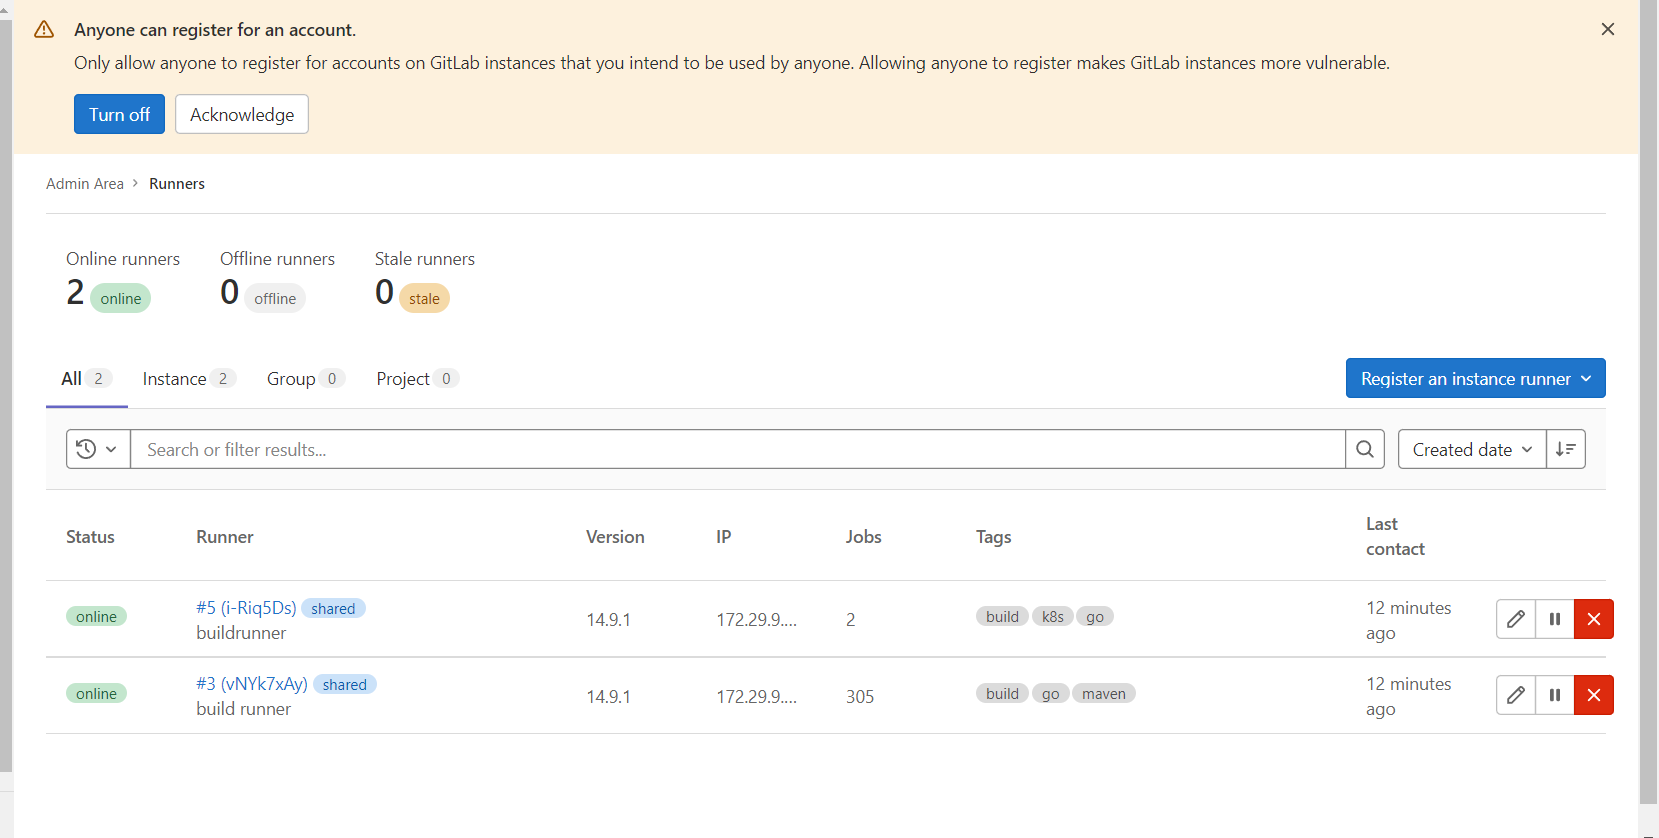
3.一台虚机是可以同时充当几个runner的
gitlab-runner register \
  --non-interactive \
  --url "http://172.29.9.101/" \
  --registration-token "9Yni-g-svEdGJqZrs2Vv" \
  --executor "shell" \
  --description "buildrunner" \
  --tag-list "build,k8s,go" \
  --run-untagged="true" \
  --locked="false" \
  --access-level="not_protected"


4.gitlab不能跨大版本升级
例如,你是12版本,你只能先升级到12最新版本,然后再升级到1版本,再升级到13最新版本,再升级到14版本! ---2022.5.5
5.gitlab runnergit版本问题
后续gitlab-ci跑流水线实验时会出问题,因此要升级到2版本以上的!
注意:使用yum remove git后,gitlab-runner会自动被删除的!


因此,升级git版本后,再使用rm -ivh命令安装gitlab-runner时,需要依赖,因此要用yum来安装,但yum安装后是会默认安装老版本git的,因此后面需要先删除/usr/bin/git再执行如下命令ln -s /usr/local/git/bin/git /usr/bin/git即可!
yum install -y gitlab-runner-14.9.1-1.x86_64.rpm
关于我
我的博客主旨:
- 排版美观,语言精炼;
- 文档即手册,步骤明细,拒绝埋坑,提供源码;
- 本人实战文档都是亲测成功的,各位小伙伴在实际操作过程中如有什么疑问,可随时联系本人帮您解决问题,让我们一起进步!
-
个人微信二维码:x2675263825 (舍得), qq:2675263825。

-
个人微信公众号:《云原生架构师实战》

-
个人csdn
https://blog.csdn.net/weixin_39246554?spm=1010.2135.3001.5421

-
个人已开源干货😘
不服来怼:宇宙中最好用的云笔记 & 其他开源干货:https://www.yuque.com/go/doc/73723298?#

-
个人博客:(www.onlyyou520.com)

-
知乎:https://www.zhihu.com/people/foryouone/posts

最后
好了,关于xxx实验就到这里了,感谢大家阅读,最后贴上我女神的photo,祝大家生活快乐,每天都过的有意义哦,我们下期见!
